* Always check your local convention regulations. Weapons made in this way are usually deemed "con safe" by convention security, but I cannot guarantee that in every case. I ask that, if you use this method for making metal-bladed weapons, please be A) careful with them, and B) link people back to this tutorial when they ask questions about it. I have spent a lot of time both figuring out how to create these swords, and how to do it safely. I'm sure someone else could figure out the basics, but not all the safety stuff is immediately apparent, and I'de rather no one get hurt for being under informed.
I'd like to add aswell, to check on your local laws, regardless of what Country or State you're in. Make sure it is legal for you to carry a prop metal sword before you step out of your door.
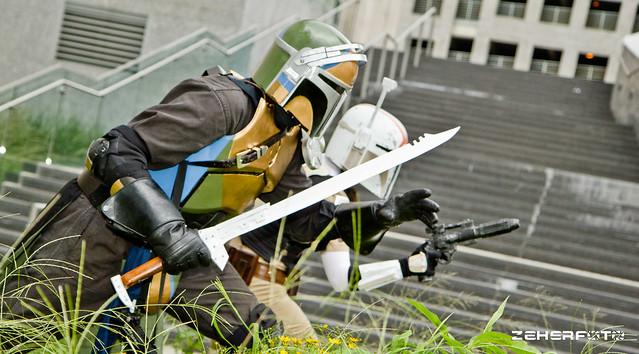
Con-Safe Metal Bladed Weapons
------
The most important thing to know about these blades is that they are still metal, and thus can still be dangerous. Just like other sort-of-dangerous props, you should not hit anyone with them, threaten people with them, or anything else. You need to take precautions during production to make sure that, when they inevitably get inspected by ConSec, they are easily identifiable as not-a-real-blade.
Step 1: Design it outMetal doesn't forgive, if you screw it up, you're stuck with the screw up most of the time. Spend some time to get a good design going, and make sure you plan out each layer you plan to work with, especially if you're doing an all-metal sword like the ones in this tutorial. Additionally, Aluminum is a soft metal, and the longer and thinner the design is, the more wiggly it will be without support. Keep this in mind.
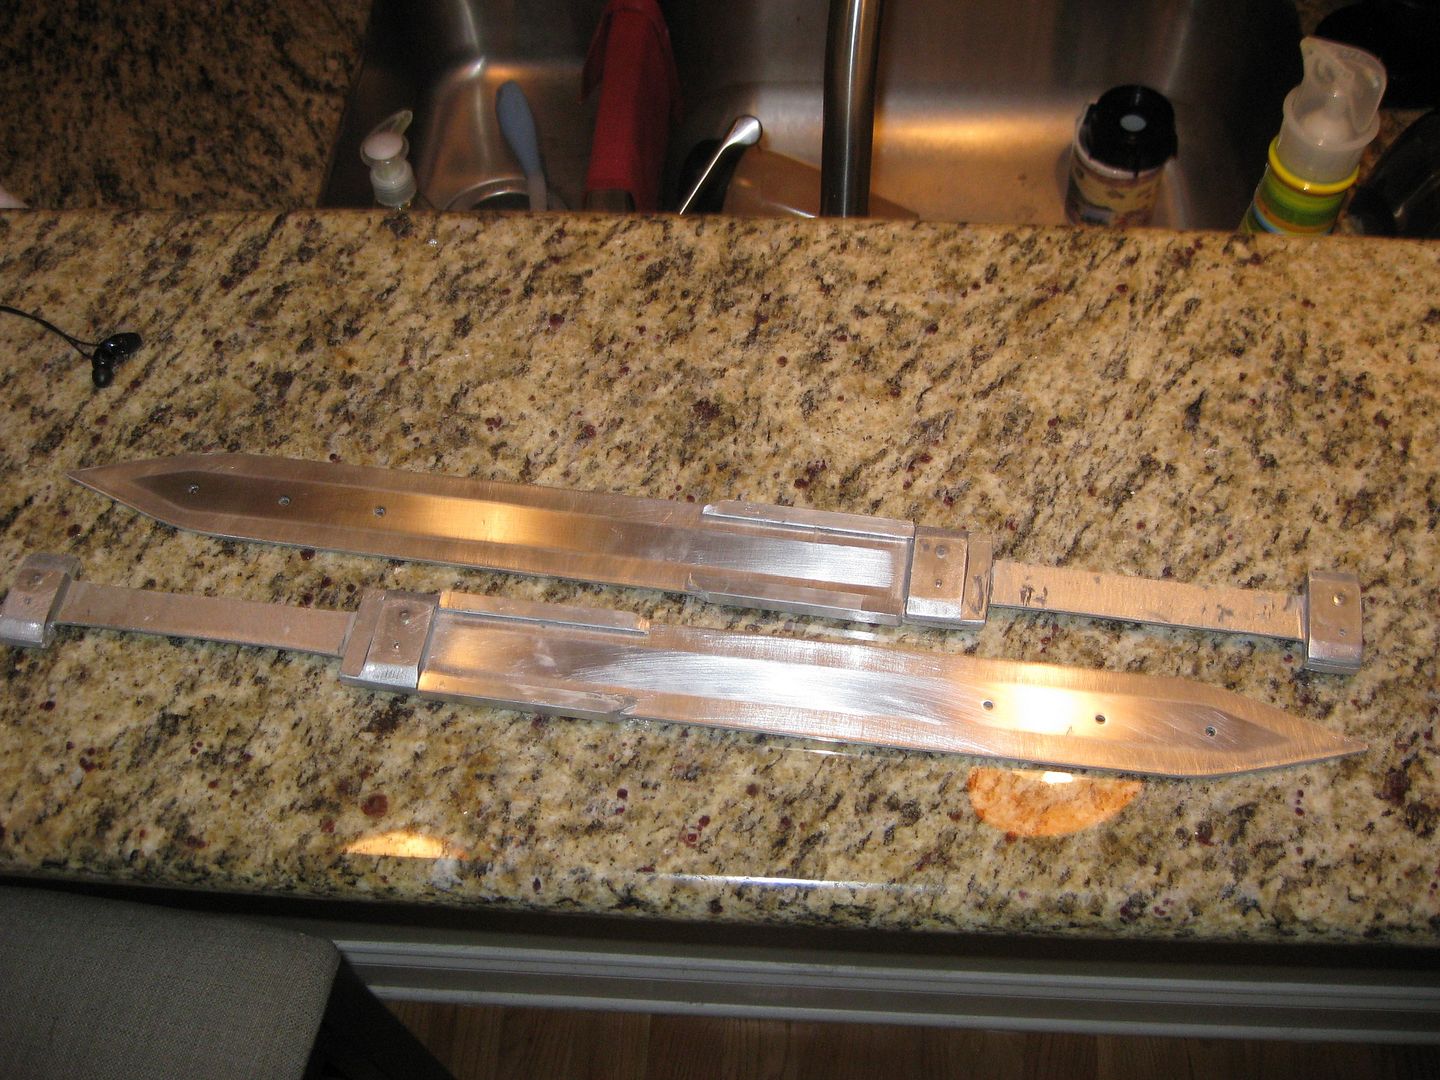
I chose to make two swords that were similar to Gladii, early roman short-swords.

Looking at this design, I decided to use lamination and rivets to achieve thicker parts on the cross-guard (which in this case is more rounded.) My design document ended up being sketched on a napkin and was thrown out a while ago: DO NOT DO THIS. I was able to skate by on my experience working on these props, however you should ALWAYS keep your design document around so you can reference it.
Step 2: Materials and toolsMATERIALS: Aluminum:You need plate aluminum. The thickness and dimensions all depend on the weapon you're doing, but in the end you need plate aluminum. The alloy hardness is actually not a big concern, as you don't intend to be smacking the swords around, but if you really want to do research on it, go right ahead. The softer the metal is, the easier it will be to work with, but you may have to bend it back straight every couple of years.
A good source for Aluminum is
www.speedymetals.com. Aluminum stock, plate, and tread-plate are what you're looking for. Additionally, Home Depot and Lowes often keep Aluminum stock in stock, which can normally be bought in lengths as great as 8-10 feet, but is normally no more than 2 inches wide. They cost about 30$
Fasteners:I primarily use a combination of both pop rivets and JB Weld to hold my props together. Both of them are available at hardware stores all over the world. An aluminum blade looks like garbage without some sort of housing or details, so add them by JB Welding them, and then riveting them down. If you do not rivet them down, the JB Weld may fail if you use a grinder to shape the details.
Detail bits:Wood, bits of metal, plate of a different thickness or width, leather ropes, metal rings, whatever. Make sure you have them when you start, so you can adjust your design to the real-world limitations before you get started.
TOOLS:You will need, at minimum:Sand paper, a ruler, a sharpie, clamps, a Jigsaw or Sabre Saw with a metal-ripping blade (they look like hacksaw blades), painter's tape, drill & bits sized to your rivets, pop riveter, a heavy and sturdy clamping surface, safety goggles, ear protection, gloves, and the willingness to work for hours.
Tools that let you do cool stuff, or make it take way less time:Dremel Multimax.
(A vibrocutter of any variety will do. I use a Dremel Multimax.)
Plasma Cutter Table.
(This turns the blade-cutting process from hours of sweaty, grimy labor into a PNG file and twenty minutes)
Drill press.
(The straighter the holes, the easier they are to rivet)
Rivet gun
(faster riveting)
Angle Grinder
(you can use a power sander or a file to grind angles, but an angle grinder makes it so much easier)
Step 3: The Process1) draw your design out onto the metal. Always do full-tang designs with aluminum for the sake of strength. Full-tang means that the blade of the sword extends all the way down to the bottom of the grip, and is much stronger in terms of durability. If you do not do a full-tang design, your blade is likely to snap off when you whack it against something on accident.
2) Clamp the plate down to whatever surface you're working on. Make sure it's clamped just behind the area you intend to cut out. The metal will bounce around if not clamped securely enough, and will probably make a screaming noise. The noise is normal, the bouncing means that you need to clamp it to something more solid. Cutting out the blade, and later grinding the angles, will spit lots of hot aluminum shards everywhere. Wear goggles for this, I can't reiterate how important it is that you do this. I was blind in one eye for a week once, and I was lucky.
Work small so you can get used to the amount of resistance you're going to face. Do not go fast. Focus on getting the broad strokes done first, the details come later. Repeat this process until you get the full tang.
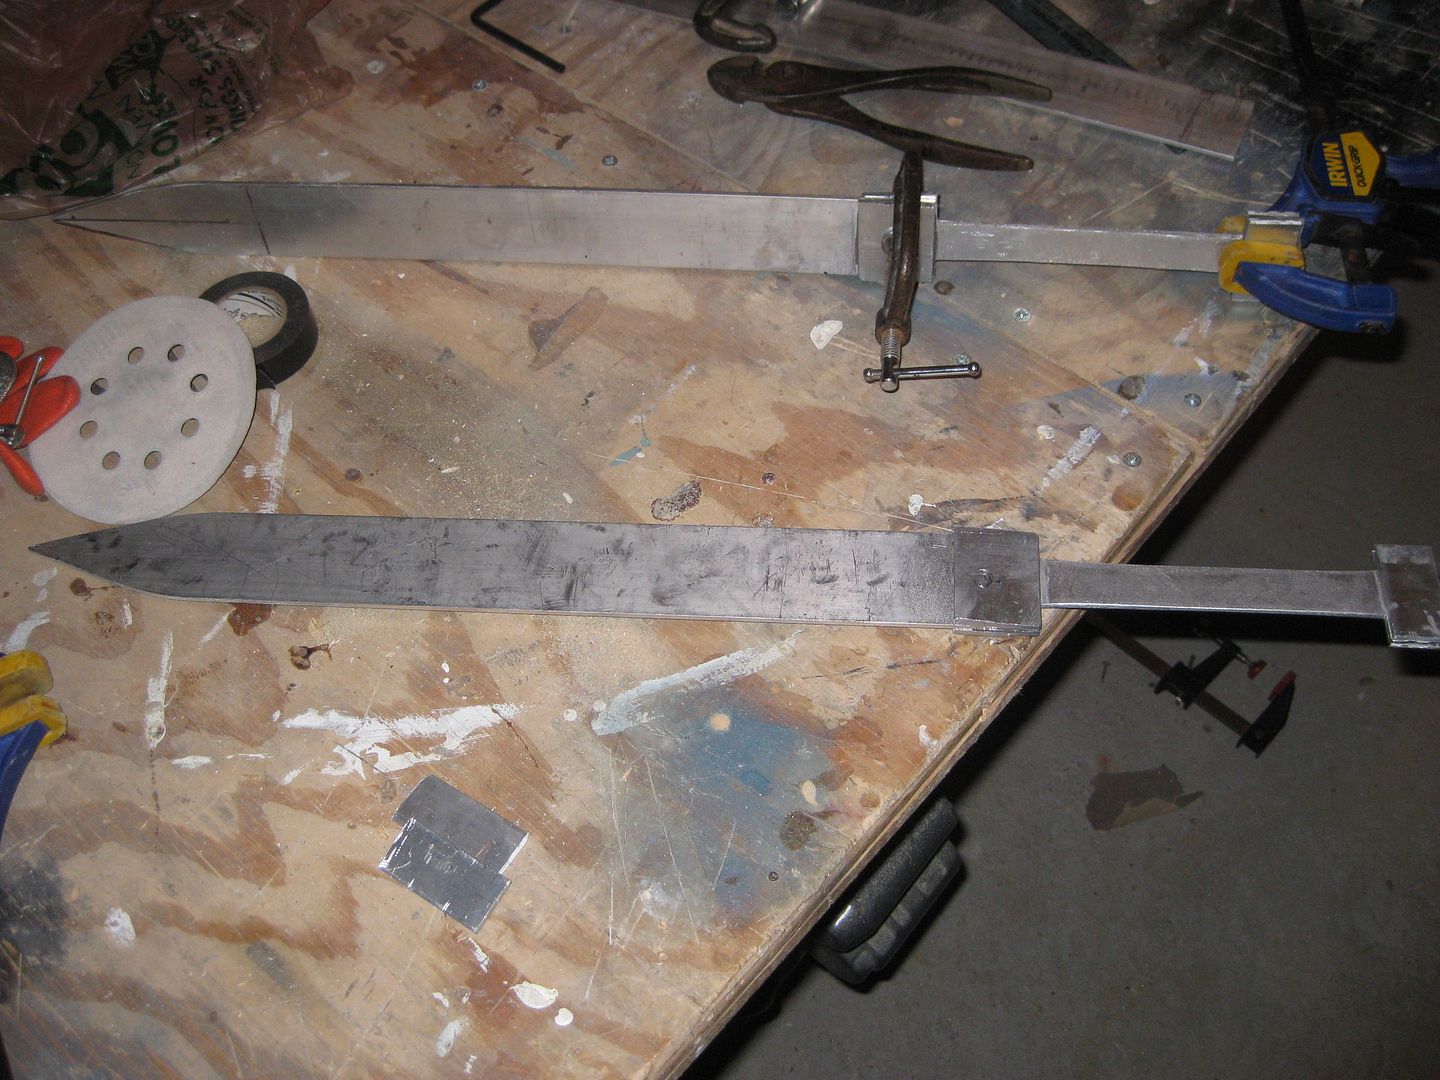
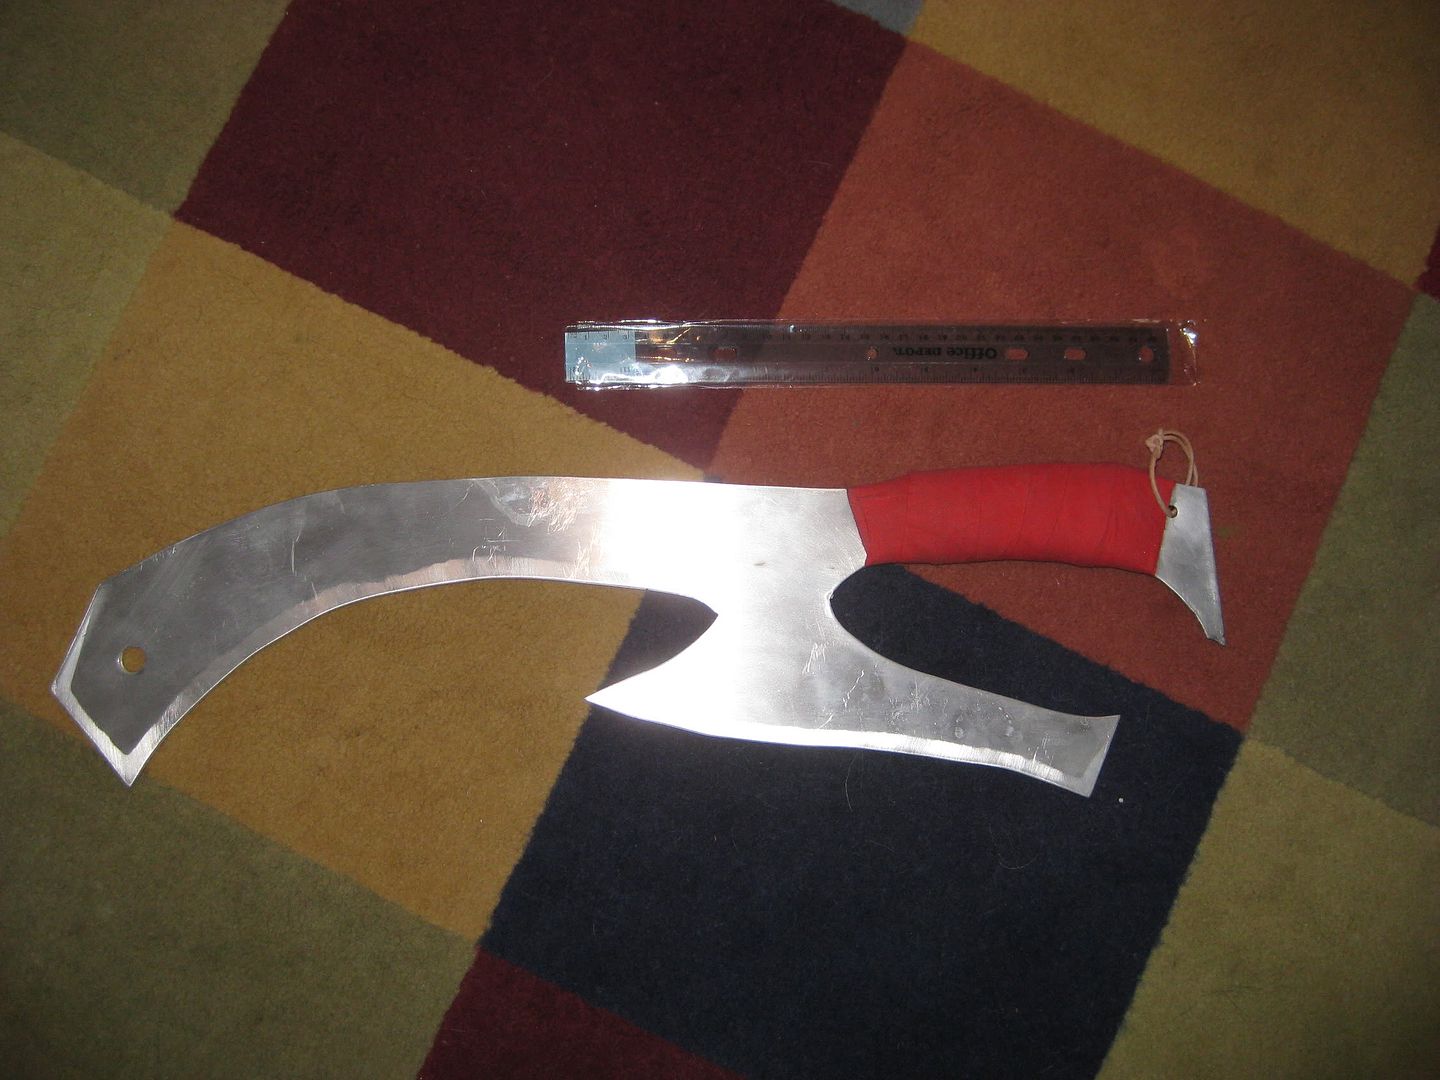
This sword has a curve in the blade on both sides at the tip. I cut them straight initially, and then used an angle grinder later to make them curved. Do this whenever possible.
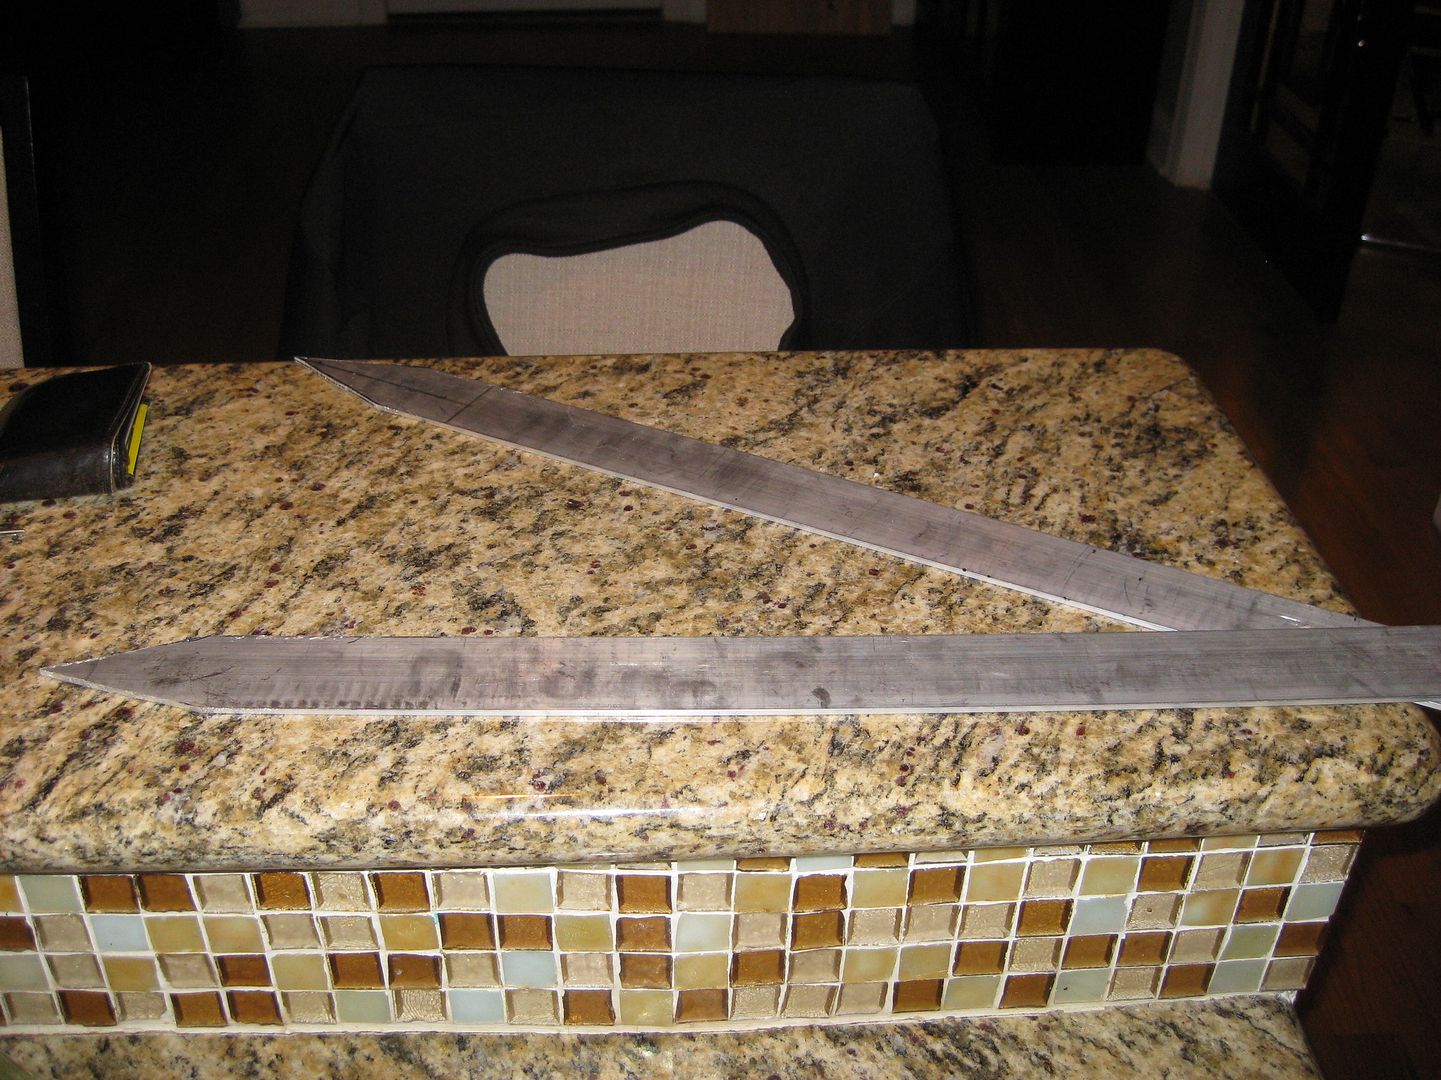
Here's a straight-bladed edge cut from a sword I made for a commission:
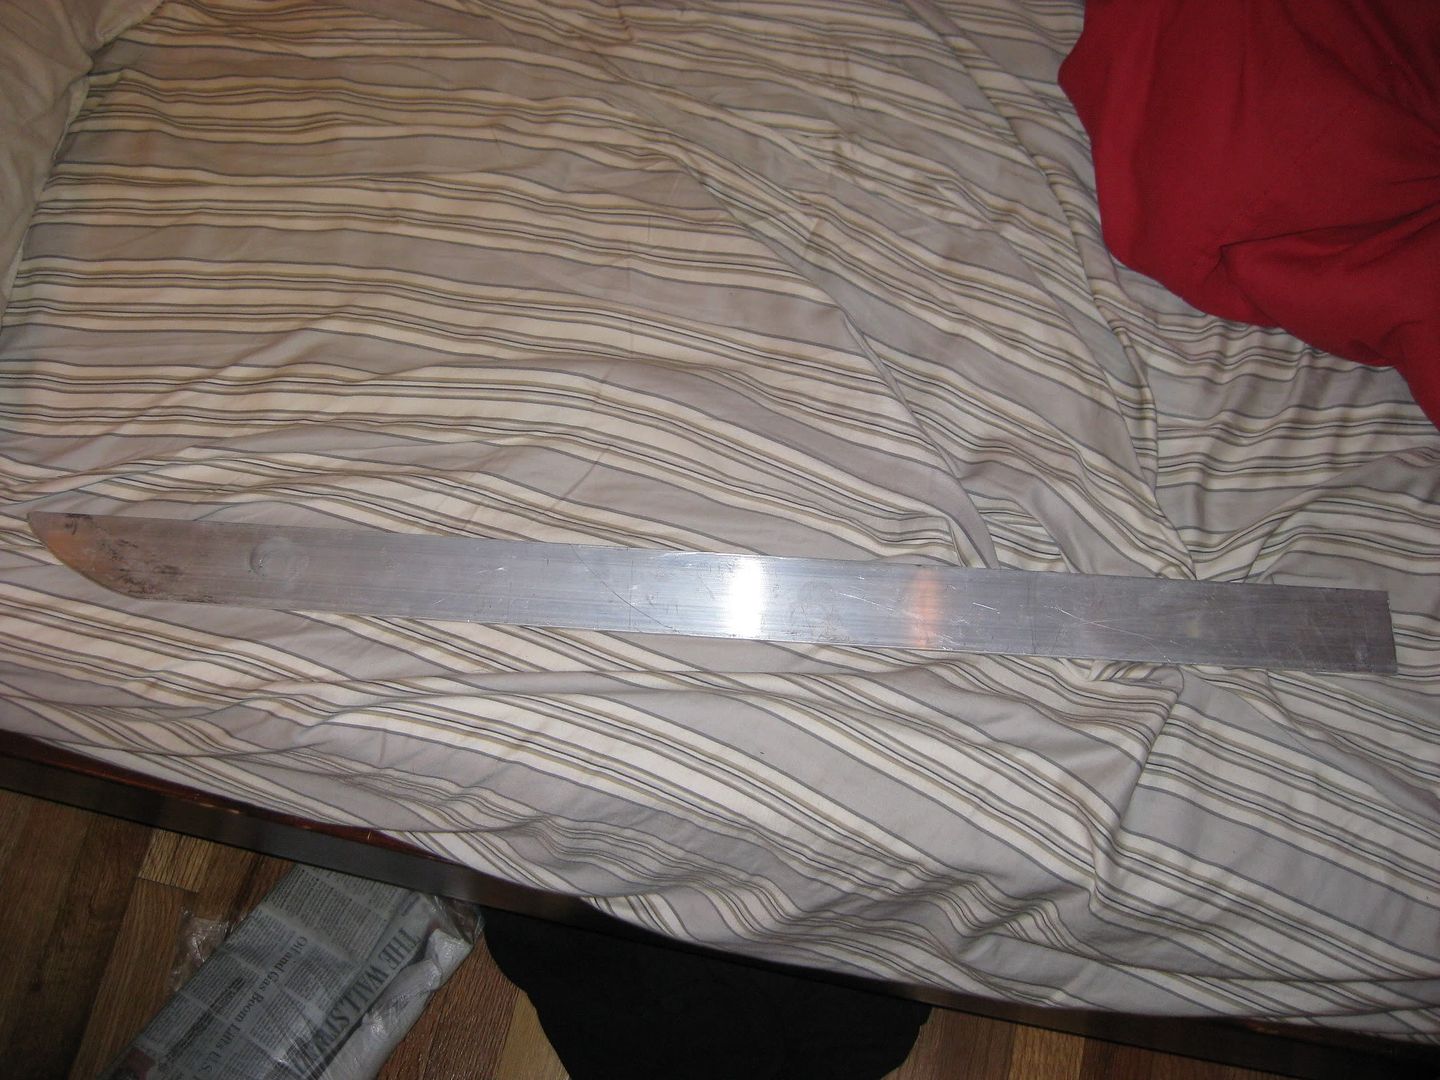
The end result of a full-tang sword may look something like this:
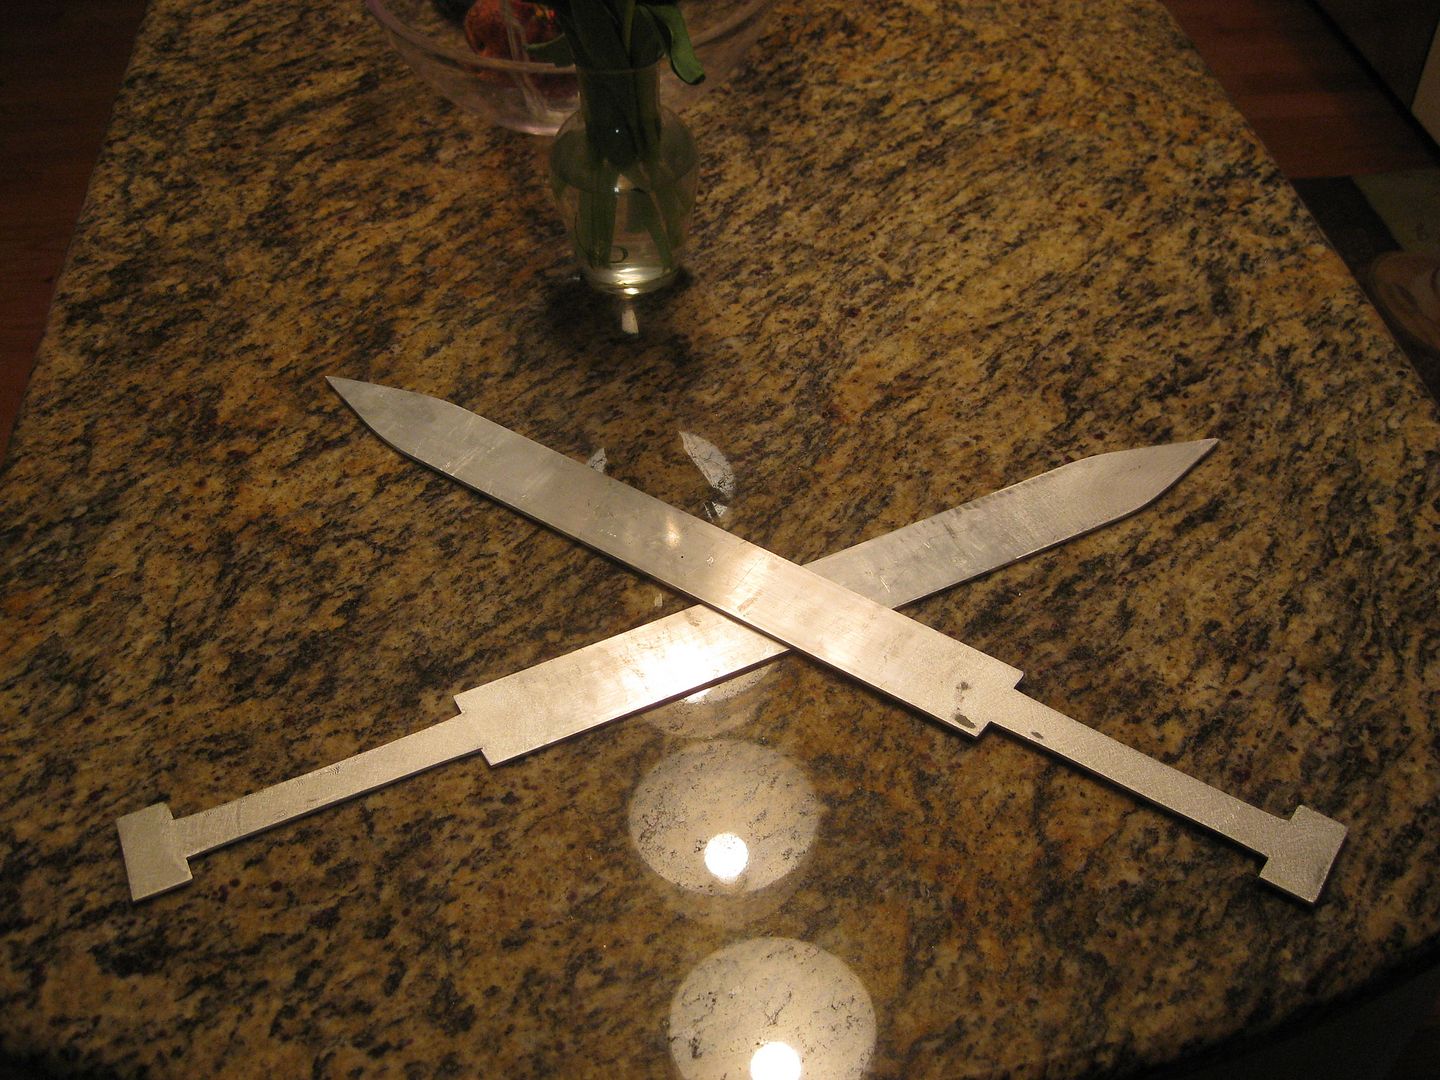 3)
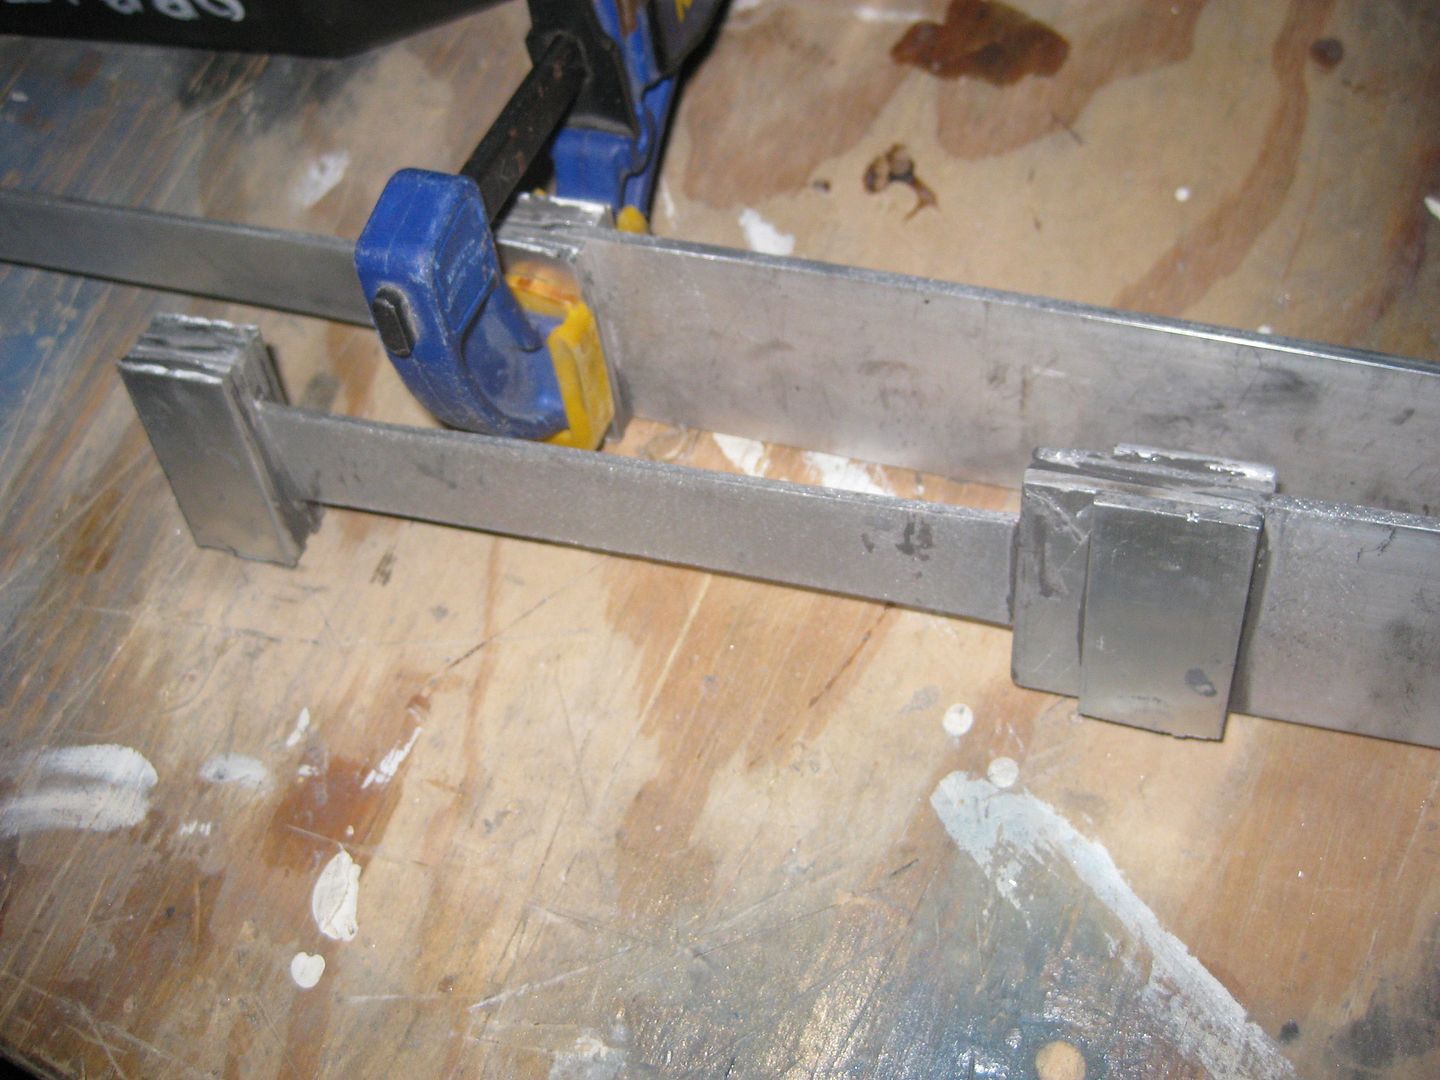
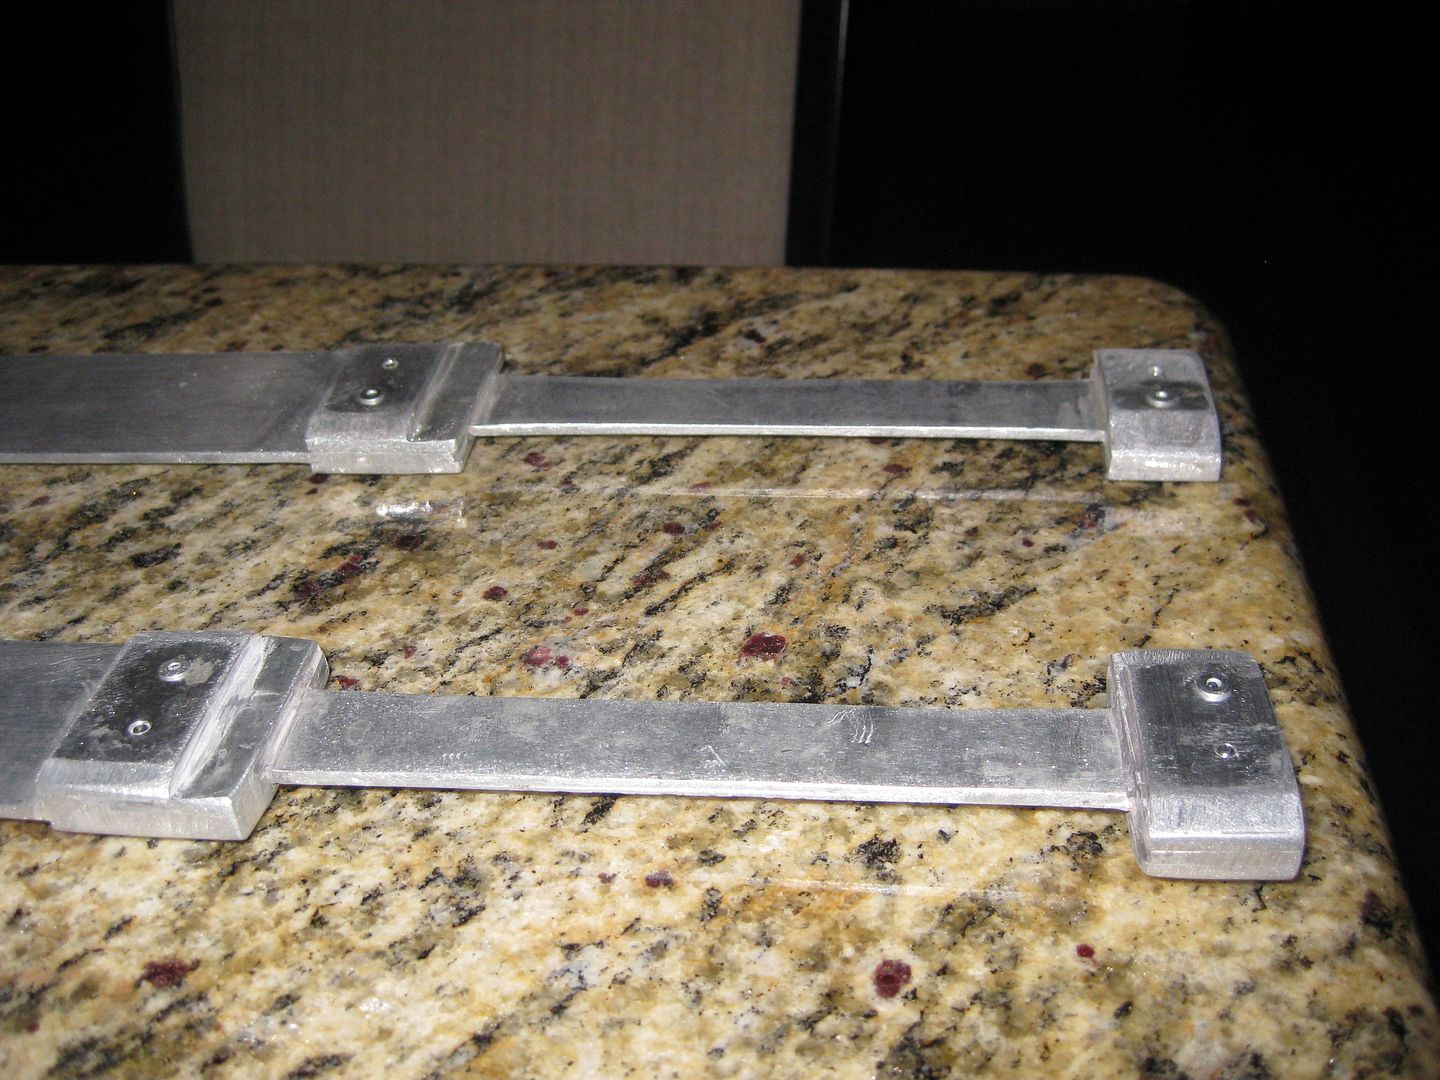
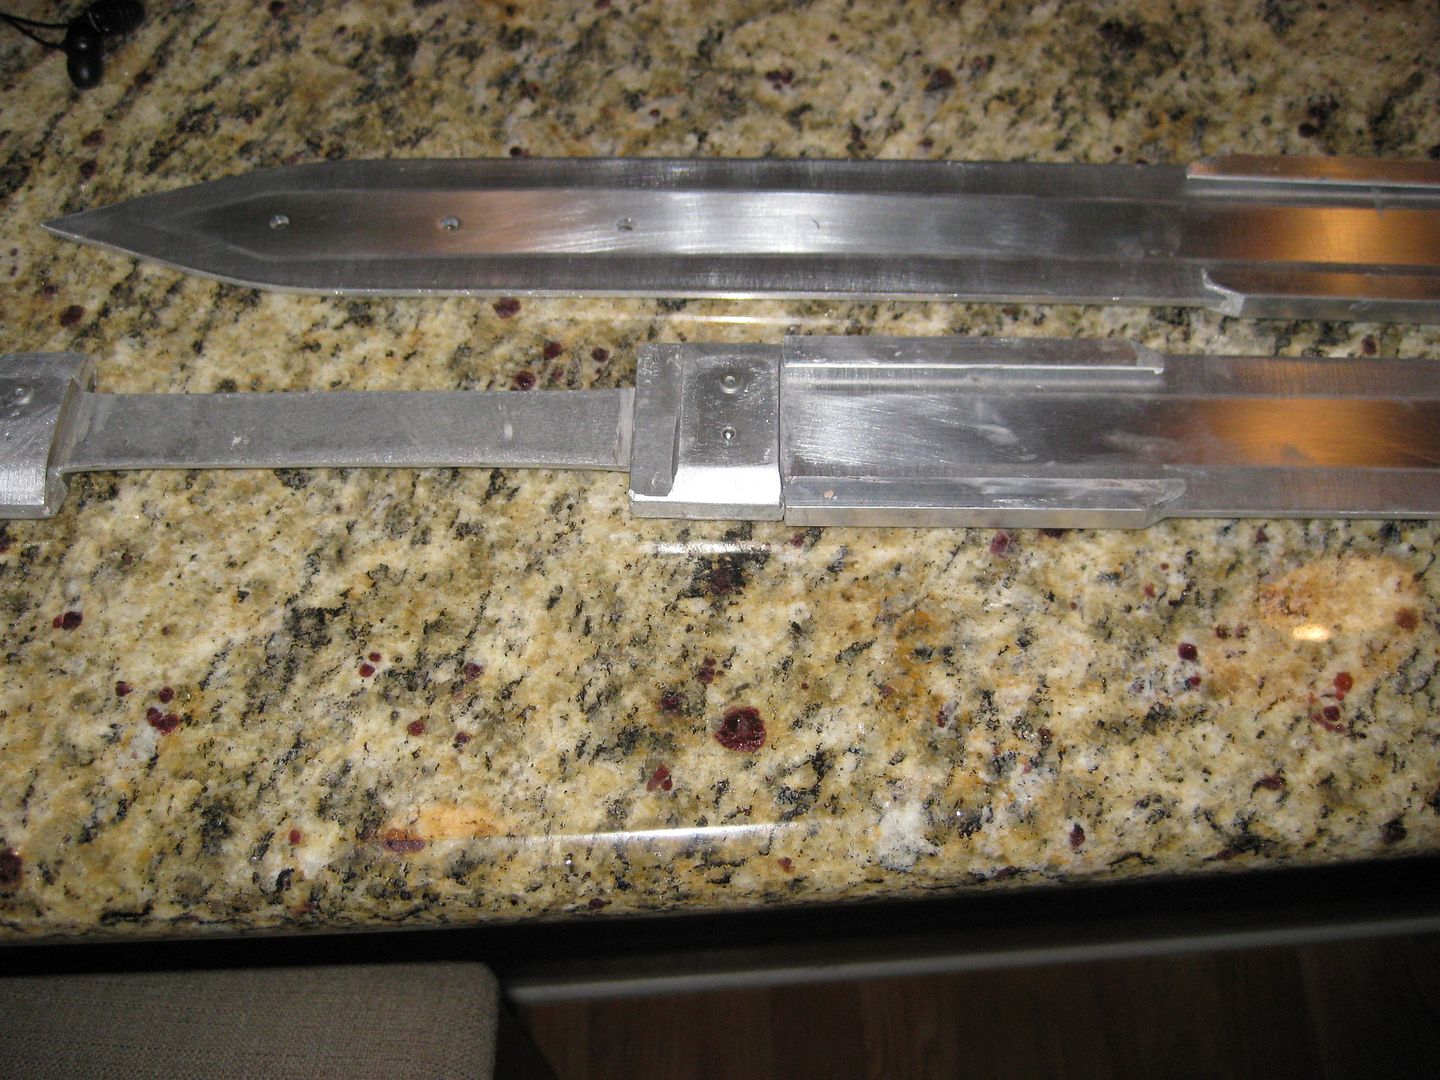
3) Add more layers to your blade, try to thicken up the crossbar and the pommel (the counterweight/thing that makes your hand not slide off the bottom.) Do this by cutting the piece you wish to add to size, and then JB weld it to the main tang.
It might look like this:
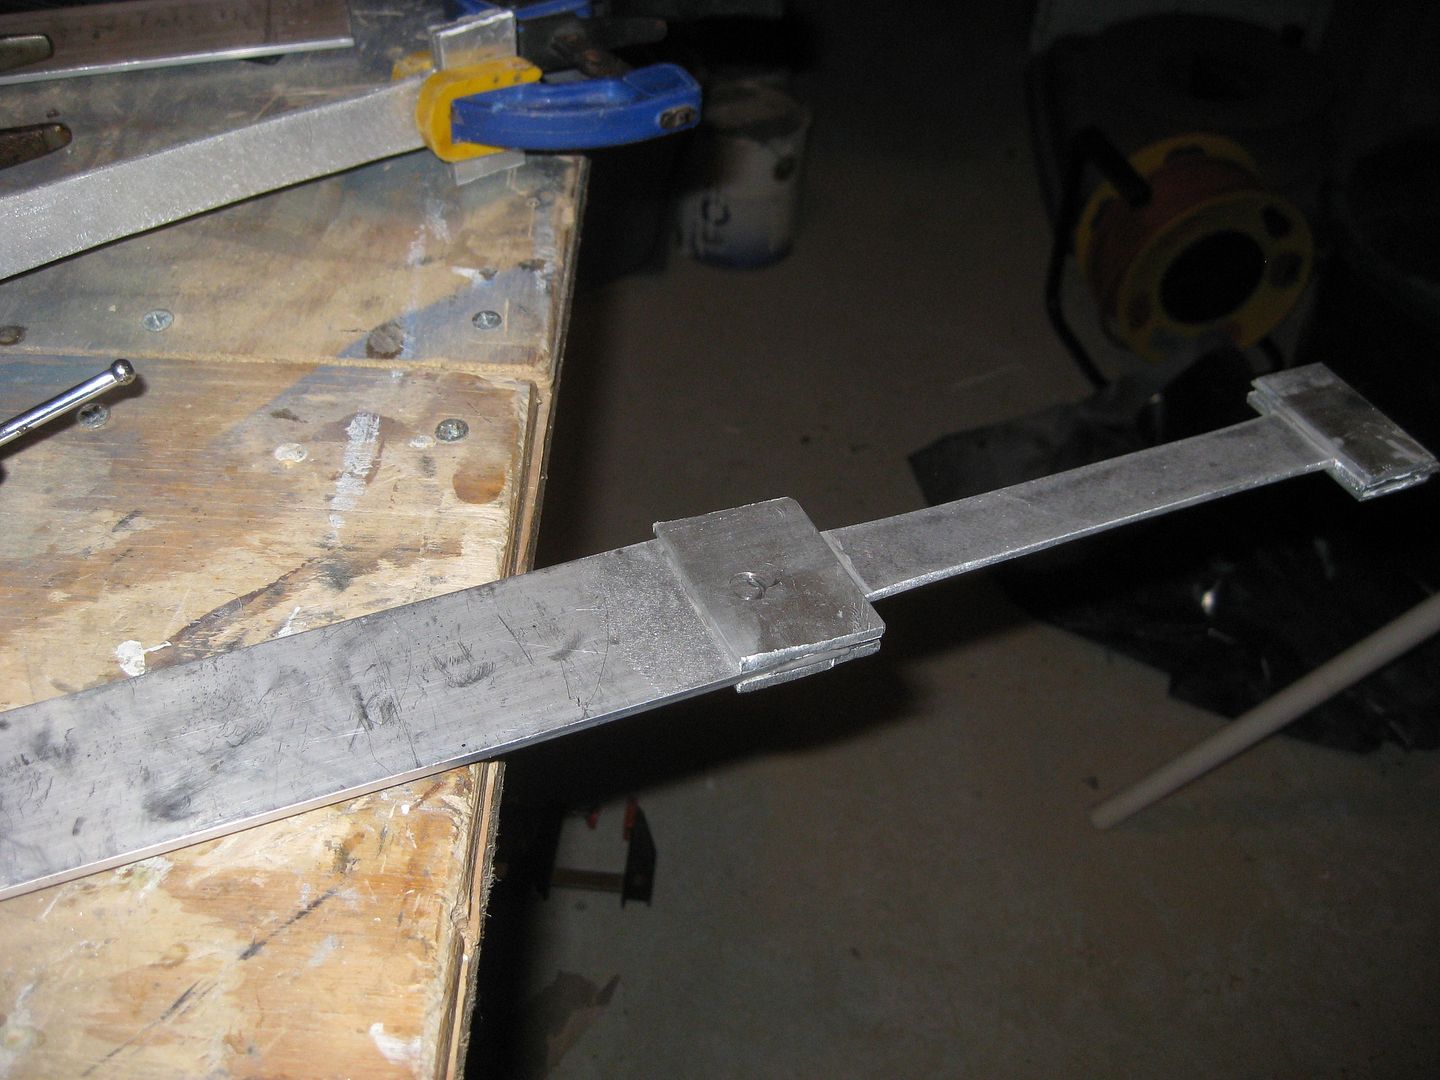
Make sure to clamp the JB Weld while it dries. I suggest waiting a full day (24 hours) before trying to do much else too it. make sure you get your parts glued down evenly, you don't get second chances with JB-Weld. After it's clamped, make sure to use a shop rag, paper towel, or anything disposable to wipe the extra JB weld off so it doesn't make your sword look crappy. Pay extra attention to the seams.
Repeat this until you have the thickness you like. Sometimes it's a good idea to thicken the grip portion as you did this. My design called for a wrapped handle, so I left it thin. This will take a couple of days of real time, but only like 15 minutes of actual labor.
 4)
4) Do whatever detailing you want to on the sides of your weapon. Also make sure you've sanded down the edges so there aren't any barbs or anything. Make sure you round off the edges of the weapon so it doesn't accidentally cut anyone. Round off the points of blades as well.
In my swords, I angle-ground the edges of the grips, and would later go back to sand them smooth.
 5)
5) Sand the entire weapon so that it matches the metal grain. Metal, by it's nature, has a "grain" to it, which is the direction that the metal molecules aligned in when it was extruded. usually on stock, it's length-wise. Sand that first with a low grain, and increase in grain several times until the blade is good and shiny. This is your opportunity to make the blade look really nice. Do this by hand, most power sanders work by oscillating, and will just make weird circular patterns on your blade.
Sadly, the blade gets really reflective at this point, so I had to turn the flash off, making it difficult to see the "grain" as it were. You can see towards the tip how it's all sanded "forward" along the length of the blade. This was after some 80 grit sandpaper, which was the first paper I used. eventually I went up to about 500 grit.
 6)
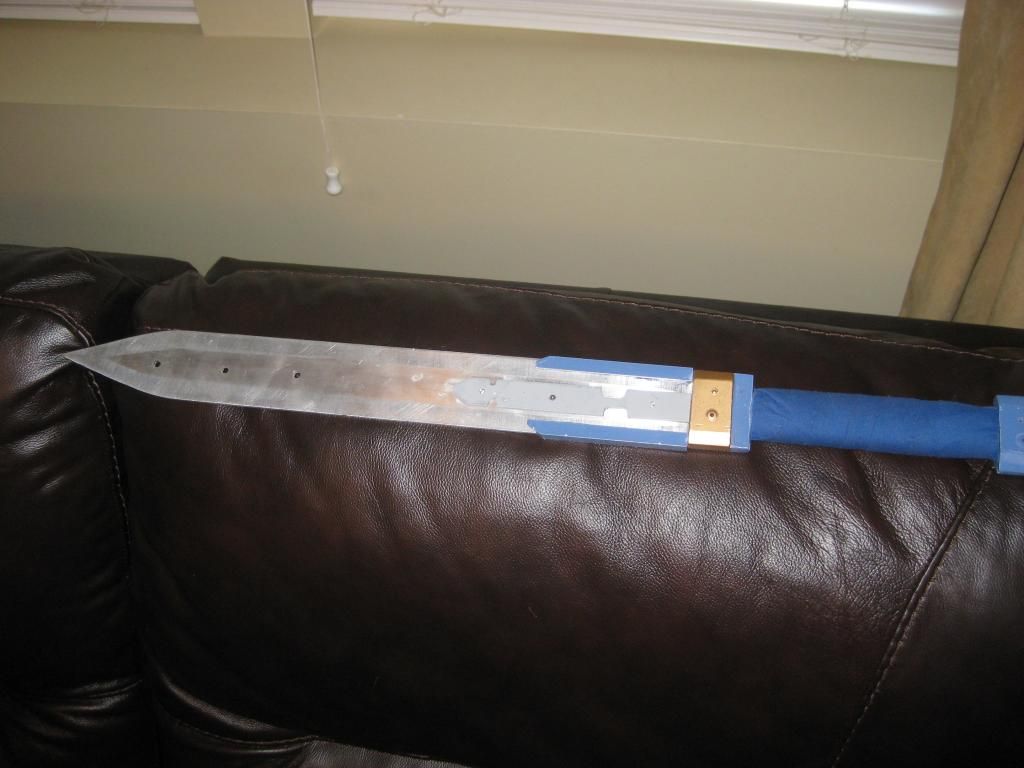
6) Mask off the area on the sword that you want to not look like the "edge" in photos with blue painter's tape. This means that you need to mask the portion in the middle of the blade. Alternatively, you can sand in step 5) against the grain, and just mask the area you want to look like blade. Fortunately, you can screw up as much as you want in this stage. Keep messing with it until you find something you like, just repeat 5) and 6) as necessary.
Sand the blade-edge against the grain of the weapon (typically along the width.) Because you are creating a bunch of tiny little trenches in the metal, it will reflect light differently on this part of the weapon than it will elsewhere. I usually sand this edge slightly less than the center of the blade, as it makes it appear "lighter" to the eye.
Peel the mask off, and it will probably look like this:
Here's a closer-in picture:
Here's what the false edge does when it's got flash, bright, or day-lighting on it:
 7)
7) Add any other details you need to. Paint is good. Always stain wood bits if there are wood-bits on your weapon.
For this weapon, this is when I bolted on the wooden handle-parts, and then riveted on the Tsuba (Japanese style crossbar.) I priced this weapon as a "made to finish" model, which is why it's not stained. You also make weapon accessories (like the scabbard) at this point.

Here's the final version of one of the swords:
You will periodically need to re-sand parts of the blade if you spend a lot of time smacking the blades against things (including your other weapons), but this isn't very difficult and can take as little as 30 minutes every few years.
Anyways, good luck, and happy sword-making!