*Updated with pictures!*
First I would like to thank
Zedrin Ho'dag for the assistance in getting my Boba templates to print accurately. I can now move forward on cutting and taping to see how everything looks, and of course getting everyone's opinions before I cut them out of plastic. I apologize now for everyone that is forced to see me out of kit. haha
While I was having issues with my templates I moved forward with some other areas of my kit. I have drawn and cut out of paper the basic shape of my vibroknife, now to finalize the materials that I want to use for it. I have all the 5 gallon buckets I need to build my helmet, but I am still searching for a used bike/skate helmet to use for the dome. If I do not find one soon I will just break down and buy new. I am in the process of re-working my templates that I made for a rifle as it wasn't fitting my vision of how it should be.
The biggest forward progress I have made is in my paint tests done on spare/scrap 5 gallon buckets. For those that are unaware the majority of 5 gallon buckets sold in the US are made from polyethylene (aka #2 plastic, aka HDPE, aka PE). This stuff is solvent resistant and extremely difficult to get paint or adhesives to stick to. After a ton of research and enough reading of industry manuals and memos to make me cross-eyed... I have found a method that works good enough for a kit.
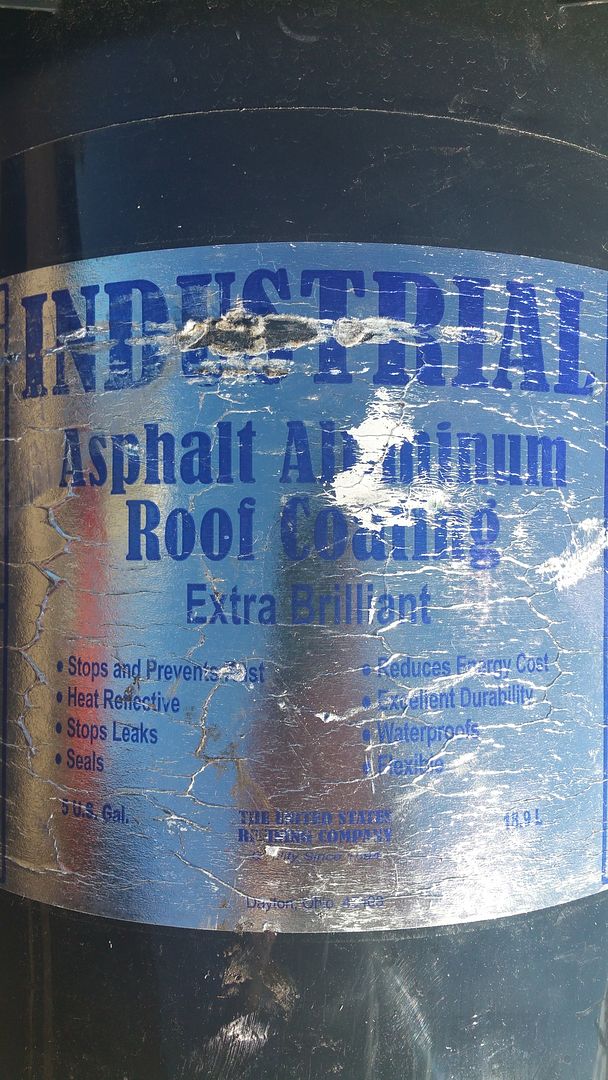
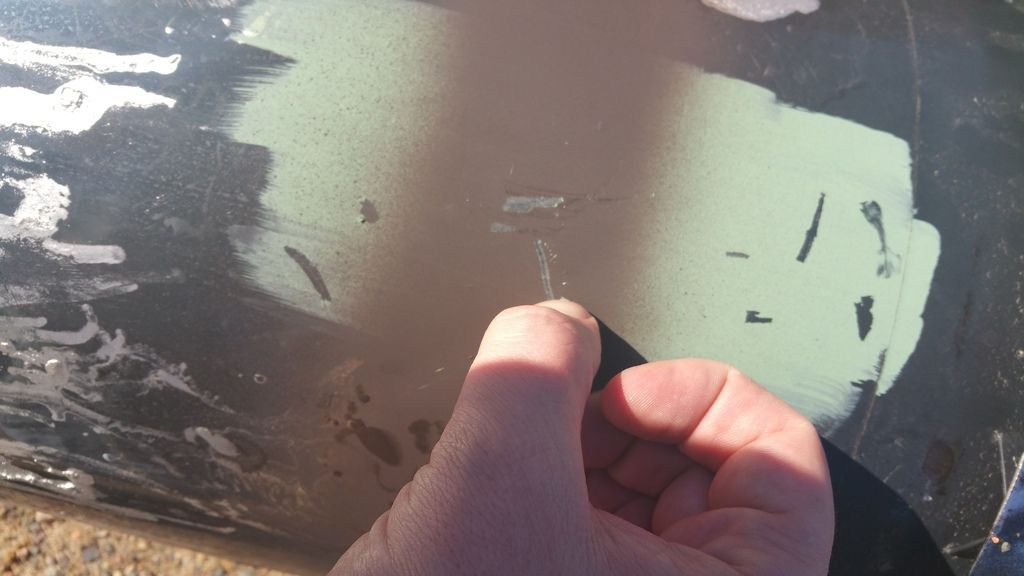
This first image is one of the buckets I used. What it originally contained can be seen in this image and the next. It is a coating used on most agricultural and commercial/industrial roofs in my area. It dries like a normal paint, but if left in large blobs it will take forever to dry. Much like an acrylic paint, it stays flexible when dry.
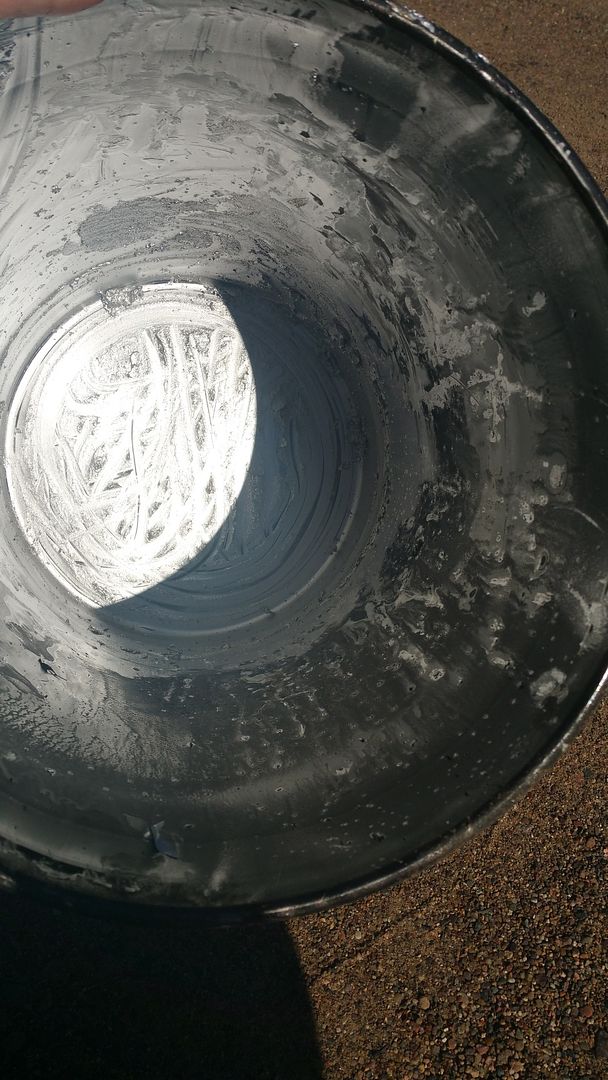
Here is a image of the residue after these buckets are emptied. You can see the blobs I mentioned in the bottom of the bucket. They have been drying for over two (2) weeks, but the thicker sections are still soft. The thin coating on the sides if fully dried.
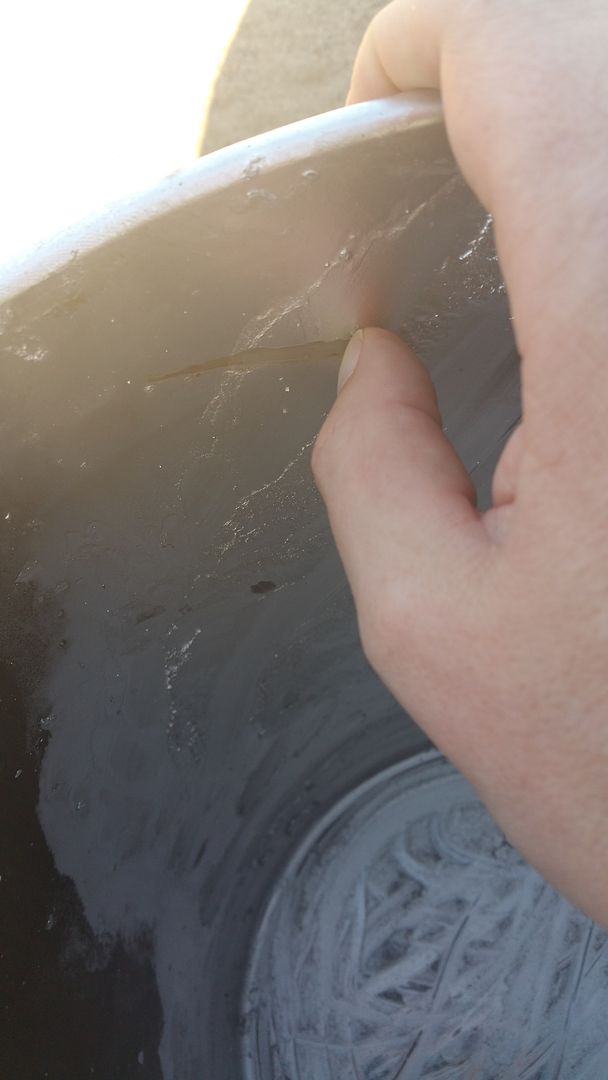
Being made of HDPE, like most 5 gallon buckets in the US, the residual paint is easily removed by scraping. Here I used my thumbnail and moderate pressure.
The following images are of some of my paint tests done on HDPE. I was in a rush and did not properly clean and de-grease the buckets so the paint is not sticking as well as it could. Although with it being HDPE it wouldn't improve much even properly cleaned.
Test bucket #1:
Brushed on craft acrylic, no sanding of surface.
You can see with moderate pressure that I was able to easily scrape the paint off with my thumbnail. Acrylic was used as it has more flex than most other paint types. This pairs well with the expansion qualities of HDPE and similar plastics.
Rustoleum flat (camouflage line) spray paint over brushed on craft acrylic, no sanding.
Again easily scraped off using my thumbnail and moderate pressure. The hope was that the spraypaint would adhere to the acrylic forming a more solid surface that would aid in the resistance to scraping.
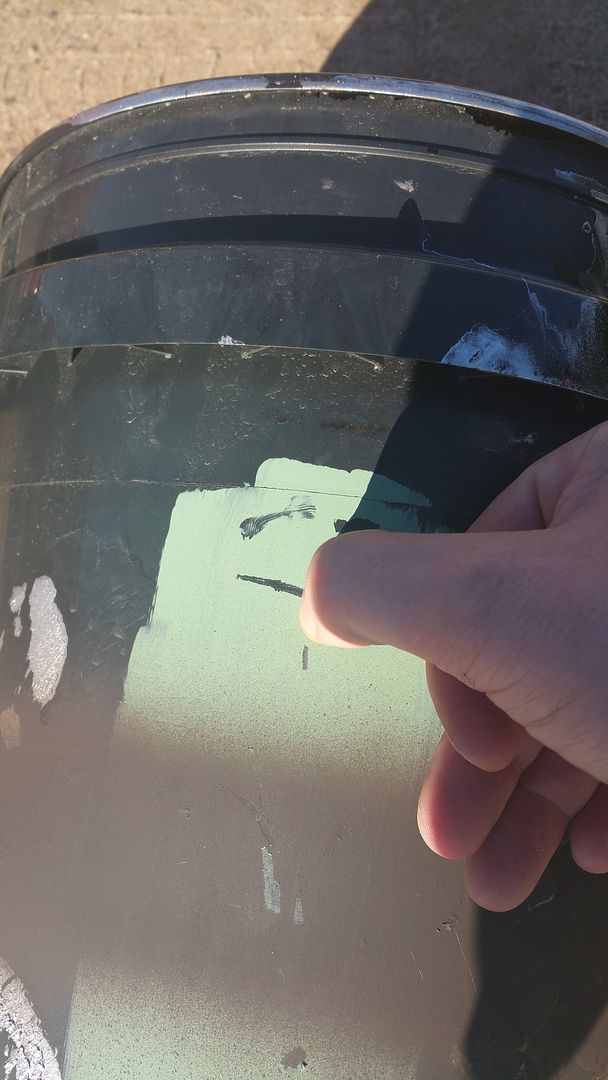
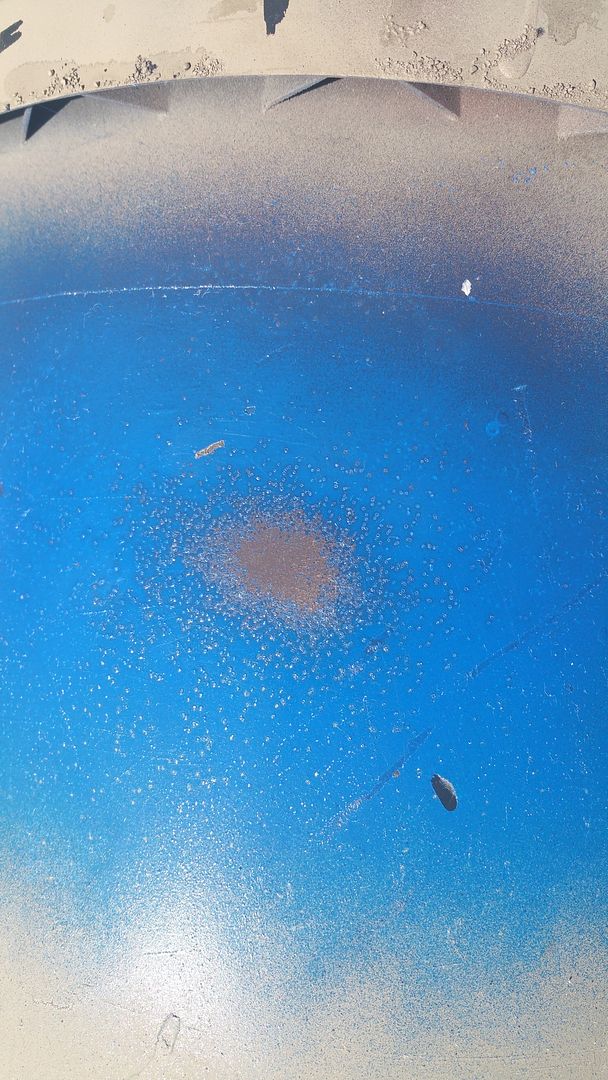
This image is actually part of the best results I have had so far. The HDPE was sanded with 120 grit sandpaper, craft acrylic was brushed over that after being rinsed off and dried, then a layer of Rustoleum flat spray paint was applied. If you look carefully you can see areas that I tested the paint with my nail before the final blue paint. Even with sanding it scraped, but honestly it wasn't as bad as without sanding. I wet the surface and applied table salt because I wanted to practice salt weathering. Once dry a gloss coat of Krylon was sprayed onto the surface. Why gloss? Gloss paint has a harder surface than flat paint.
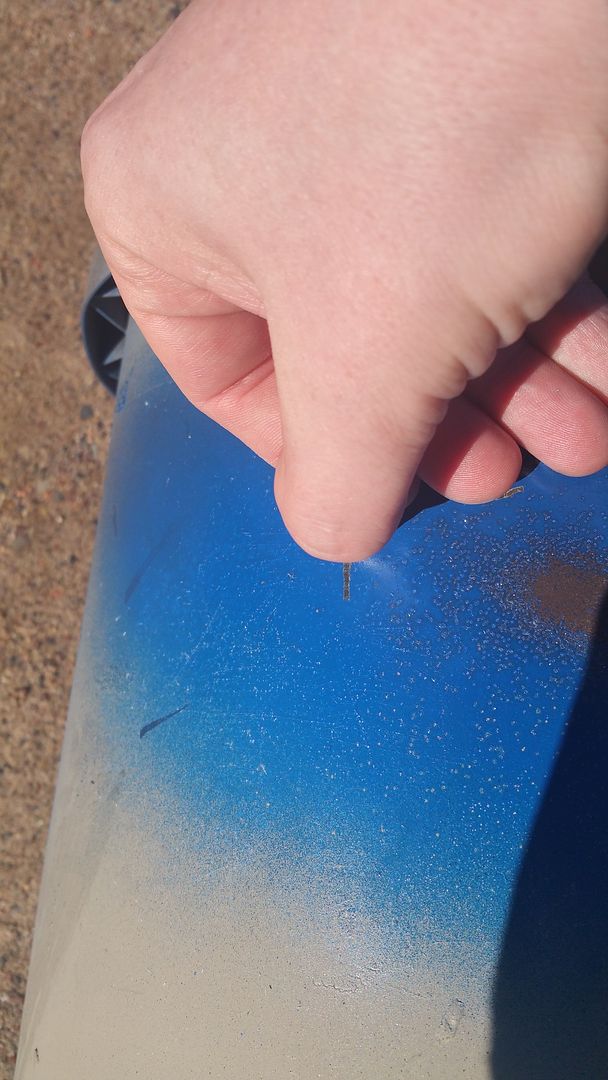
This was a scrape test done in an area that was not sanded. It took more than moderate pressure to scrape the paint, but not heavy pressure either.
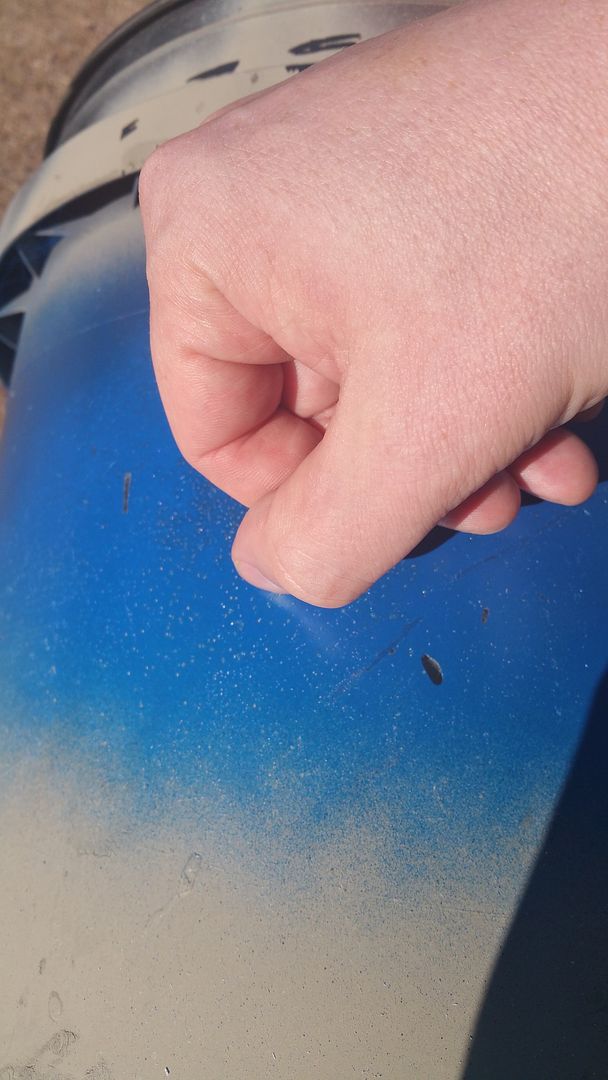
Here I am using the same more than moderate, less than heavy pressure on an area that was sanded. I would call this a success for now!
I wanted to flame treat the surface (as 3M describes in several industry manuals), but could not find my flame spreader tip and my propane is all used up. Next payday I will pick up more gas and a spreader so I can cross-link the surface polymers of the HDPE for better adhesion. I will also use the proper alcohol cleaning that 3M recommends, and artist acrylic or exterior grade acrylic paint (higher quality than craft grade). I feel with those additions to my already semi-successful tests my paint will be trooping ready. If not, I can always find other sources of material to use. It will just take me longer to build my kit since I will need more time to acquire the funds to buy more materials.
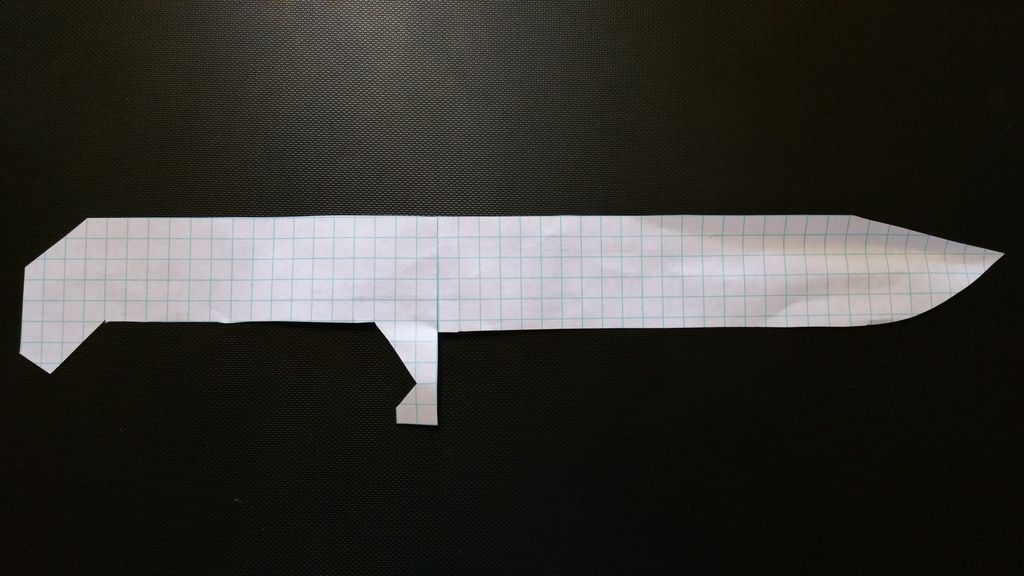
Finally this is the basic outline of my vibroknife. The overall length of the knife is 12 and it will have a 7 blade. There are no details shown as they will all be built off of, and fit within, this basic outline. Final contouring will not happen until I have the overall knife built. I am still weighing my options as to what materials I want to use. It is a balancing act of what I have on hand, what I can find for free, and what I can afford to buy.
Now for the bad news. Last week my wife and I were looking over my flightsuit. While marking out what to cut, what to add, and what to remove we noticed it was a lot more work than we first envisioned. We happened to be going to the craft store anyway, so we also went to the fabric store. Just for everything we need to modify the flightsuit to work (not counting time involved), it will be about 25% more than the cost of just buying and using scrubs. It looks like scrubs will be the direction I go now. My color choices may change, they may not. First will be finding some scrubs that are the right size and cut to use, colors can be picked after that. So while this is bad news, it is easily remedied. I still have plans for the flightsuit, but for now it looks like it won't be used with this kit. Oh well.
Everything looks great so far! I really like your color scheme! I can't wait to see how it all turns out! I also like the idea of the mesh pattern. I'm a fan of intricacies and details like that! 
Thank you! I like the idea of a mesh pattern too. I am attempting to find a mesh I like for this kits armor. I use mesh patterns a lot when painting rifles and accessories. I also don't want to over-do the mesh as I don't think this specific kit would look good totally covered in a mesh pattern. I too am a big fan of intricate details and things you don't always notice at first glance. Hopefully I can add enough to make my kit interesting without it being too much.
It is kind of funny that you commented on this thread as your kit is bookmarked to use as reference for my own kit. Specifically your leg wraps and ab plate design. Plus the small details like the canvas on the bottom of your water flask, or the use of an old drop cloth for some of your soft parts' fabric.