As you know, for those that were following this WIP, I was in the process of getting my OM status. I would like to say thank you to those that gave me the advice I needed. I did succeed in becoming an OM and felt I needed to share more. I am in the process of joining the brigades and thought I would share what I have done with my brigade WIP here.
After much thought and discussion, I have decided to go with the Communications Specialist/Mechanic for my "upgrade" as it were. I was originally wanting to go with a slicer, but after finding that it was kind of absorbed into a couple other brigades, I decided to expand my horizons and go with an all out Tech Specialist. Whether it be in the field or back at base, you need something fixed or broken, I am your person. Obviously, Mechanic would fit great within this field, but it just needed more to fit perfectly. Luckily the Communication Specialist comes in to fill in the gaps.
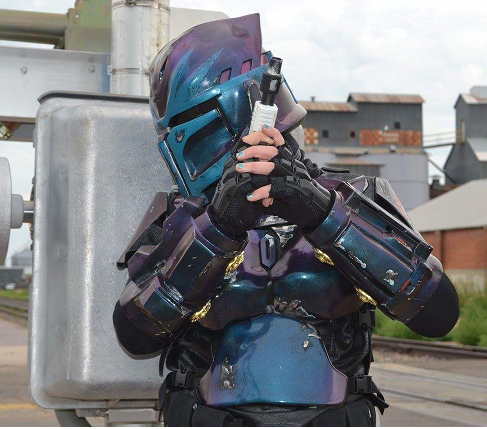
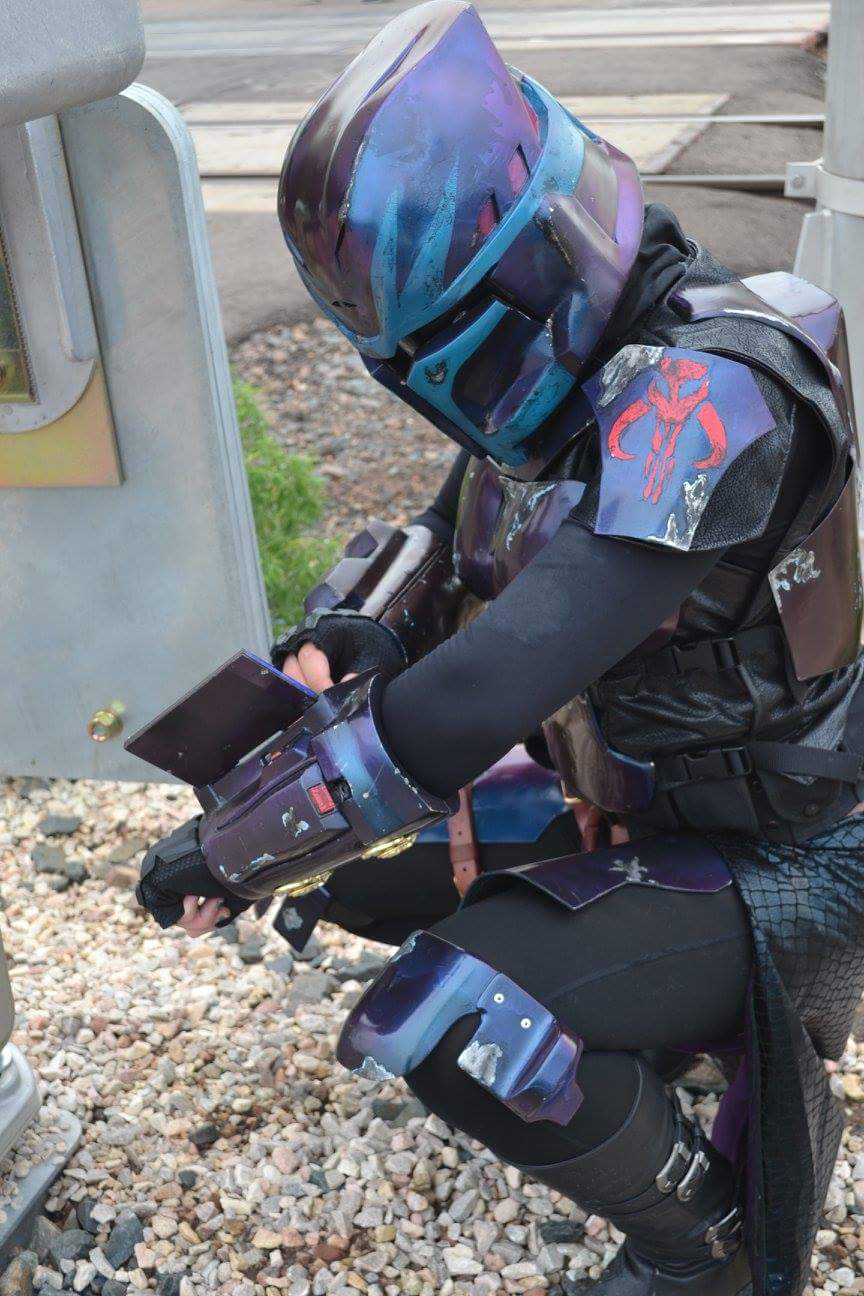
Here are a couple pics of what I have already, to set up a starting point. As you can tell, I have a gauntlet with a datapad and internal armor diagnostics. I need to make a cover for the phone and install an LED for the lid screen. Eventually, I will also install retractable cables to port into computers I am slicing.
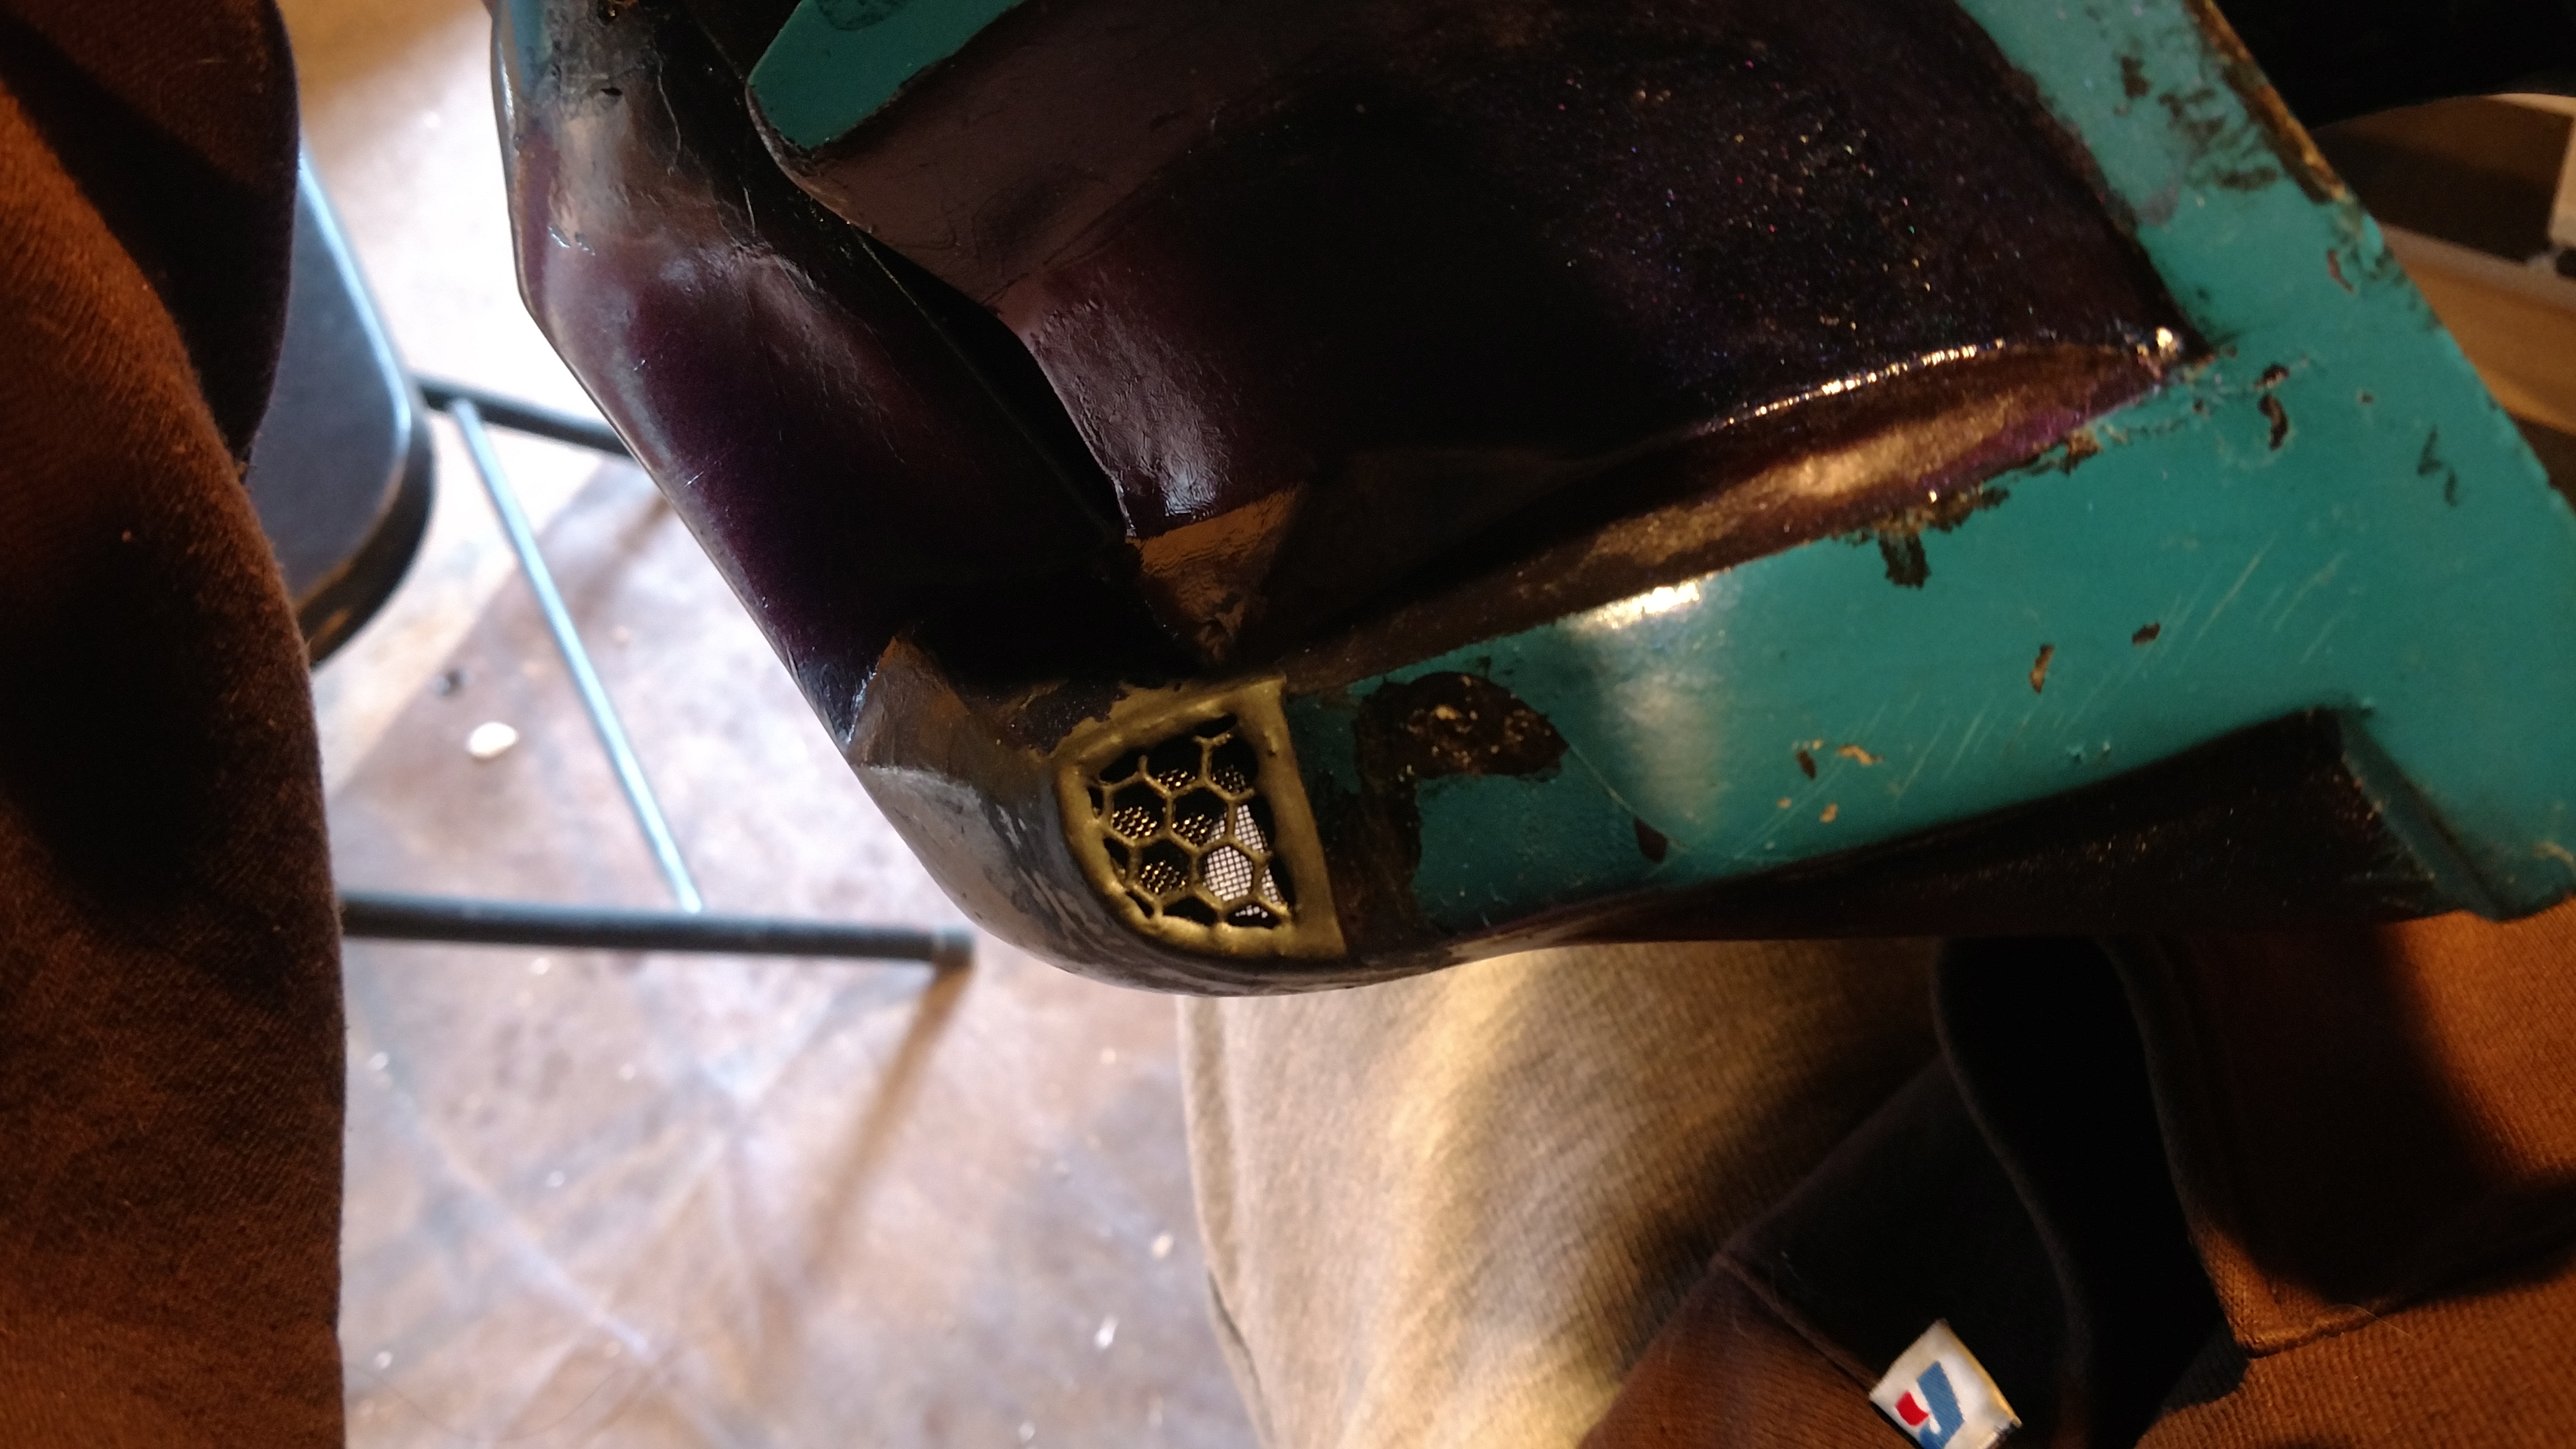
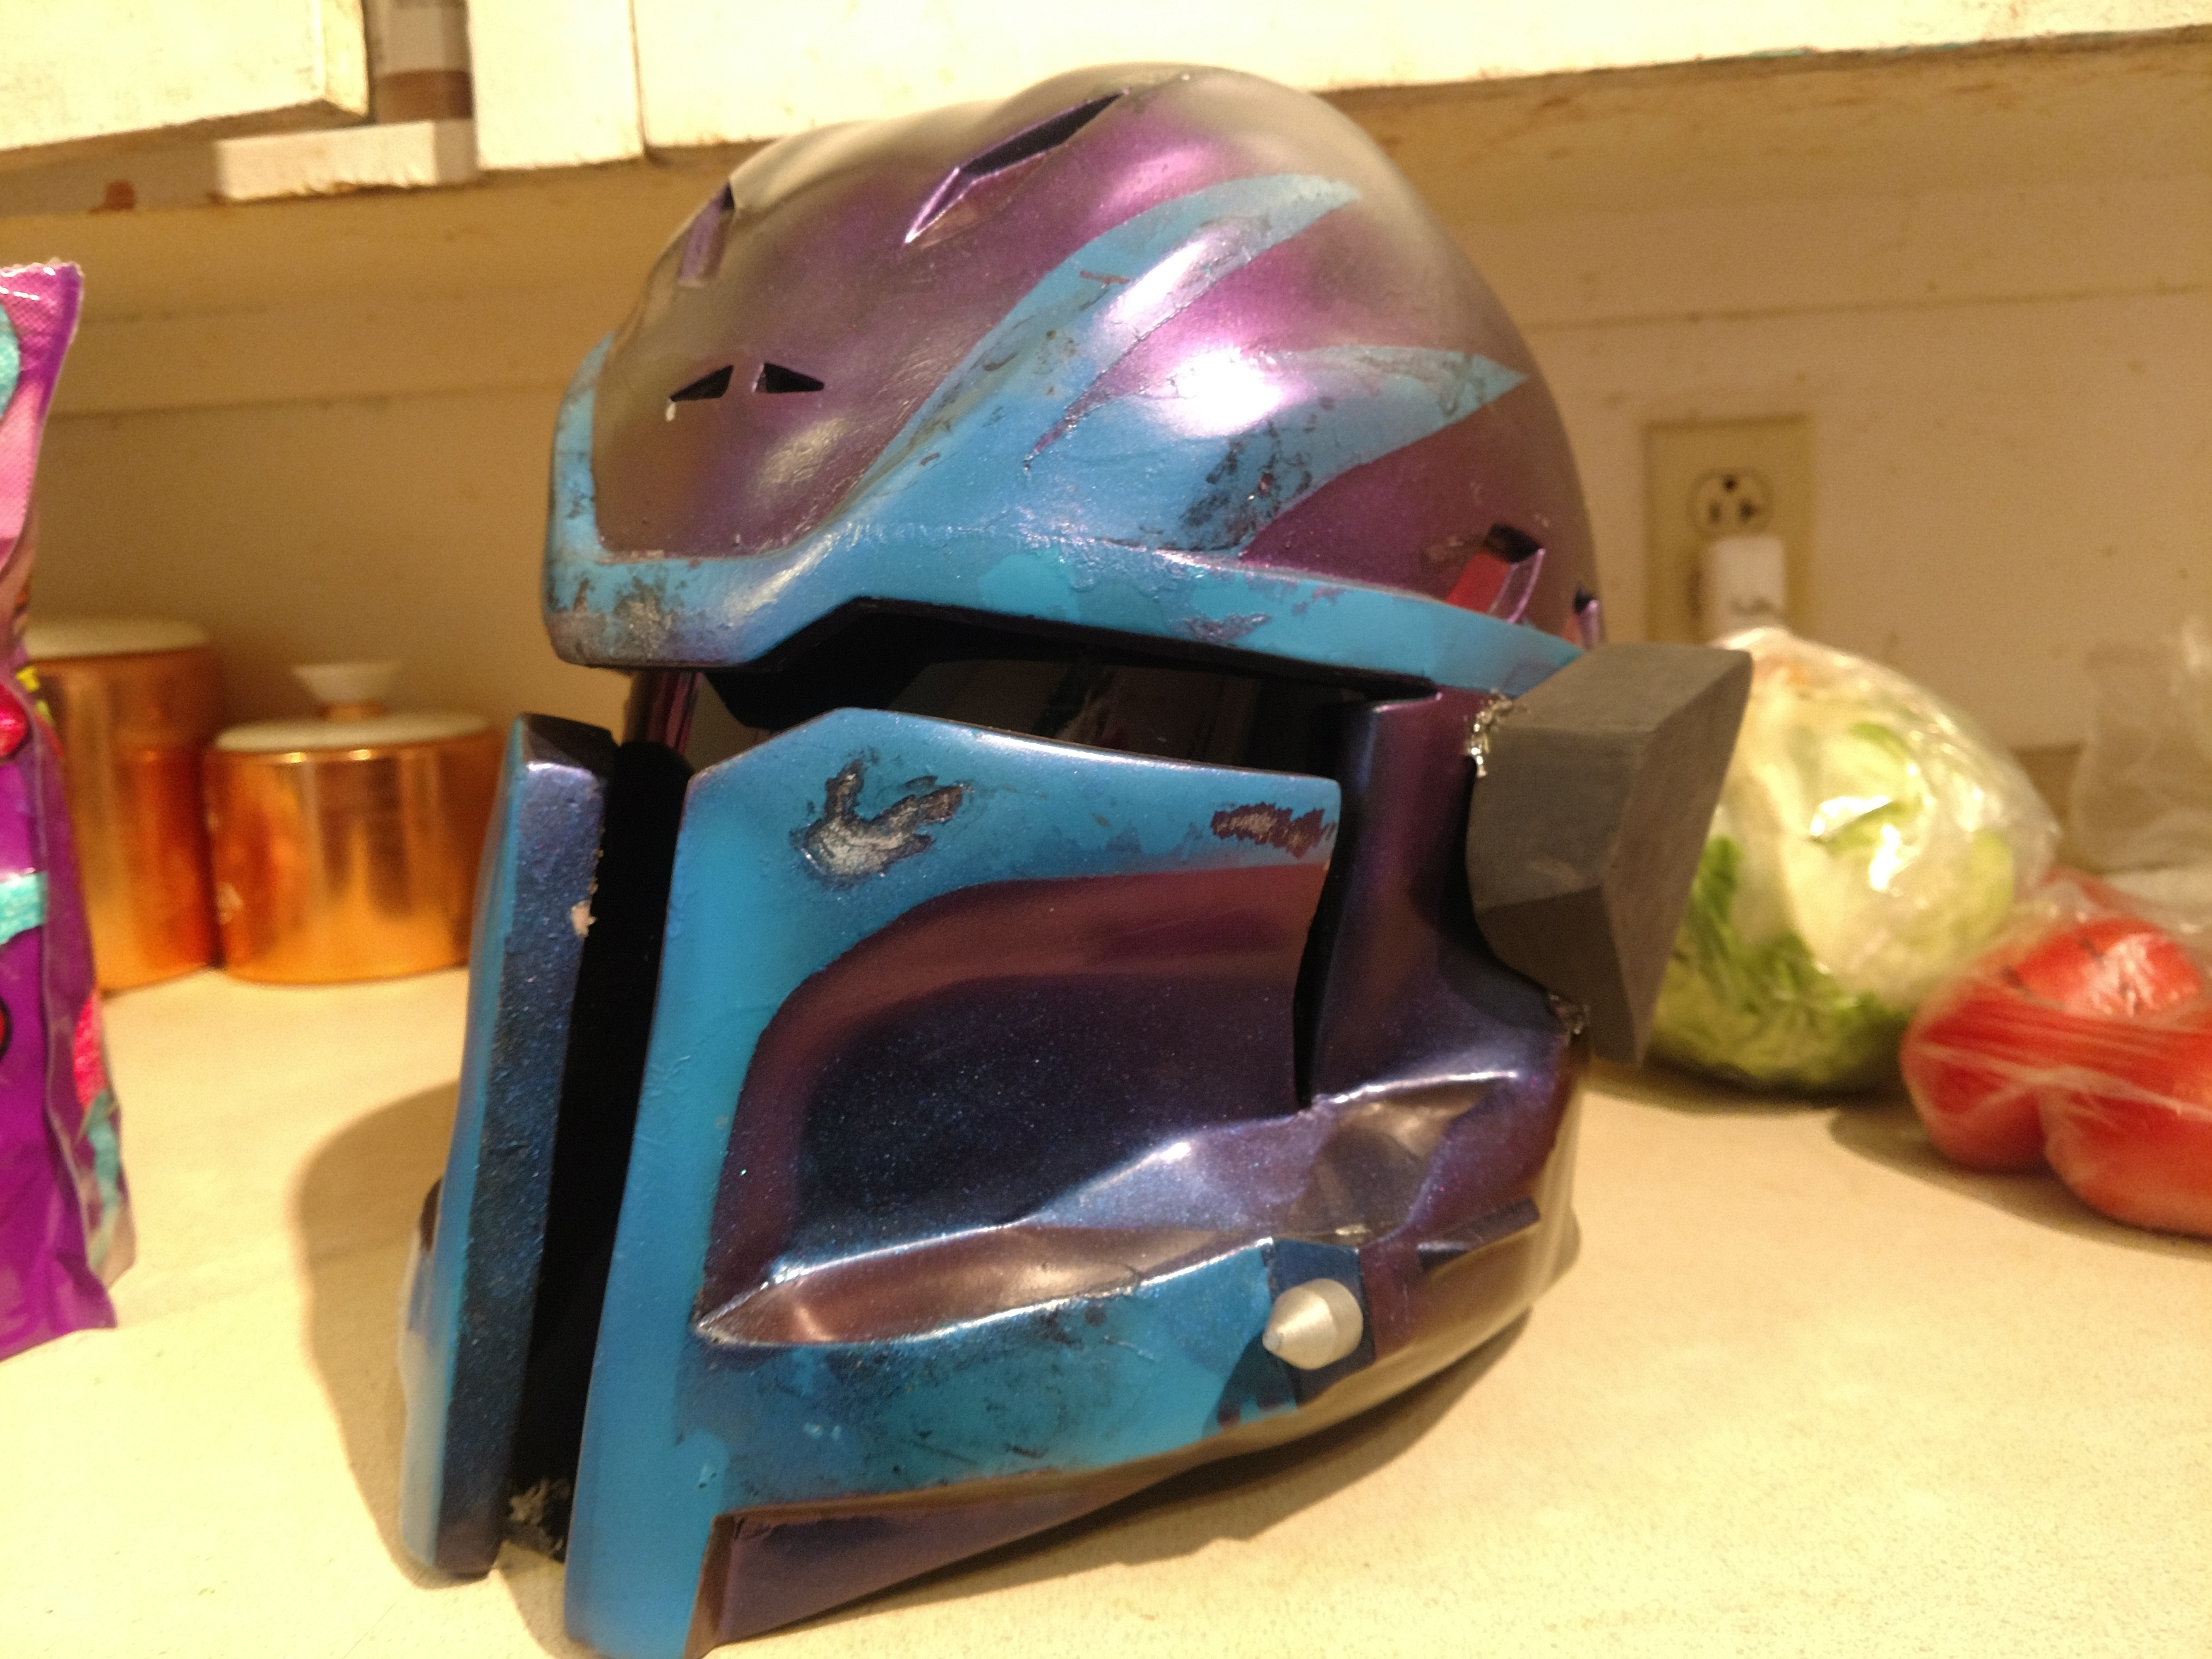
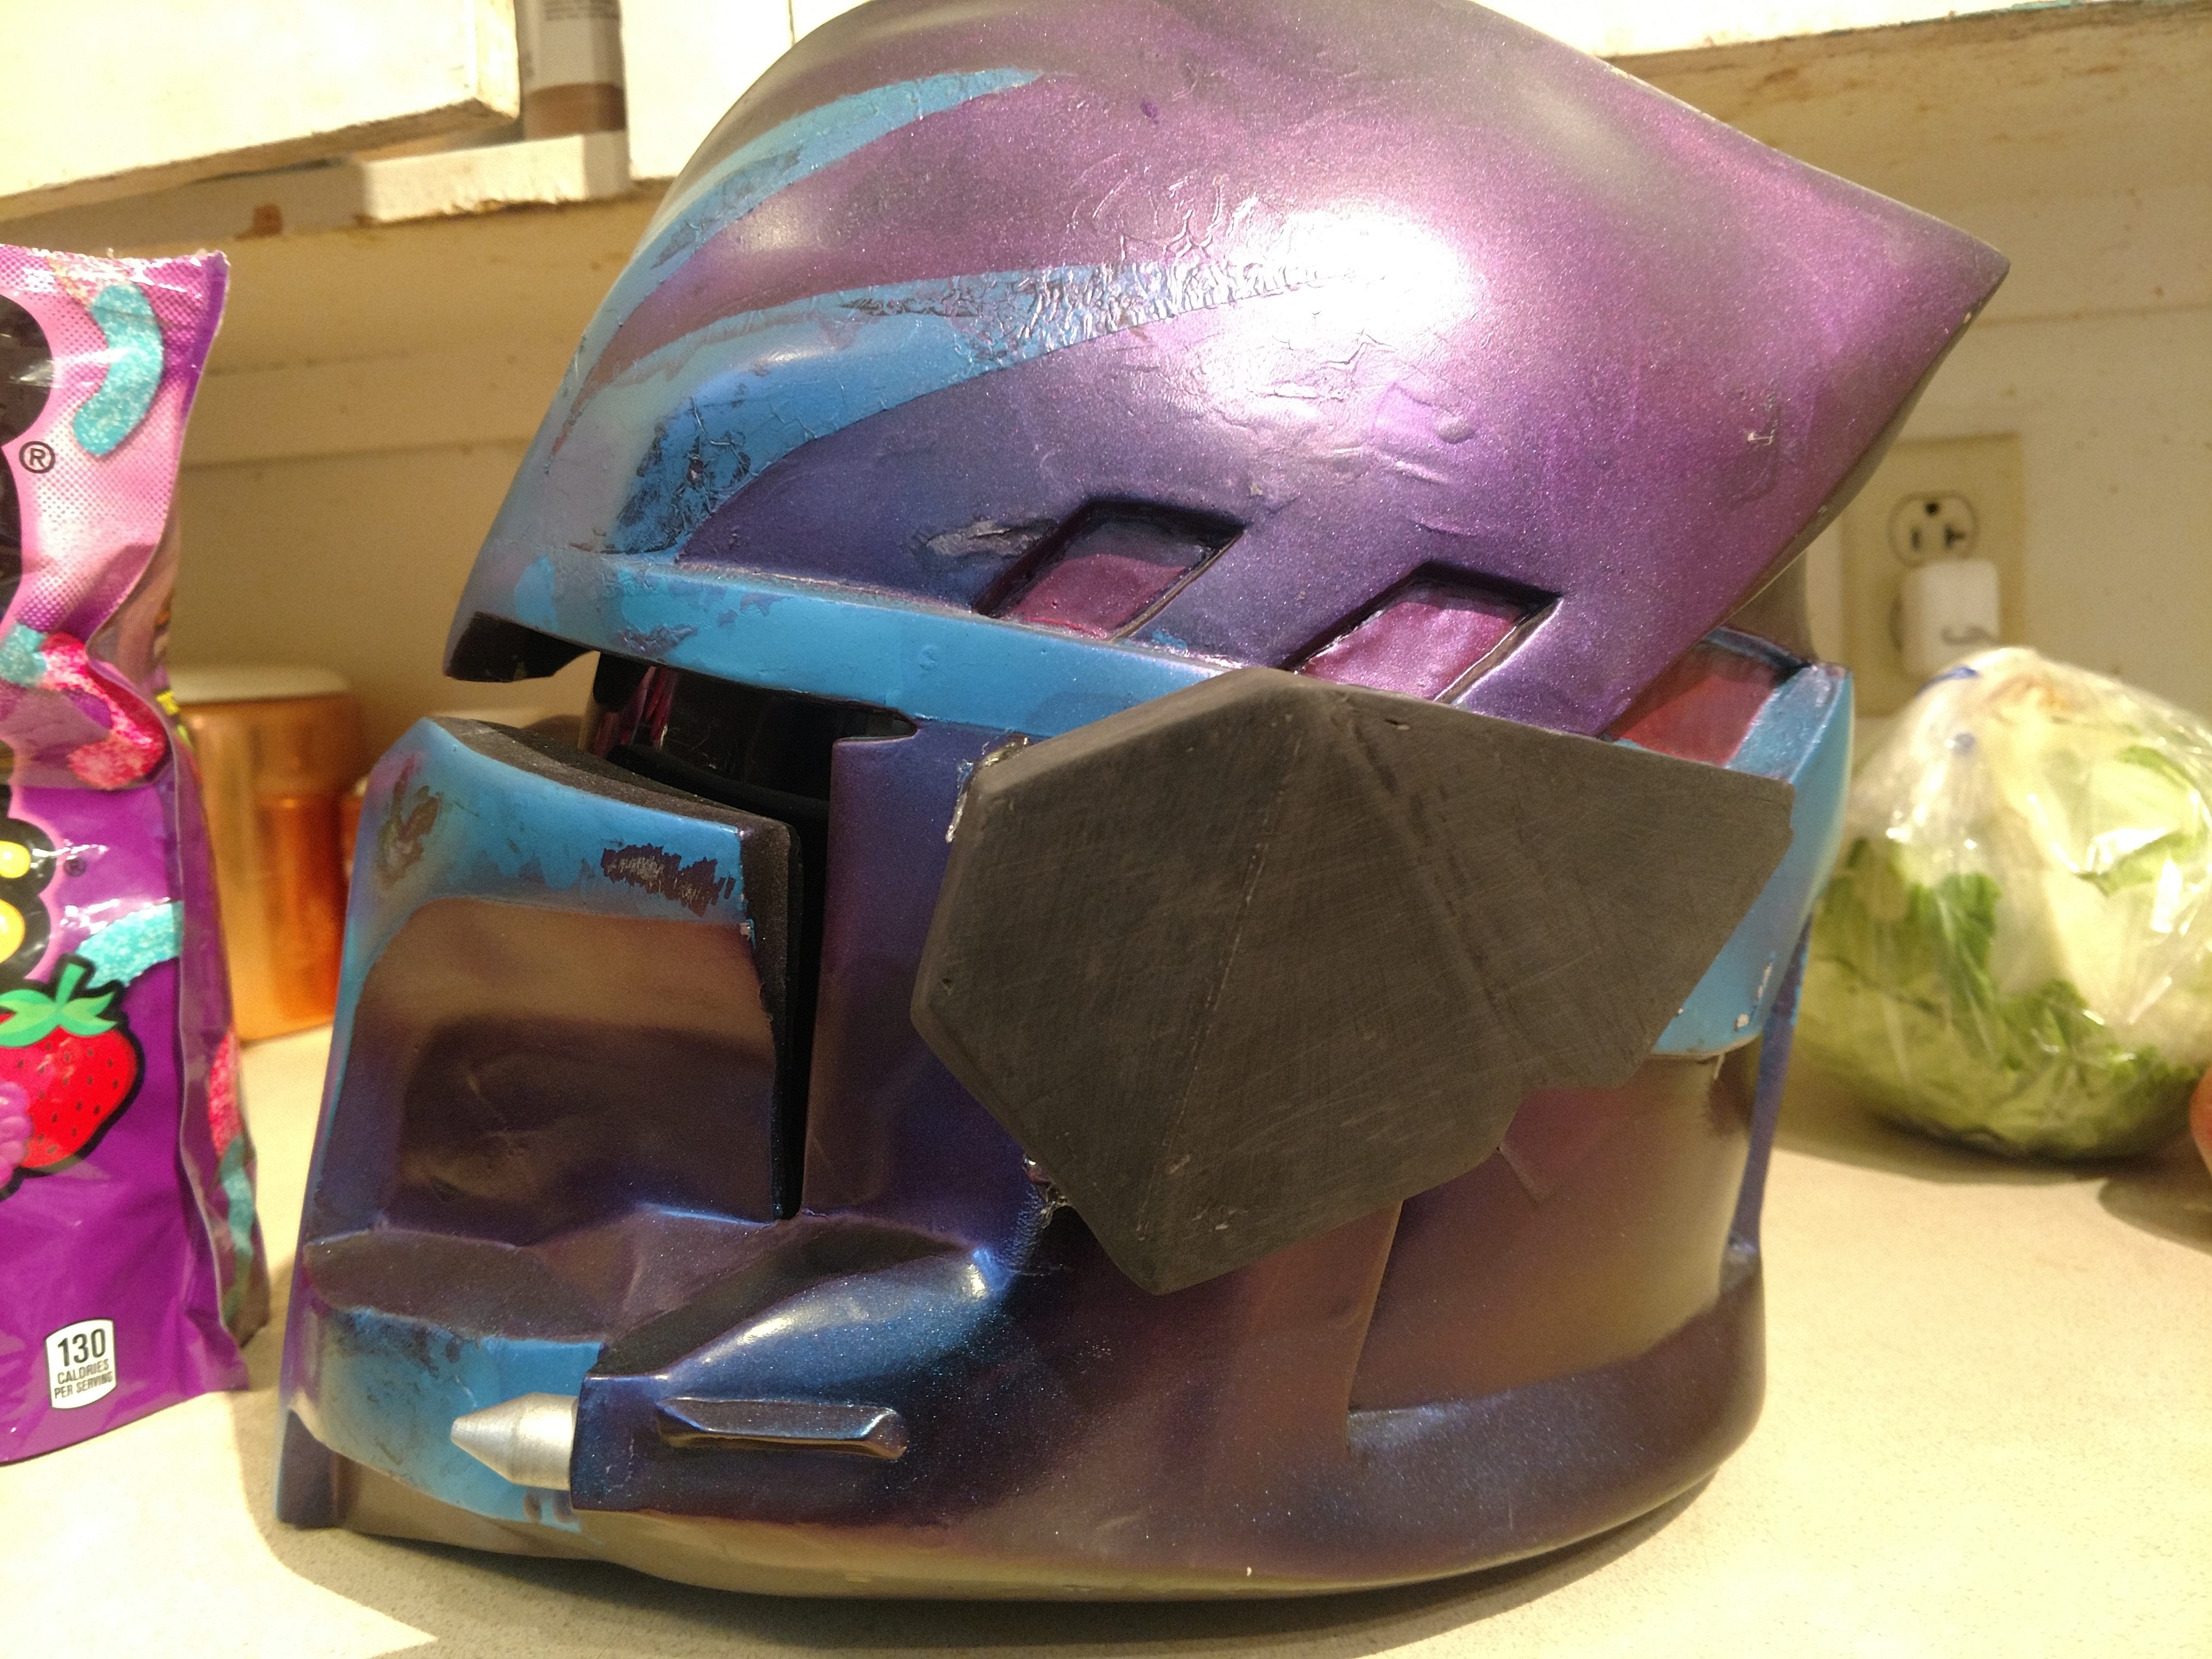
In these pics I have started to upgrade my helmet. I installed a speaker port for when I can afford some in the future to install inside. I also put a small helmet missile on the other side.
At the moment, I am attempting to create an antenna housing for the side. It will be made out of ABS plastic and probably some apoxie sculpt. I am hoping to have some servos on the inside controlling the antennas, to make them move and have it look like I am picking up radio signals.
I plan on sewing a new flight suit with different pouches and pockets. I am also finishing up a baldric with tool pouches and adding a CAB radio to one shoulder for listening in on nearby communications.
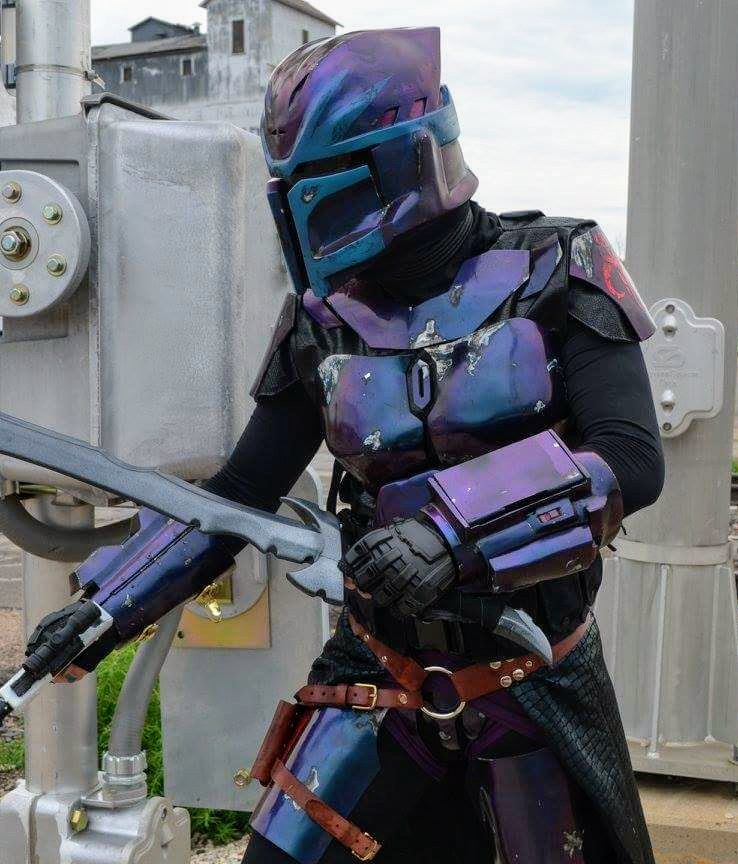
On top of all of that, I have also been working on individual tools for my mechanic part. I have been trying to be a little sneaky though. Nobody would think twice of someone just carrying mechanics tools on them, but what if those tools were also components for upgrading a pistol to a heavier weapon? Say, a sniper rifle for example. Below are some pictures of what I have already.
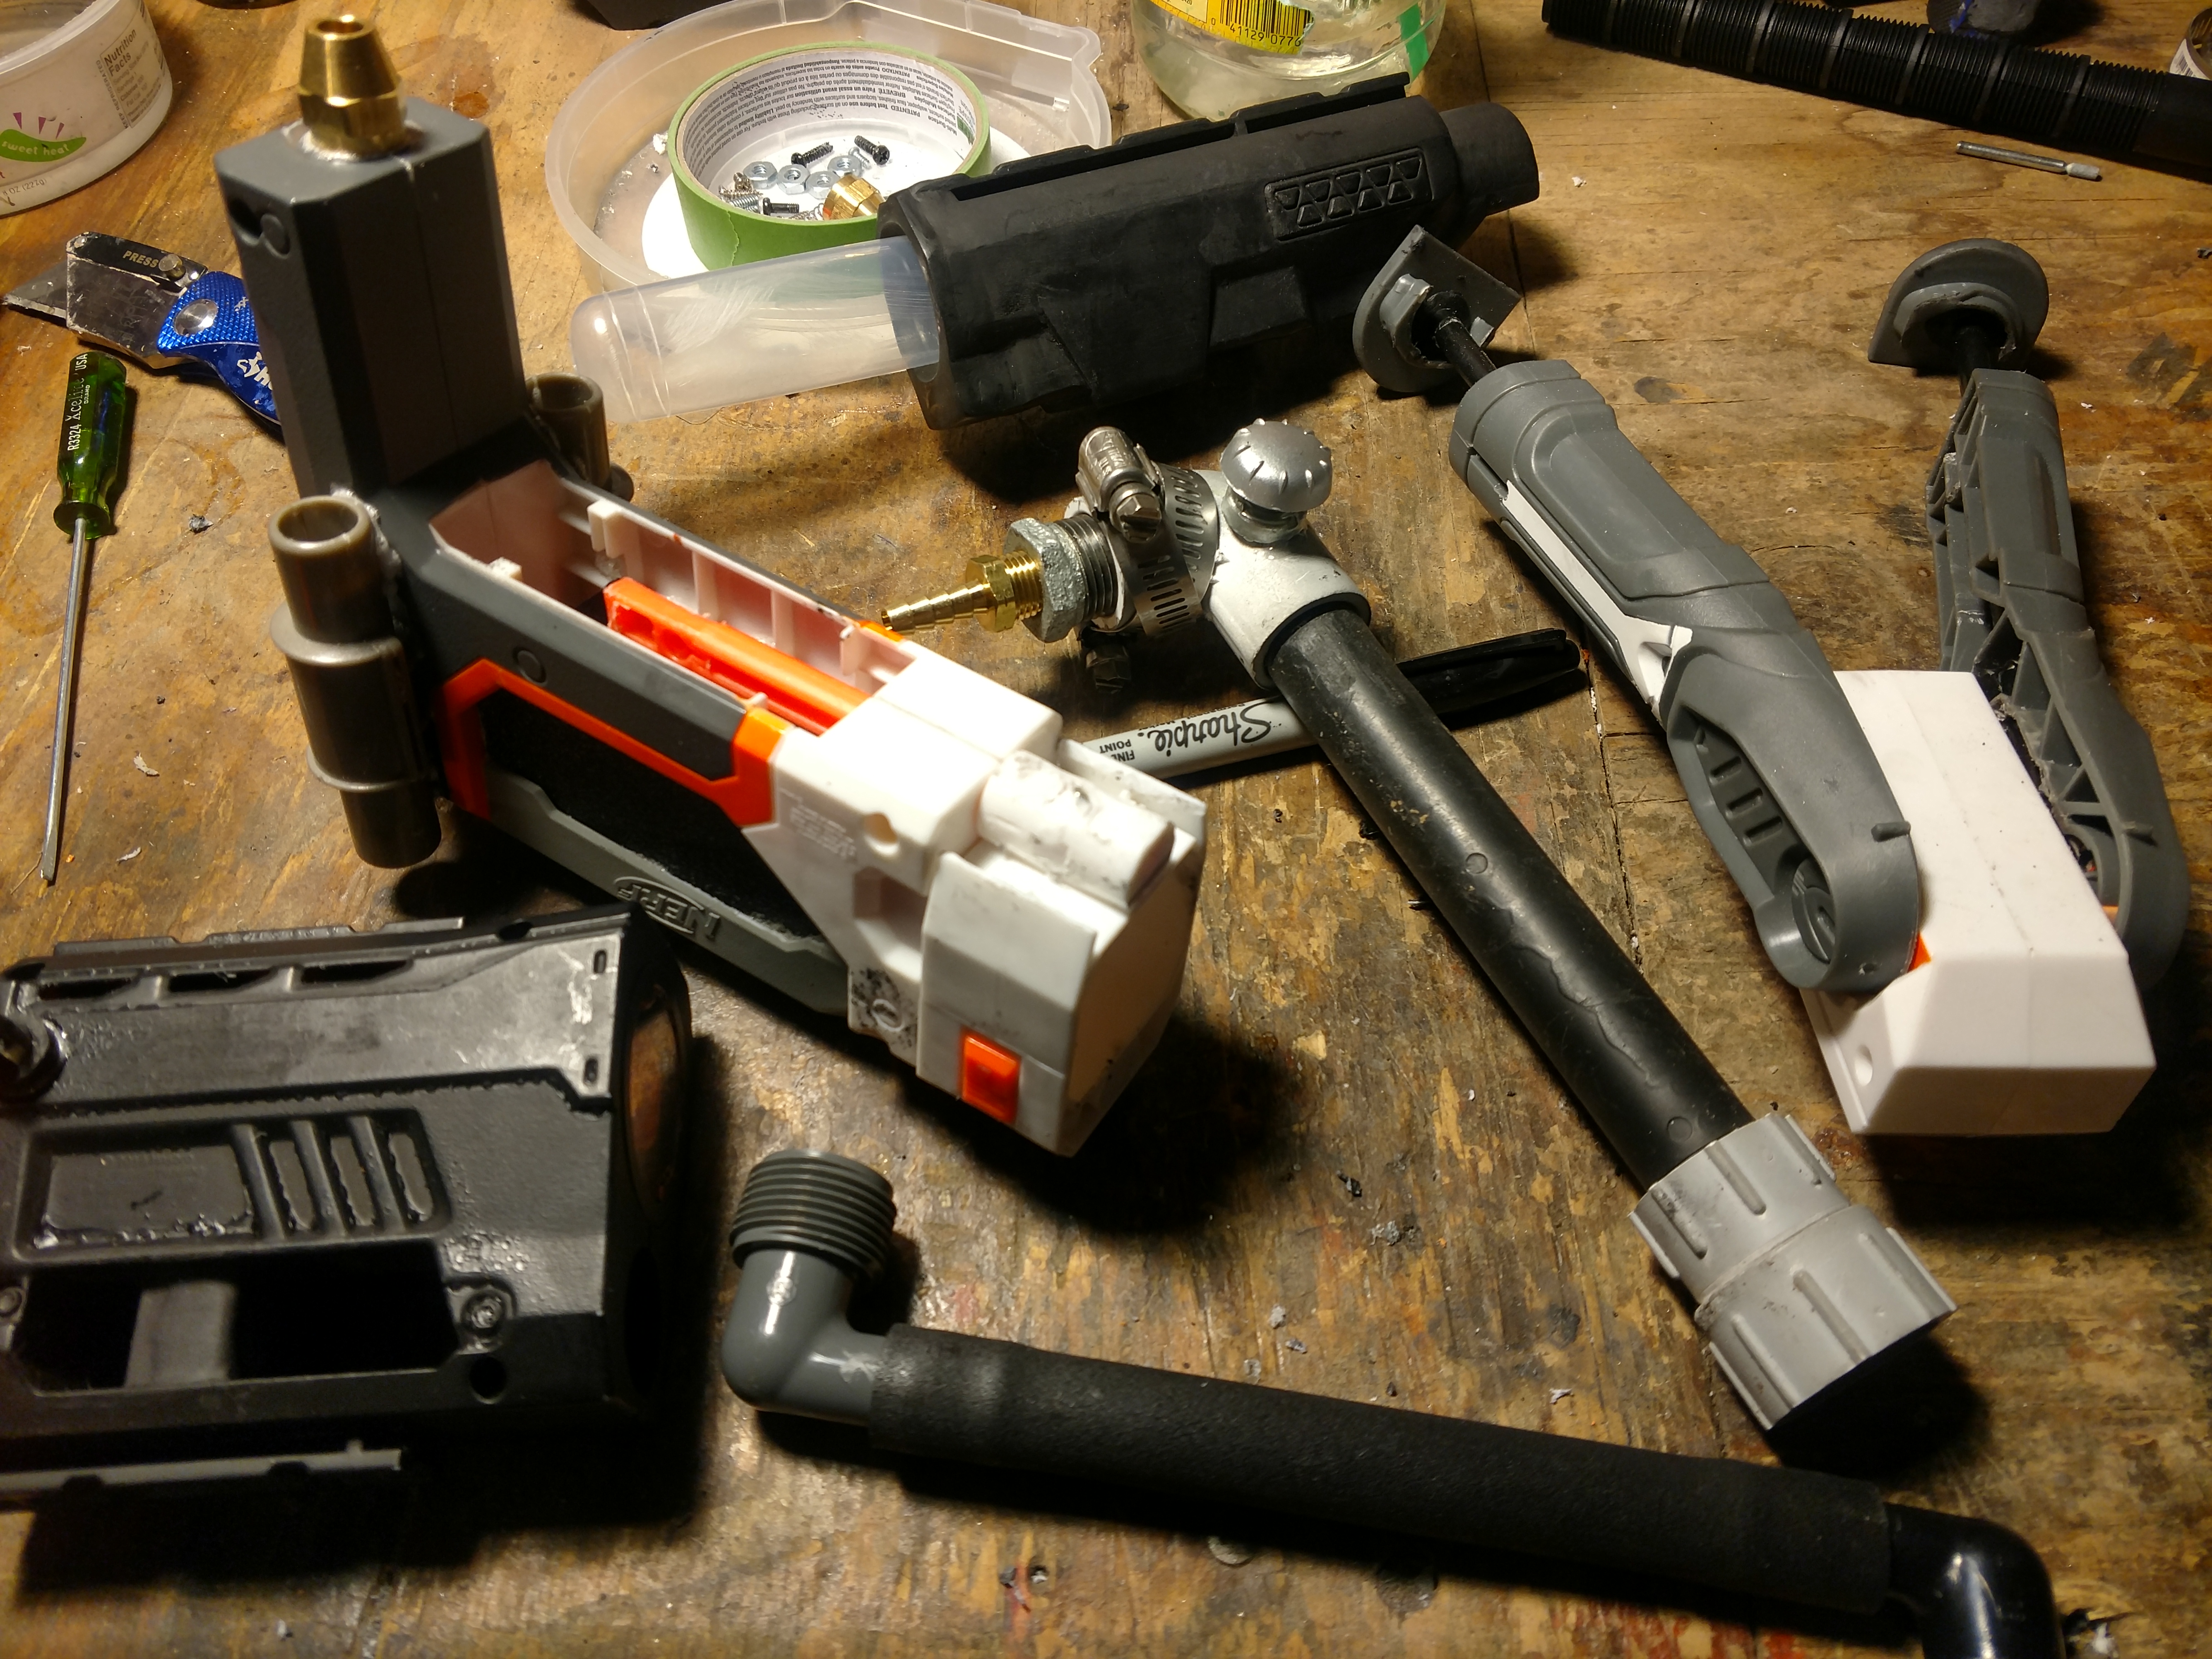
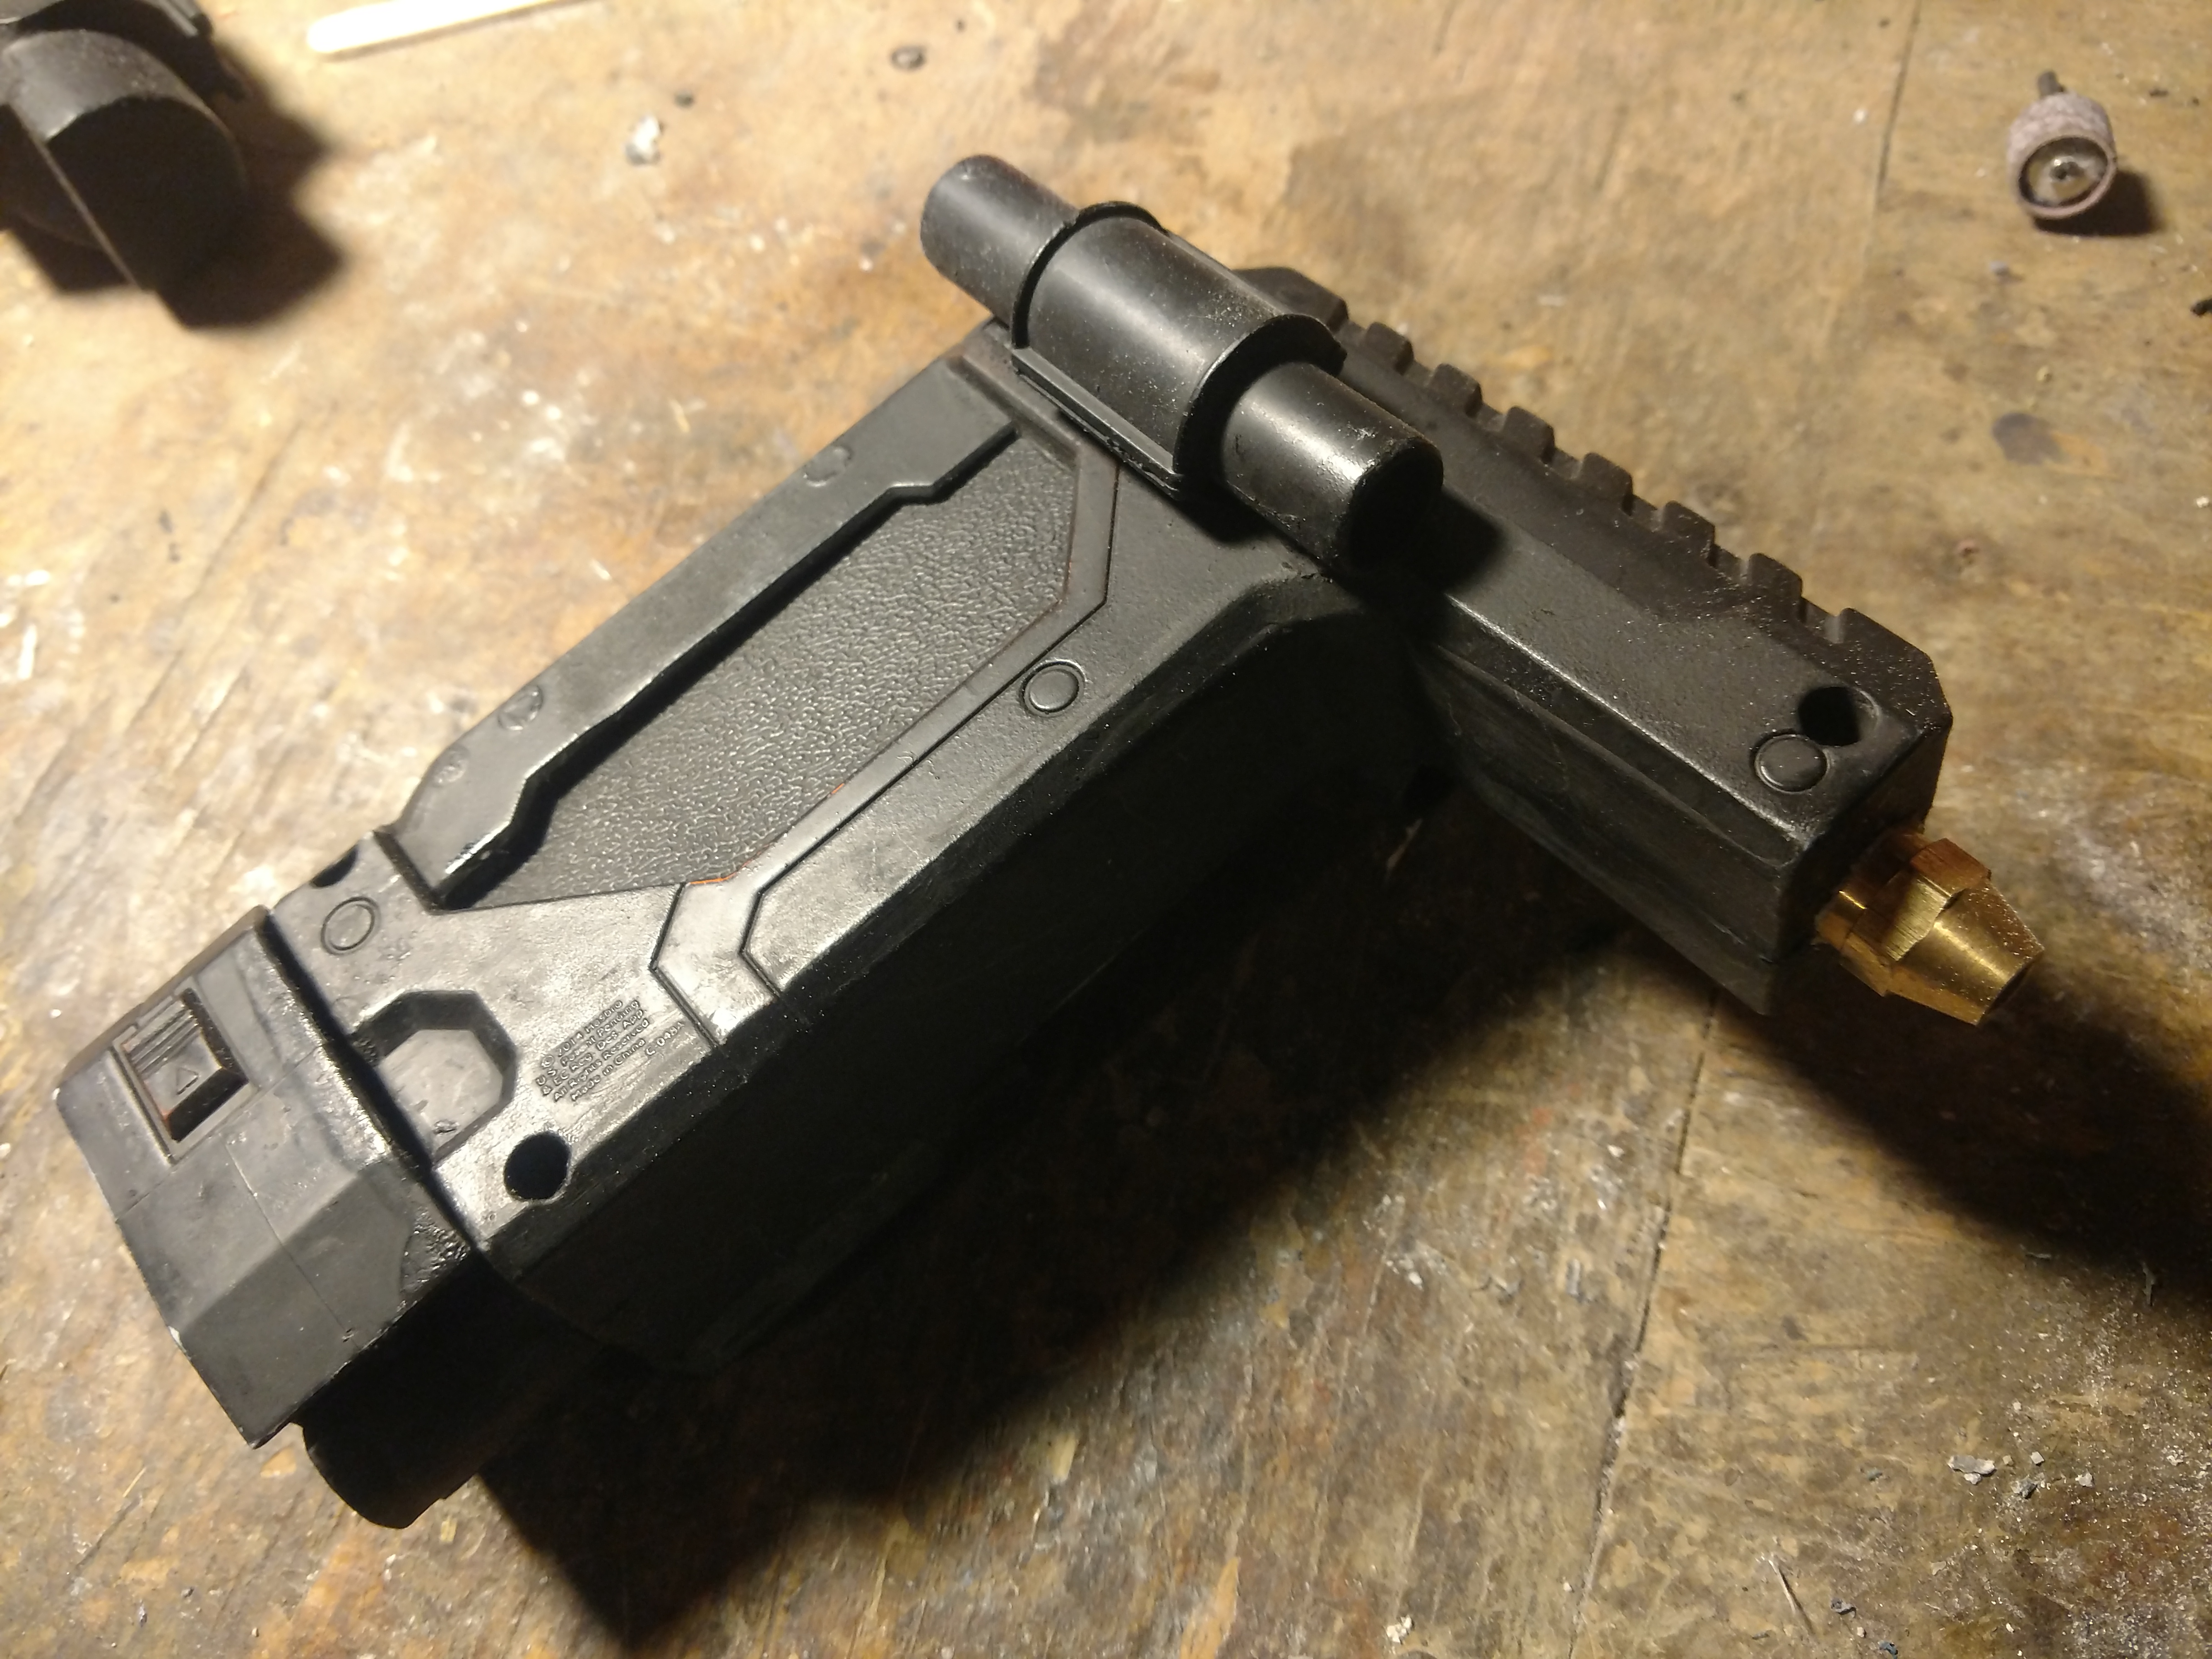
I started off by taking my original blaster and adding a new grip that would fit my hand.
Next, I had found an old laser sight. I will be turning this into a bacta injector for emergencies. I just need to add a tube of bacta and the injection system on the end.
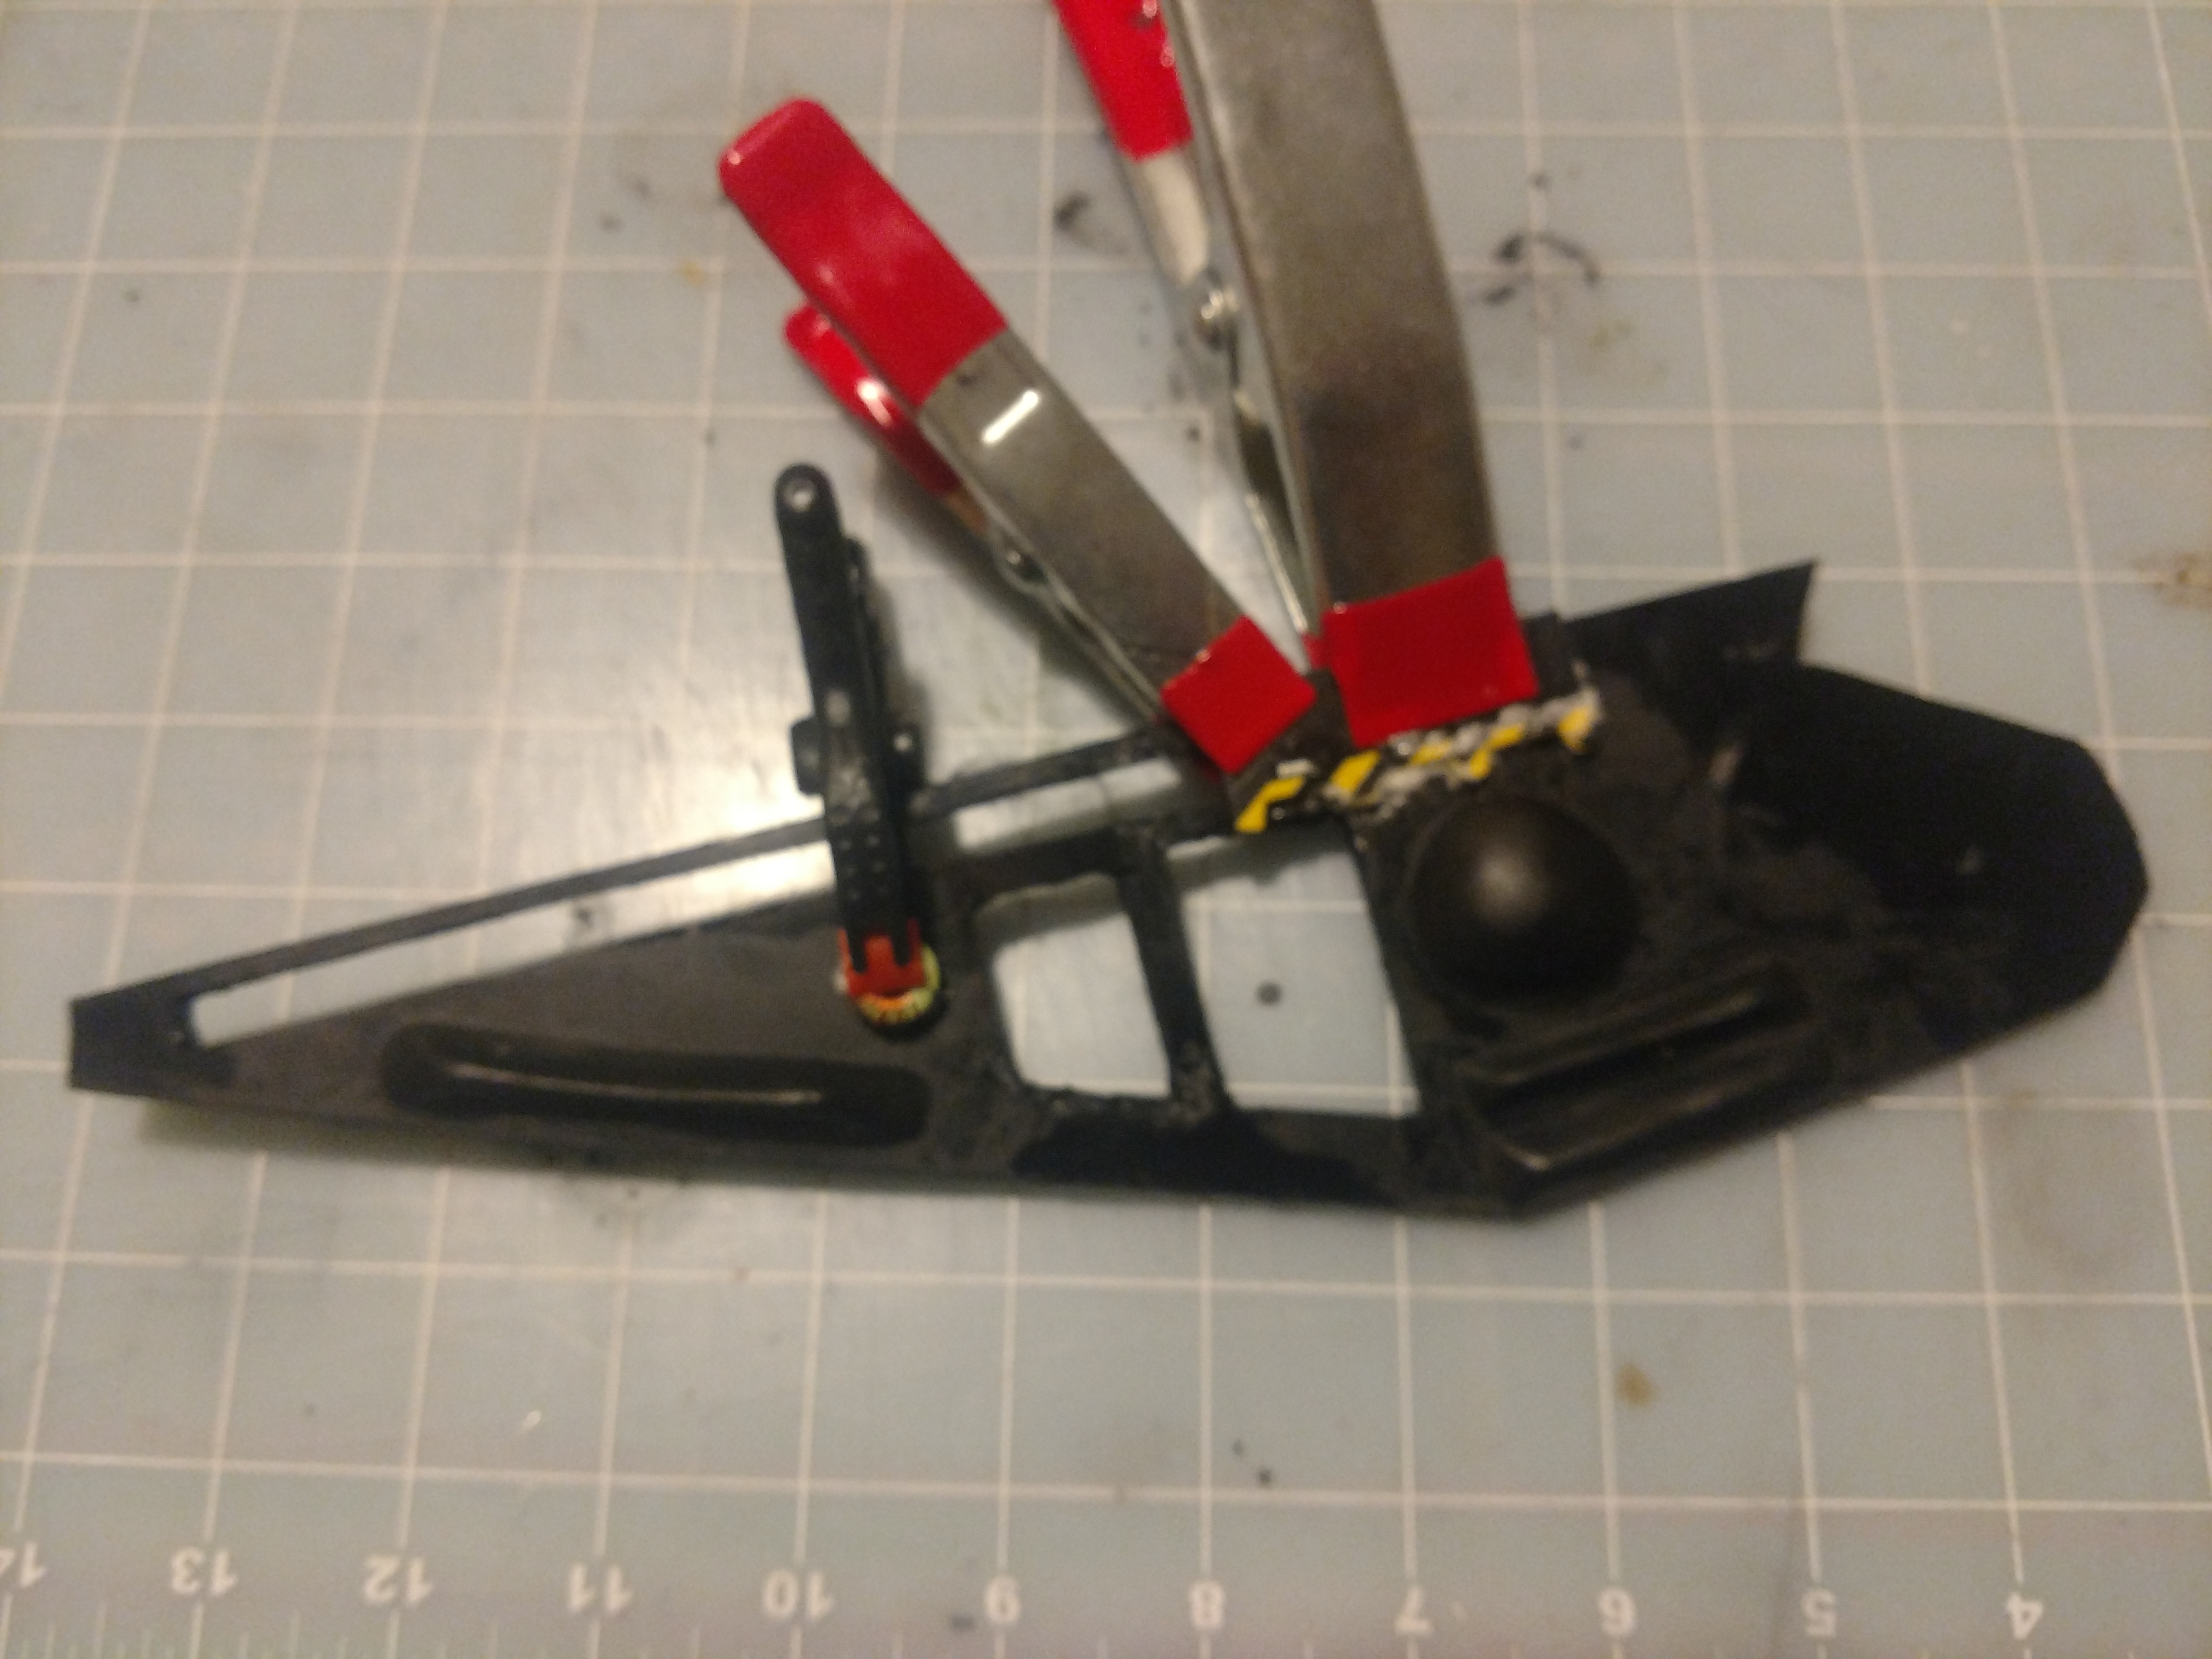
The second is a bi-pod that I am turning into a scanner of some type. I have already cut off the ends and added telescoping antennas. Just need to add a movable monitor, so it can still be used as a bi-pod.
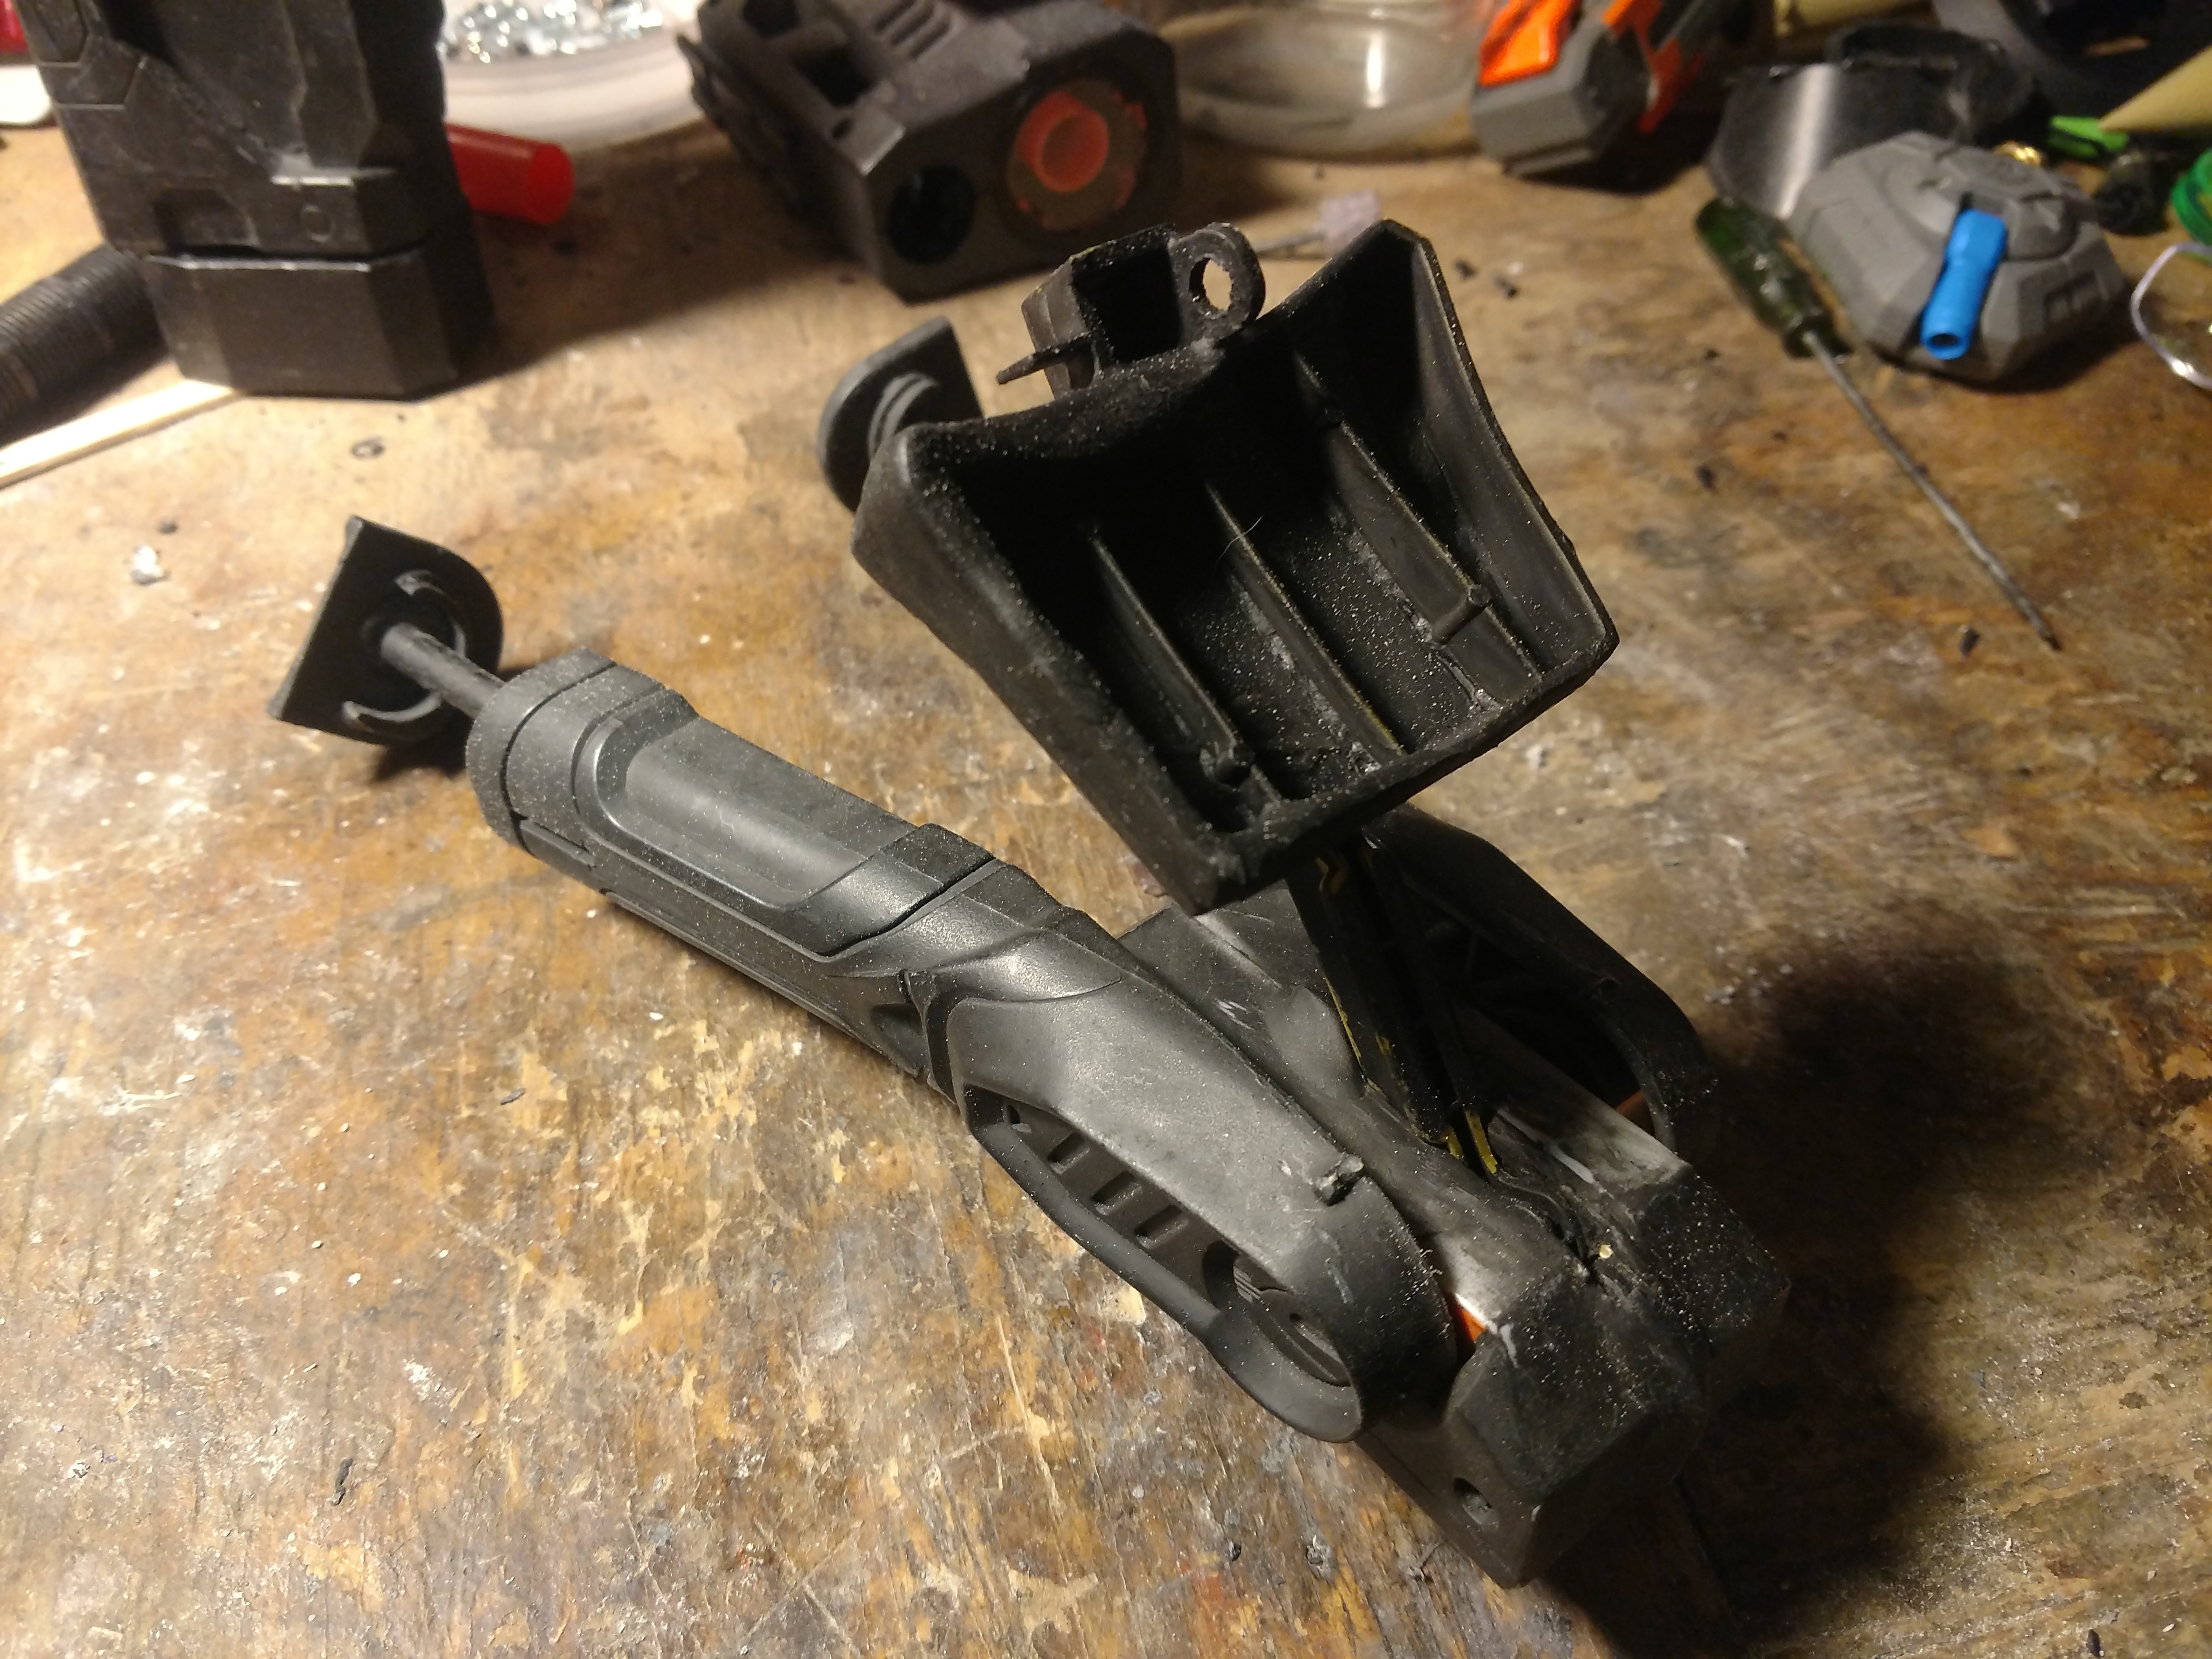
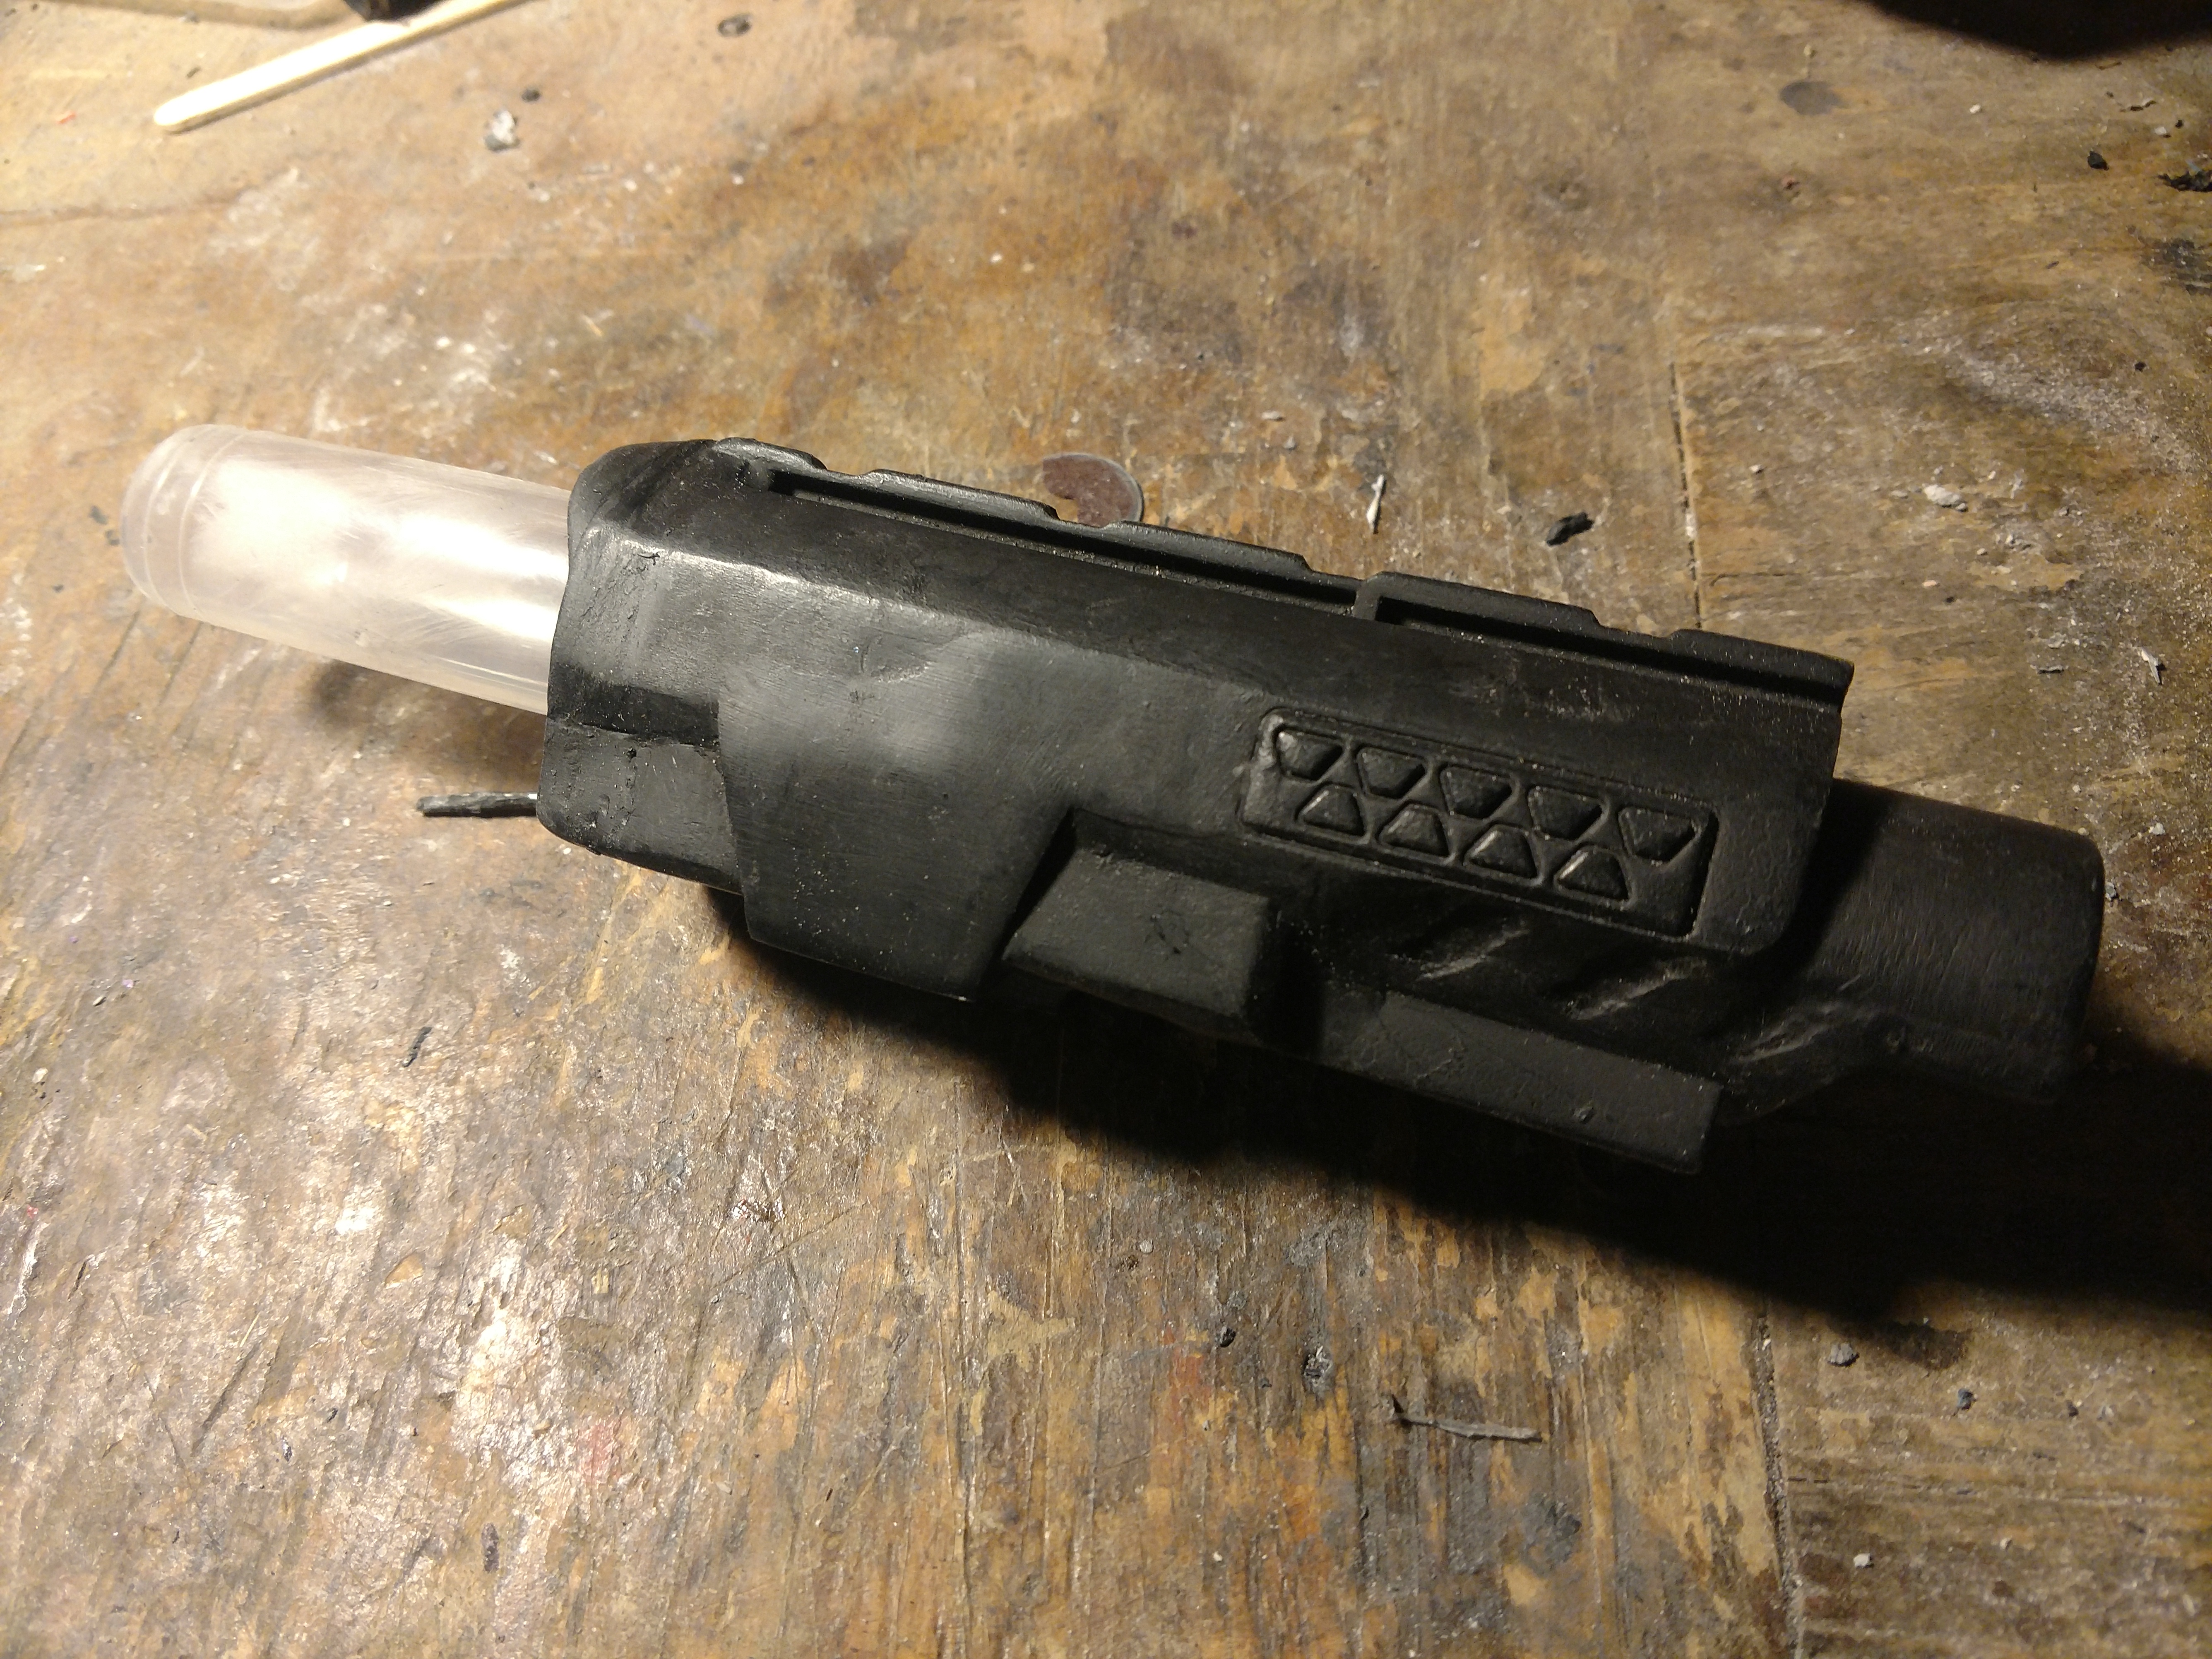
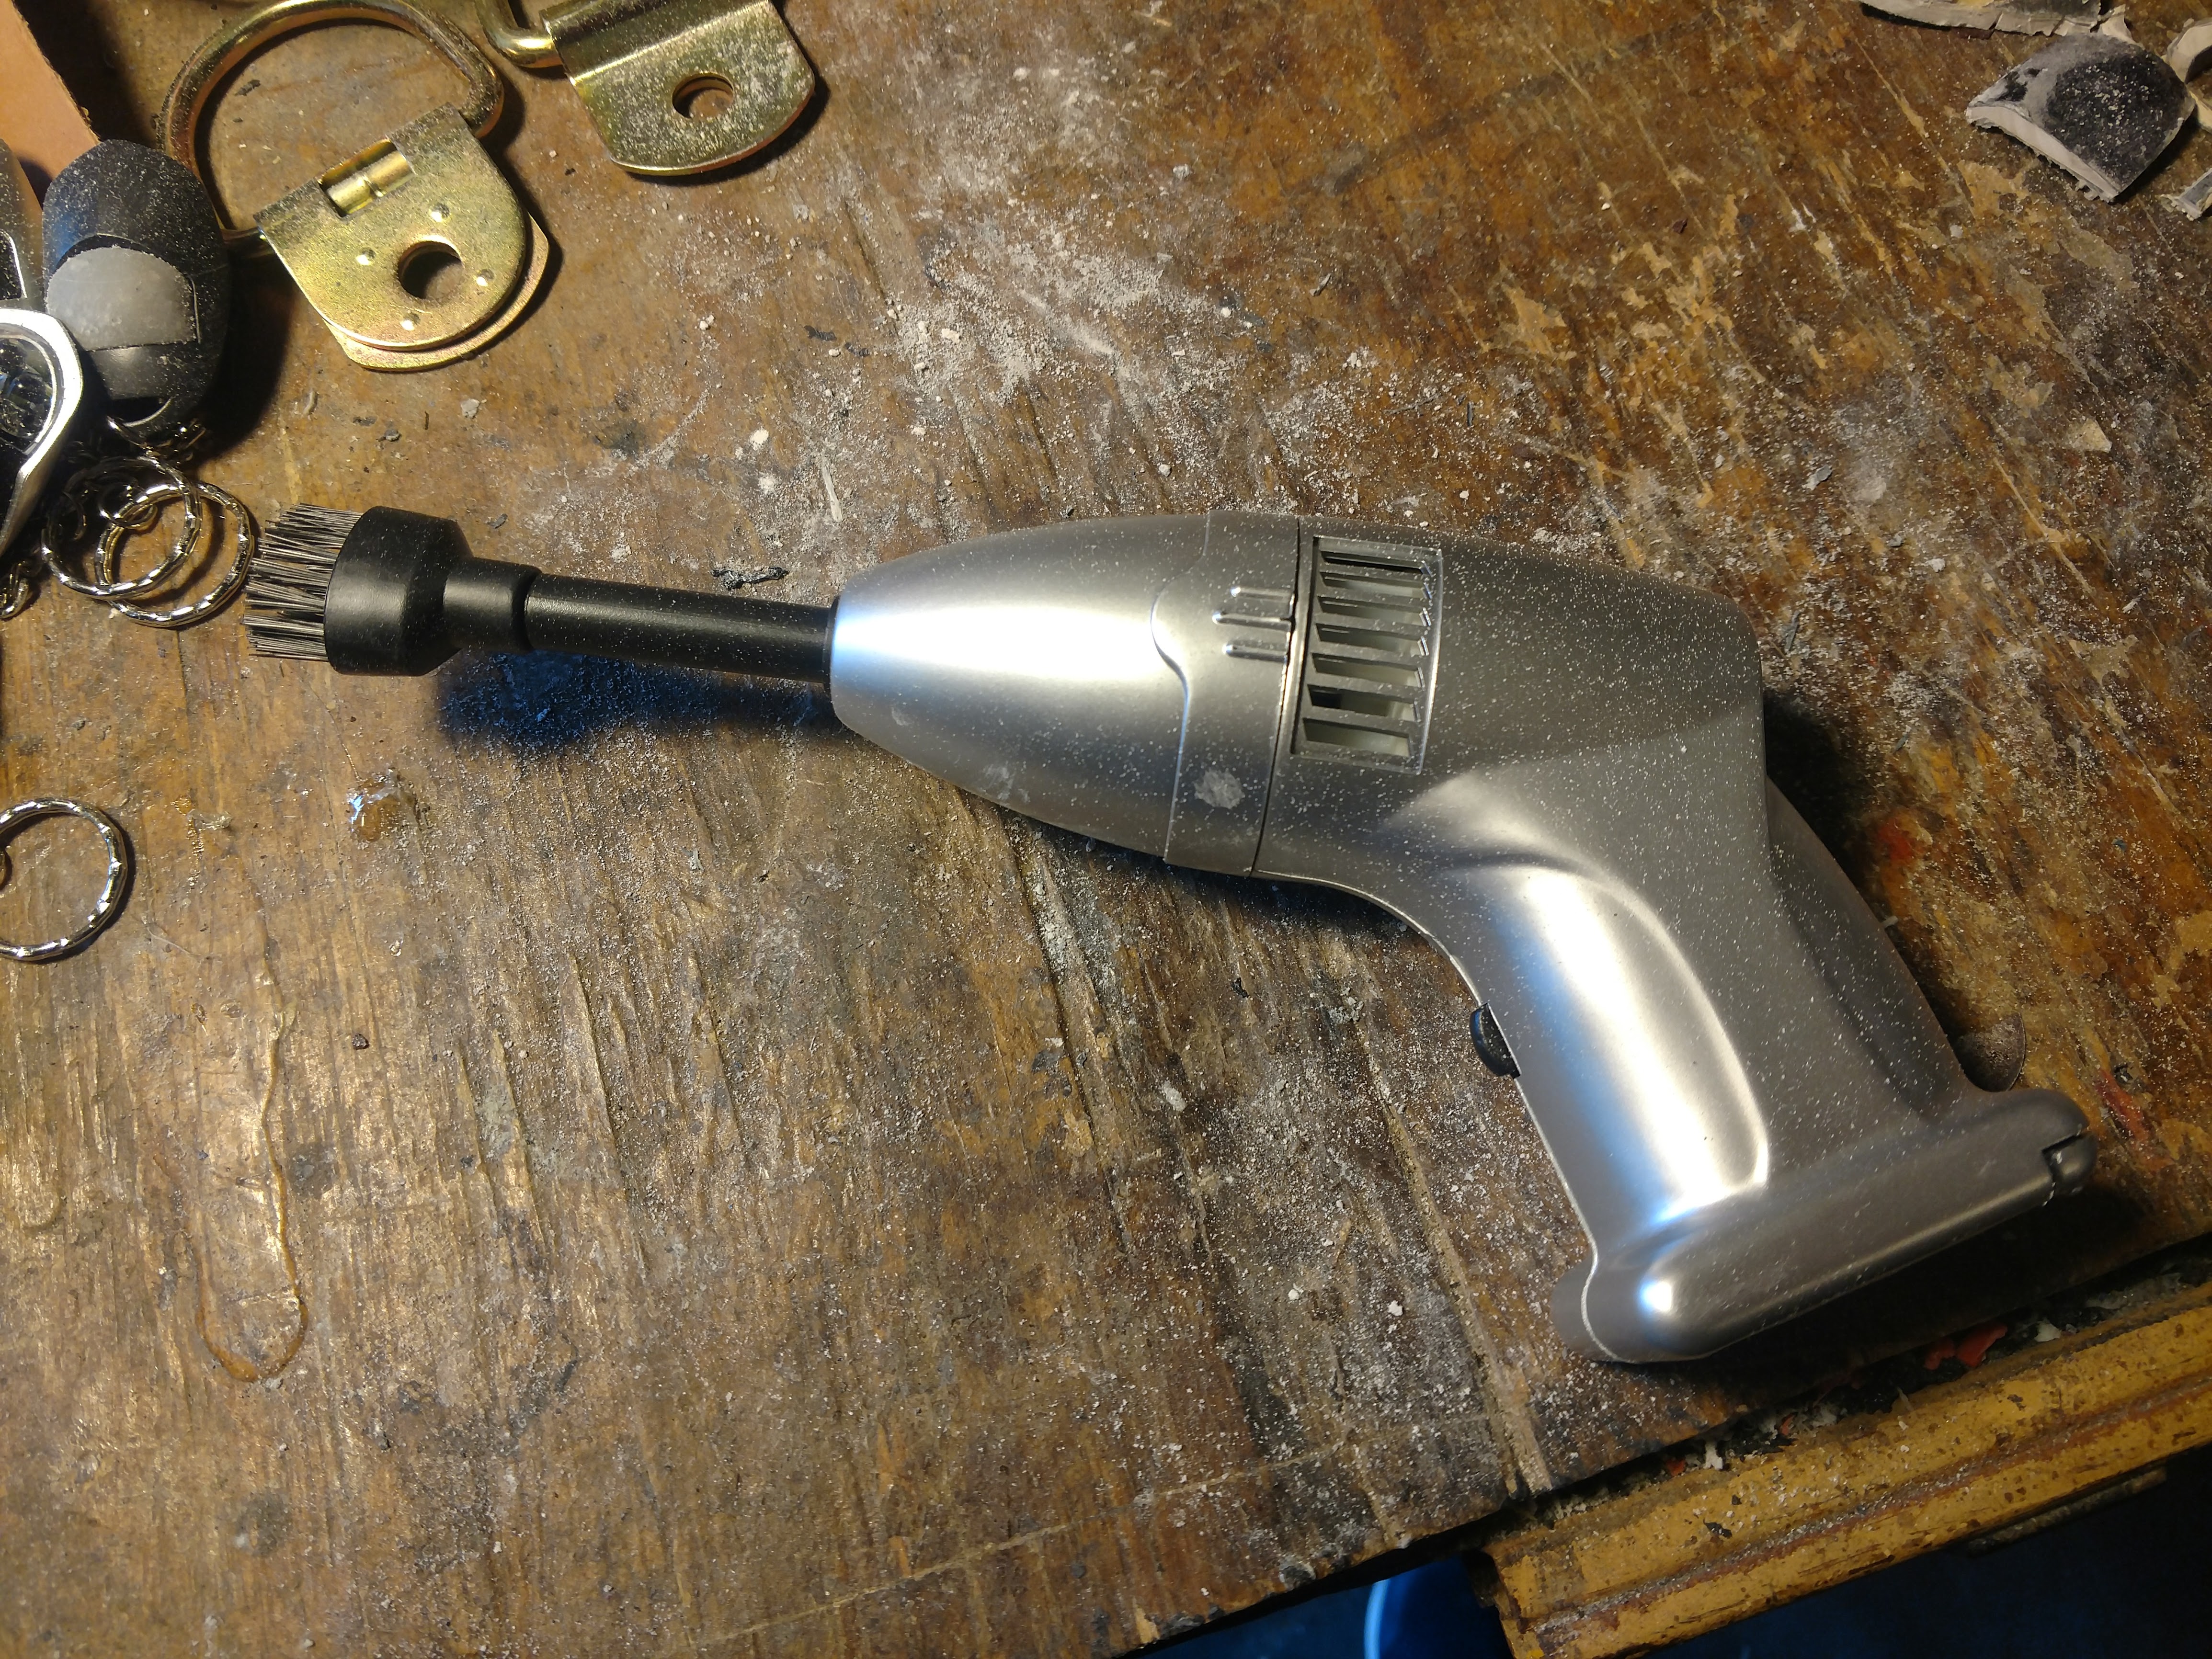
Next is an extendable stock that can be added to the weapon, I am going to turn this into a foam or sealant gun of some kind. I have already made it collapsible and added a few things.
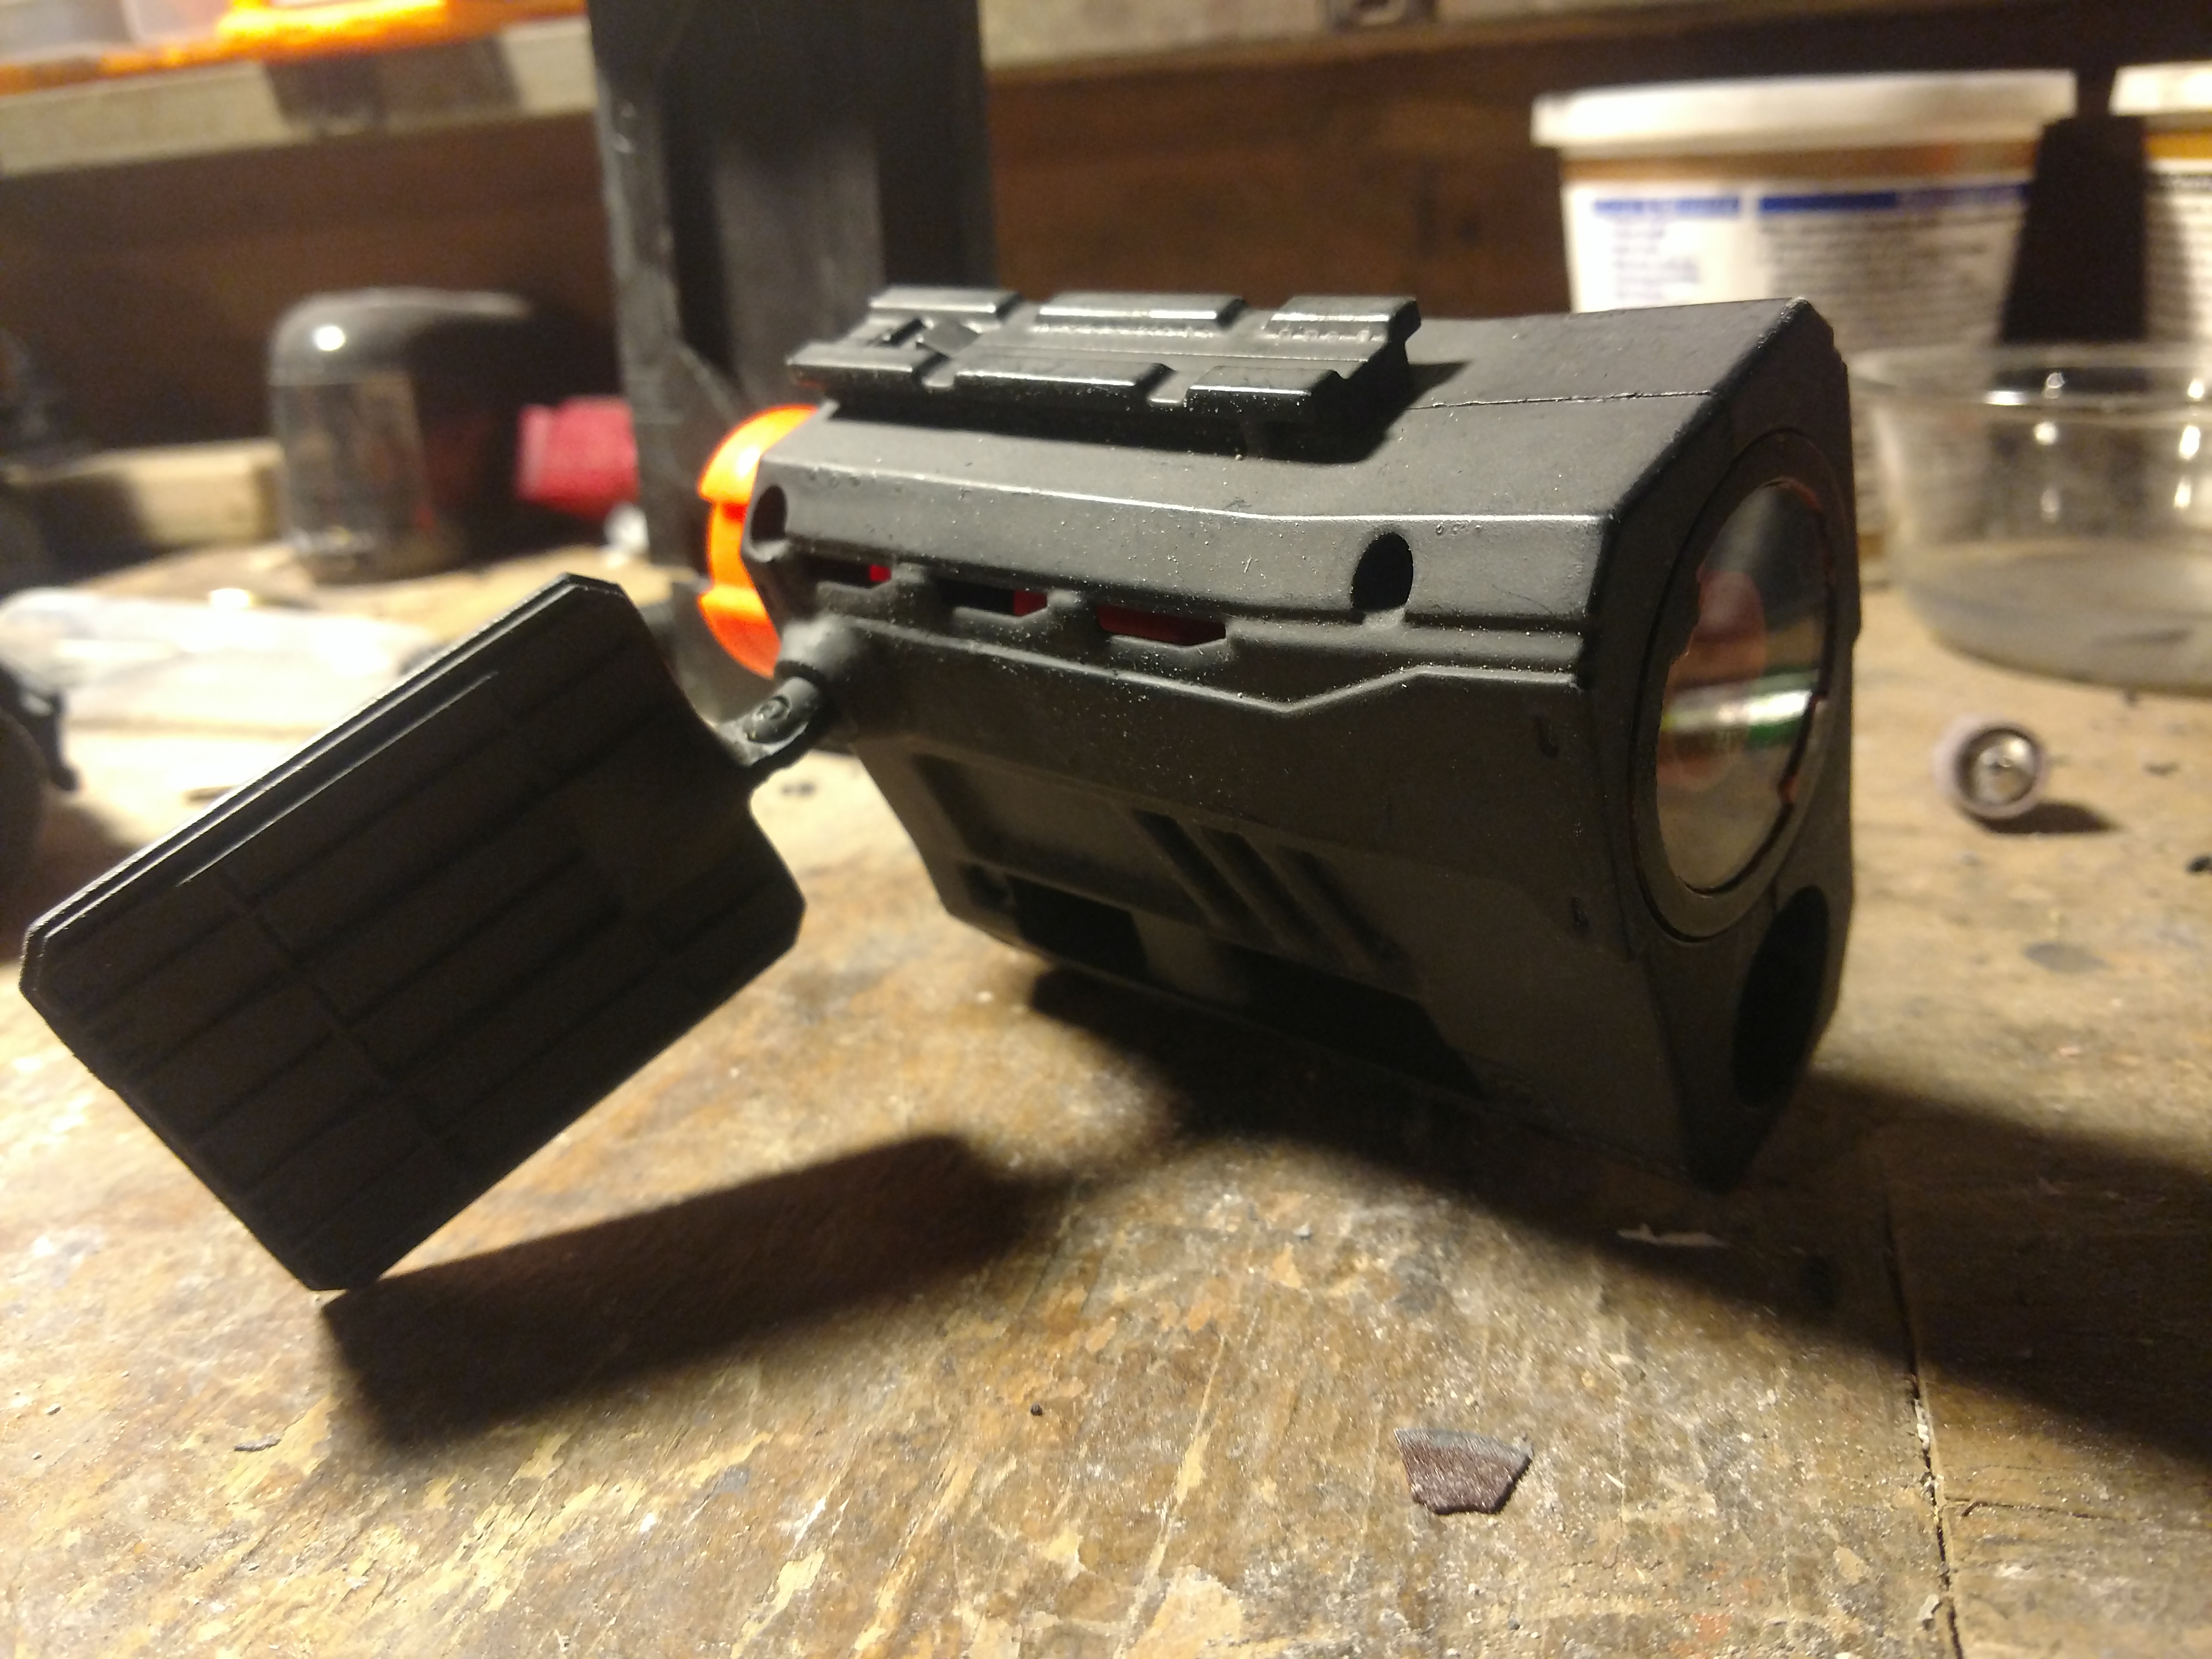
The next piece is a muzzle break, I already added a whole for the extended barrel of the pistol to attach too. I also added a clear lens to the end and a rotating port for a viewing screen. This will be a specialized "stud or wire finder" for looking through walls.
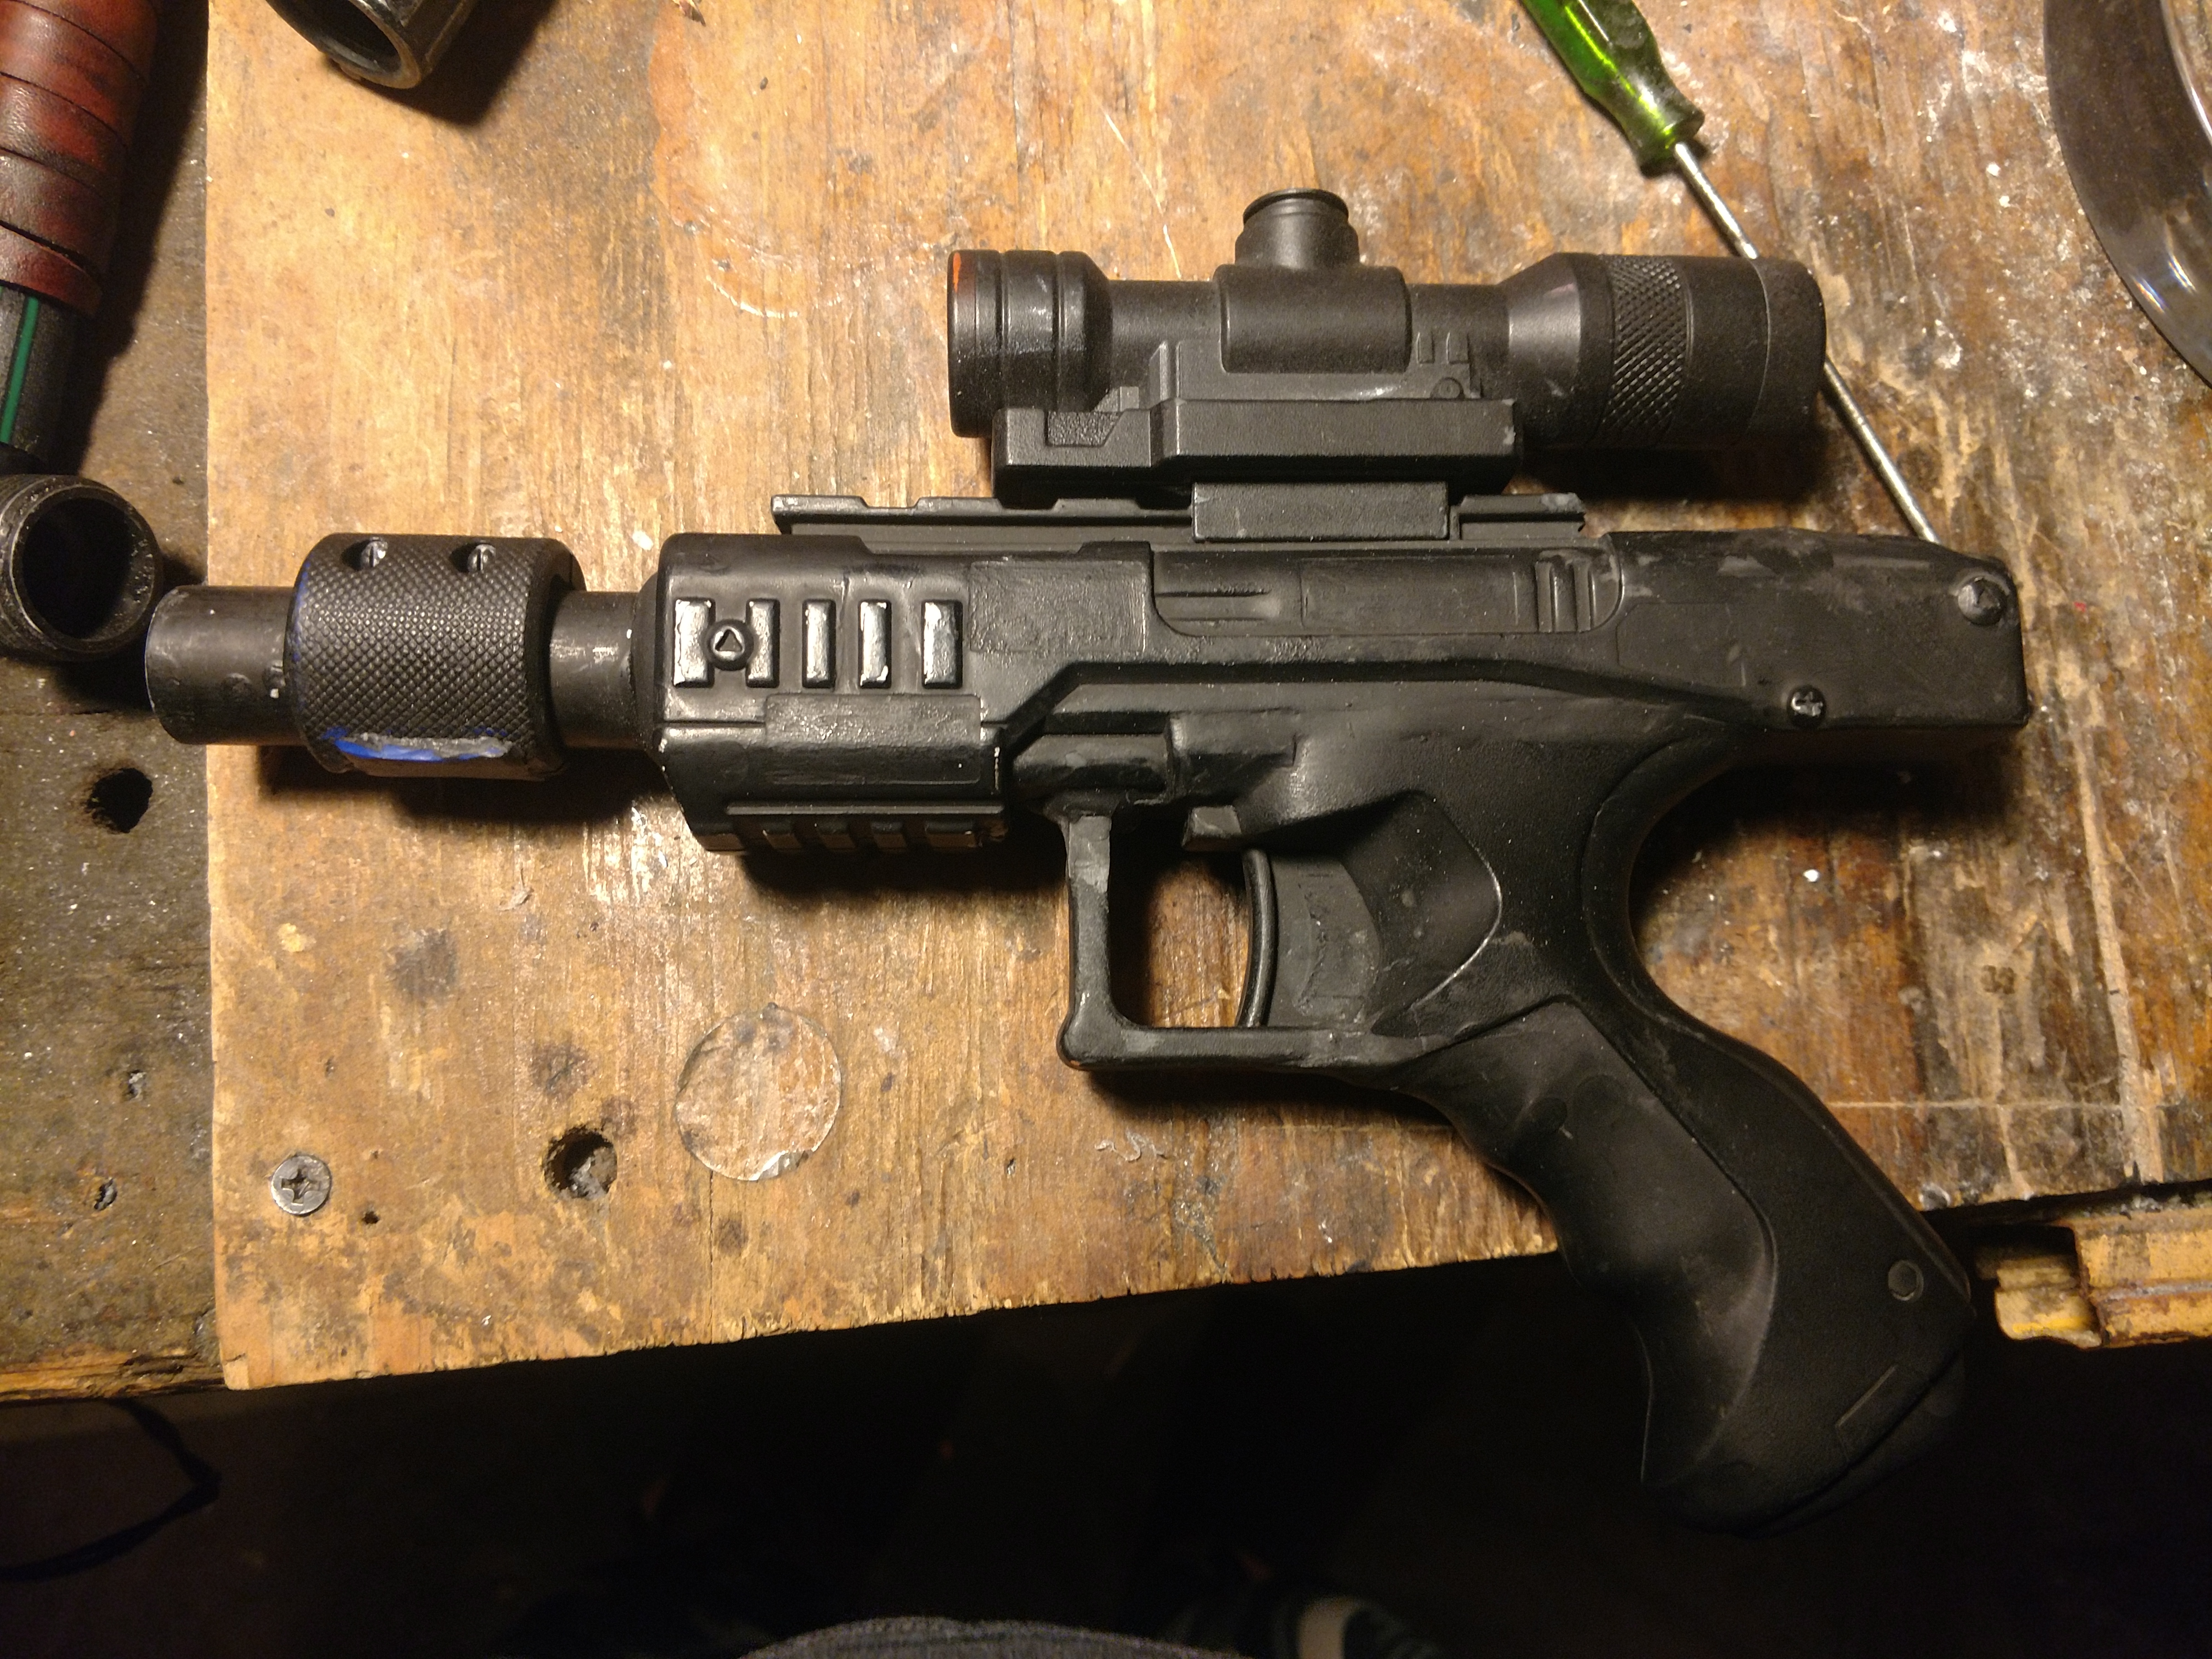
Lastly, a couple of pics of what the blaster looks like so far when put together.

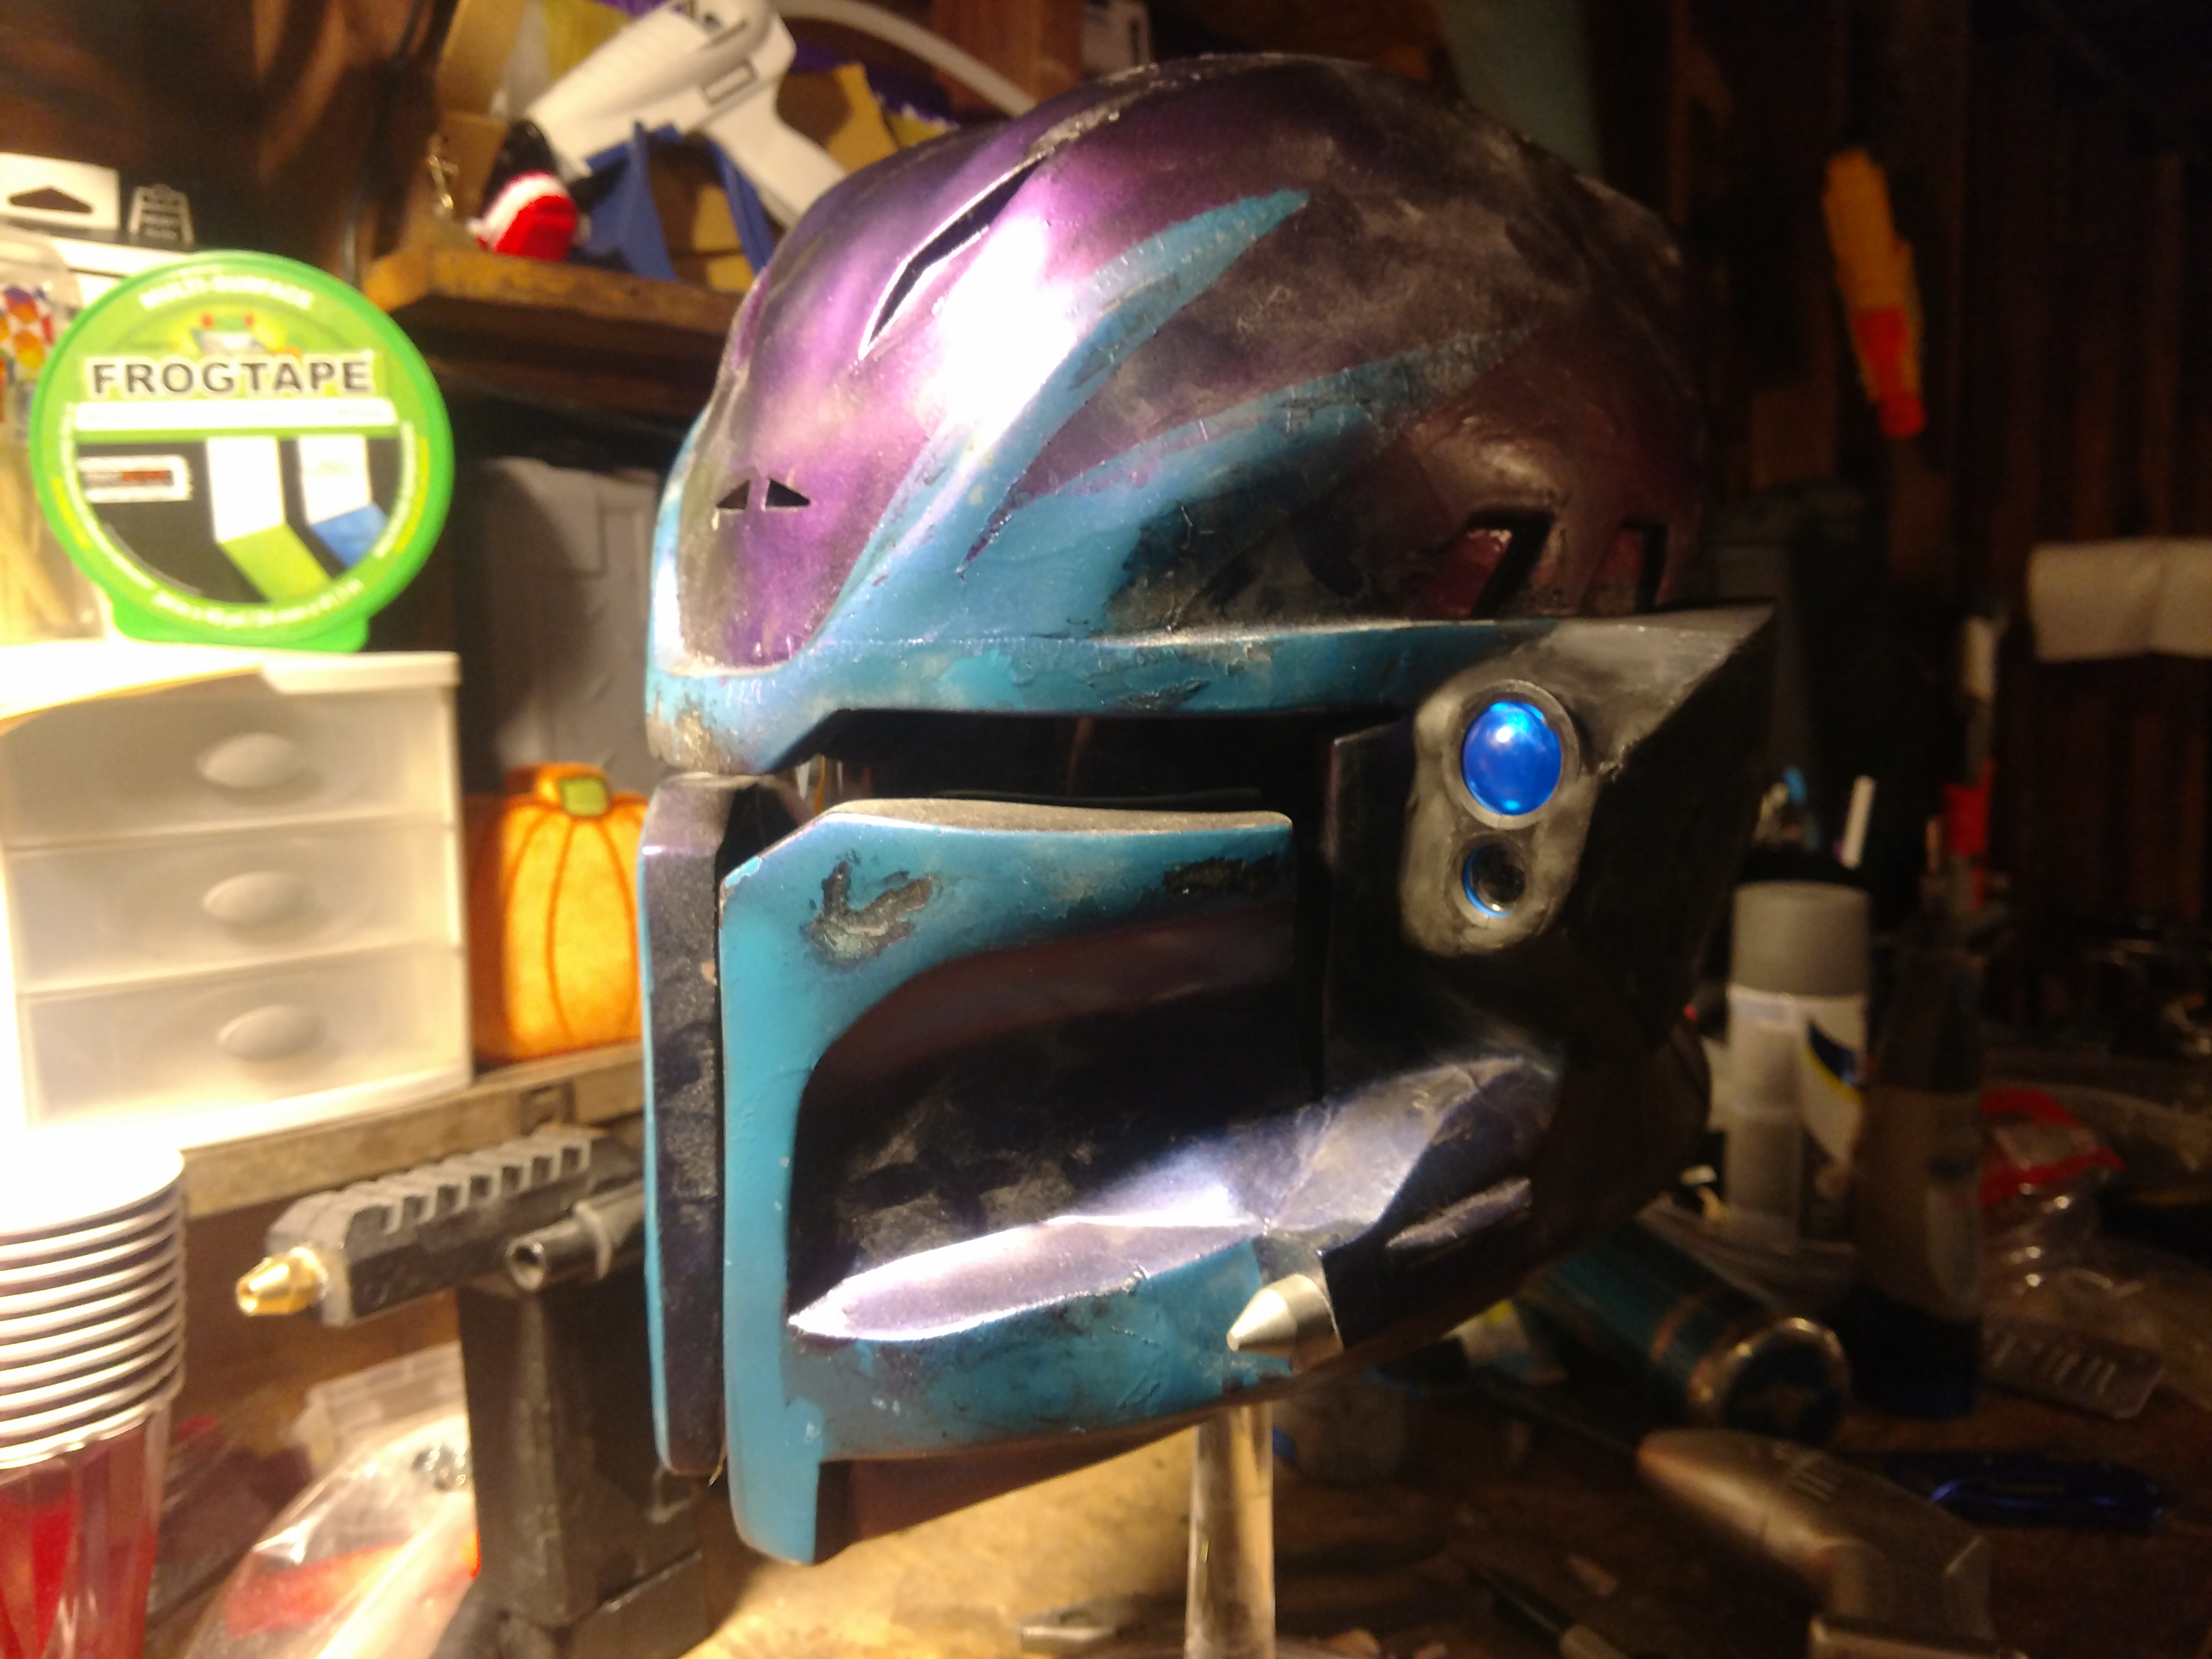
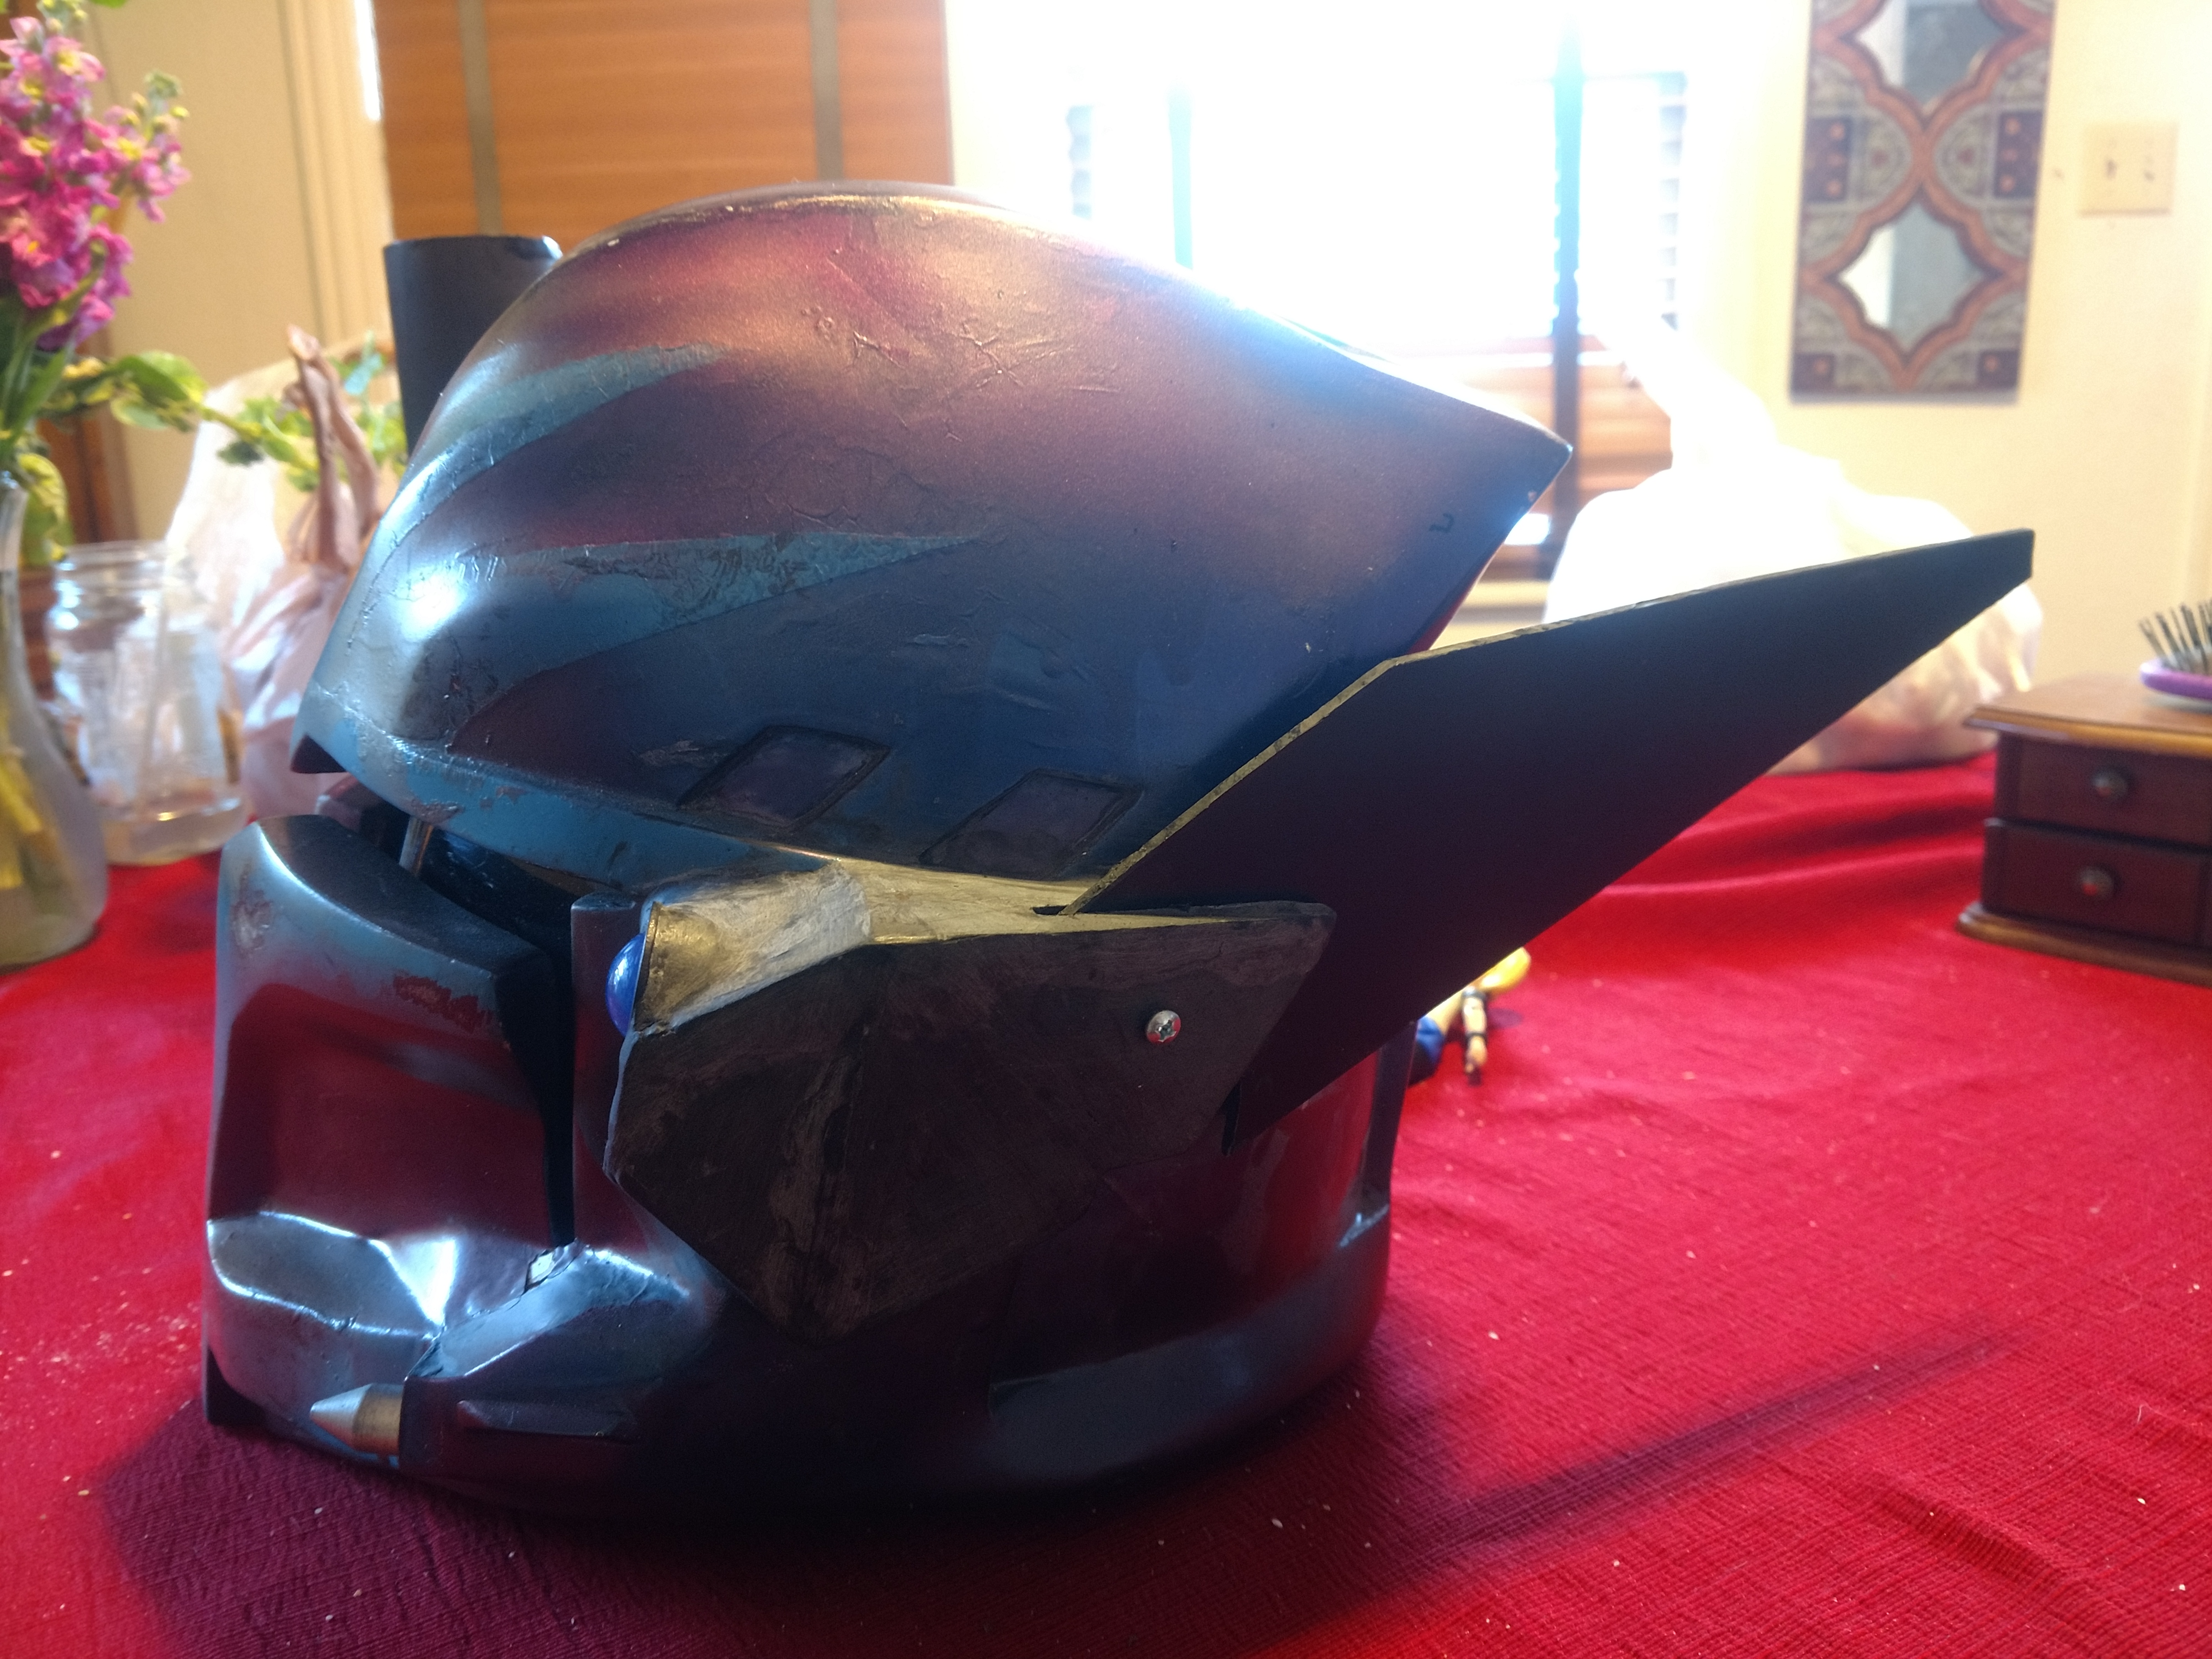
I went ahead and started working on the antenna housing for my helmet and I think I might have gotten it done enough to be ready for adding electronics. I used some scrap ABS plastic from when I made my plates and welded them together using a soldering iron. Afterwards, I sanded it all down to a smooth finish using 100, 200, then 400 grit sandpaper. Below are pics of it hot glued temporarily to the helmet for a better view of what it will look like.
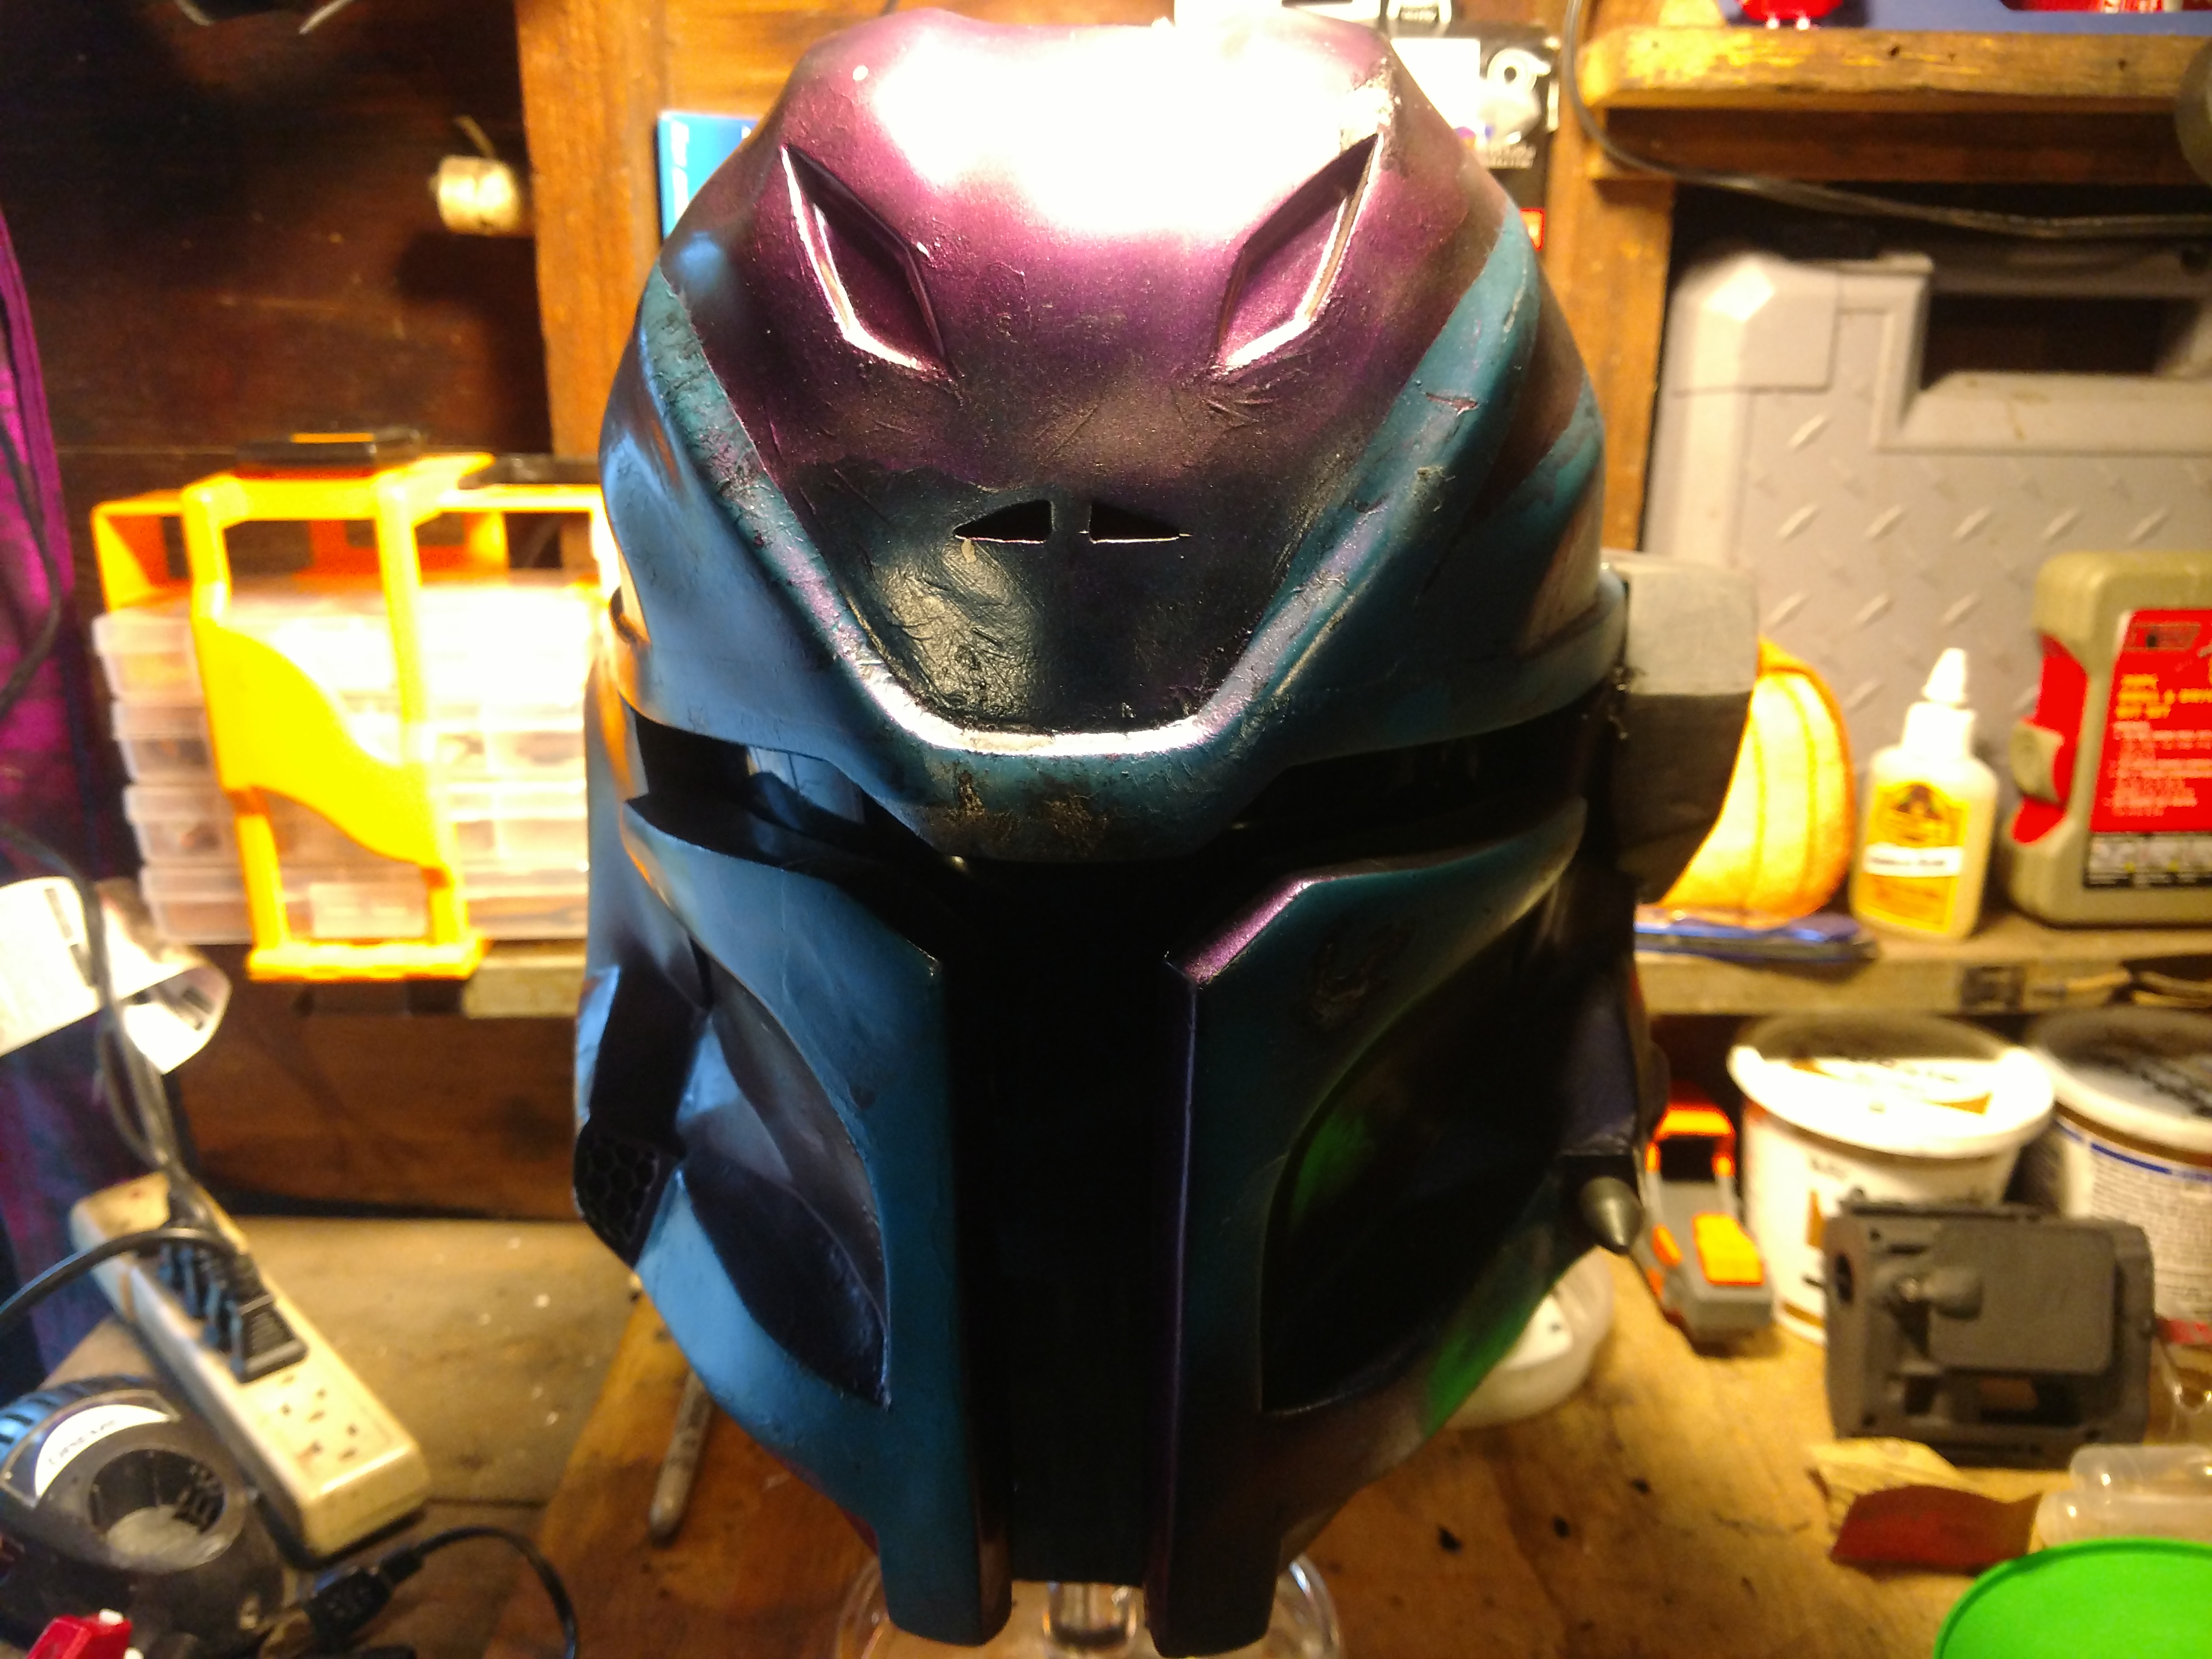
It still needs some fixing, as I want to add more detailing and of course the antennai later, but I am liking how it is turning out.
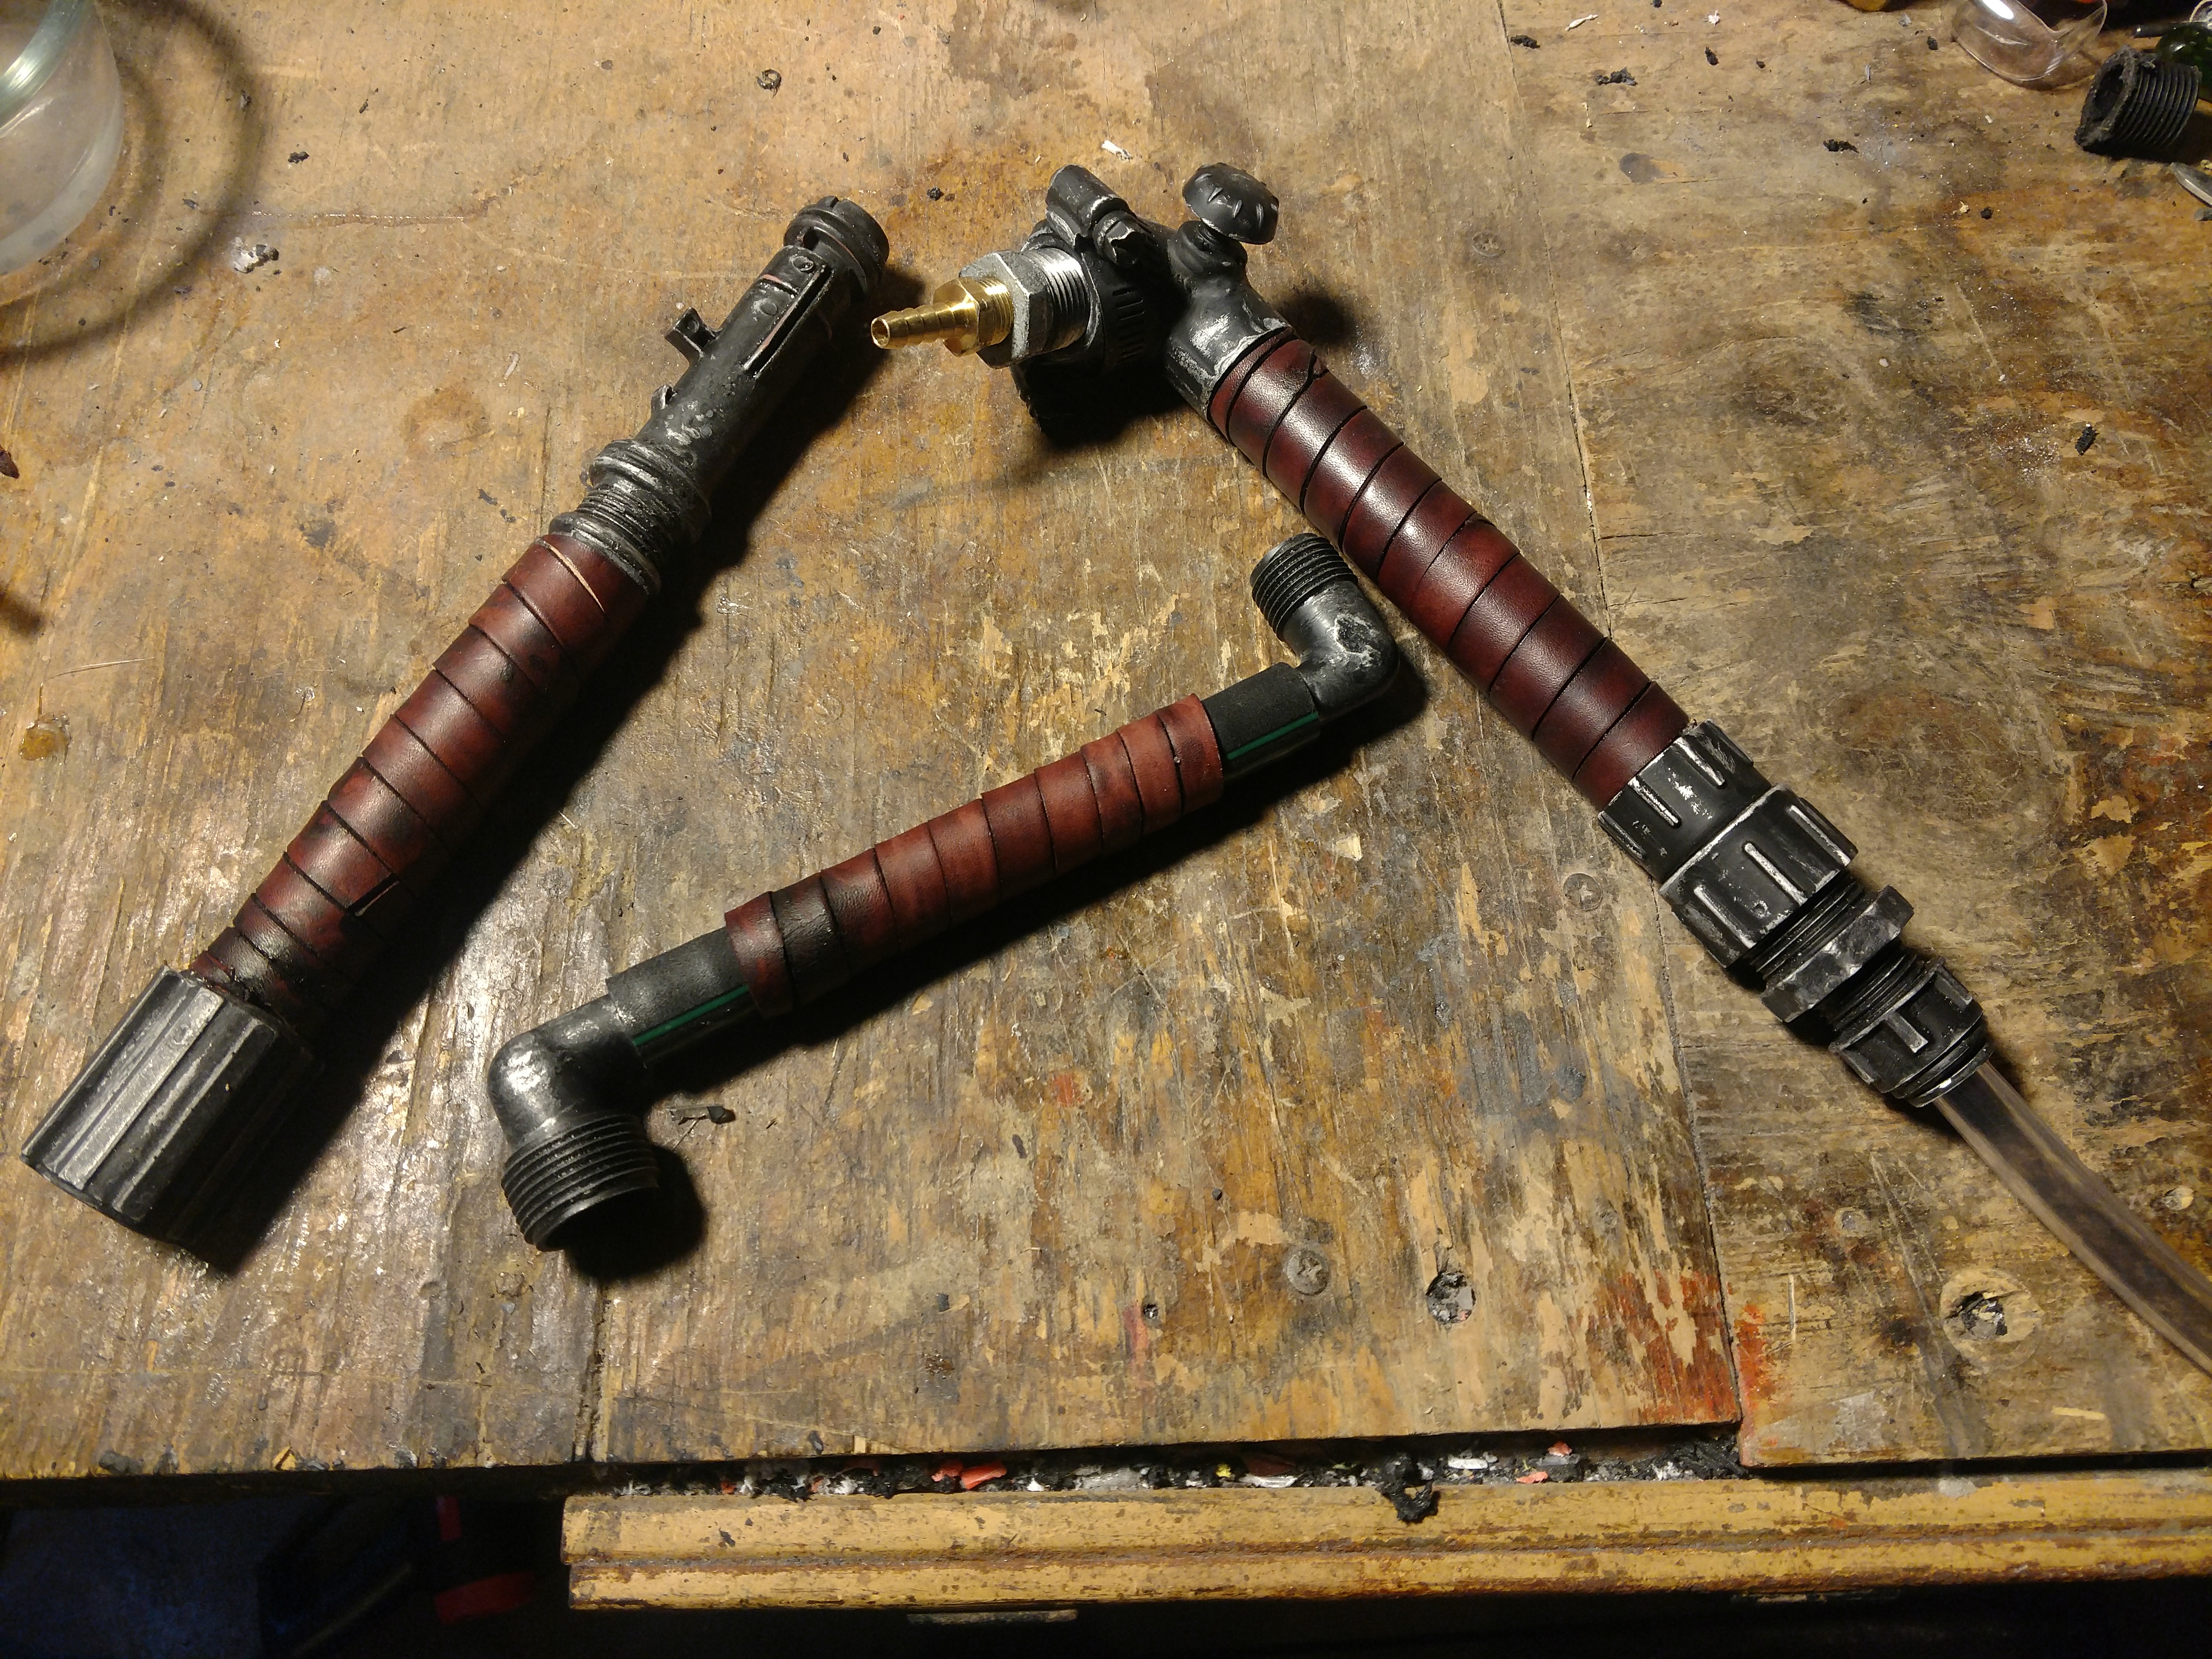
I did a little more work on some of my normal tools. I painted and weathered each piece then went and added a leather strap to each for a grip. I think it really added to the pieces. I also made sure it was the same dye as what I used on my belt, so it should match well. I do need to add an aluminum canister to the end of the tubing and attach it to the back of my belt. It should not take long or be hard, just need to find one that works for me first, lol. I am thinking of adding and LED wire to the inside for added flare, what do you think?
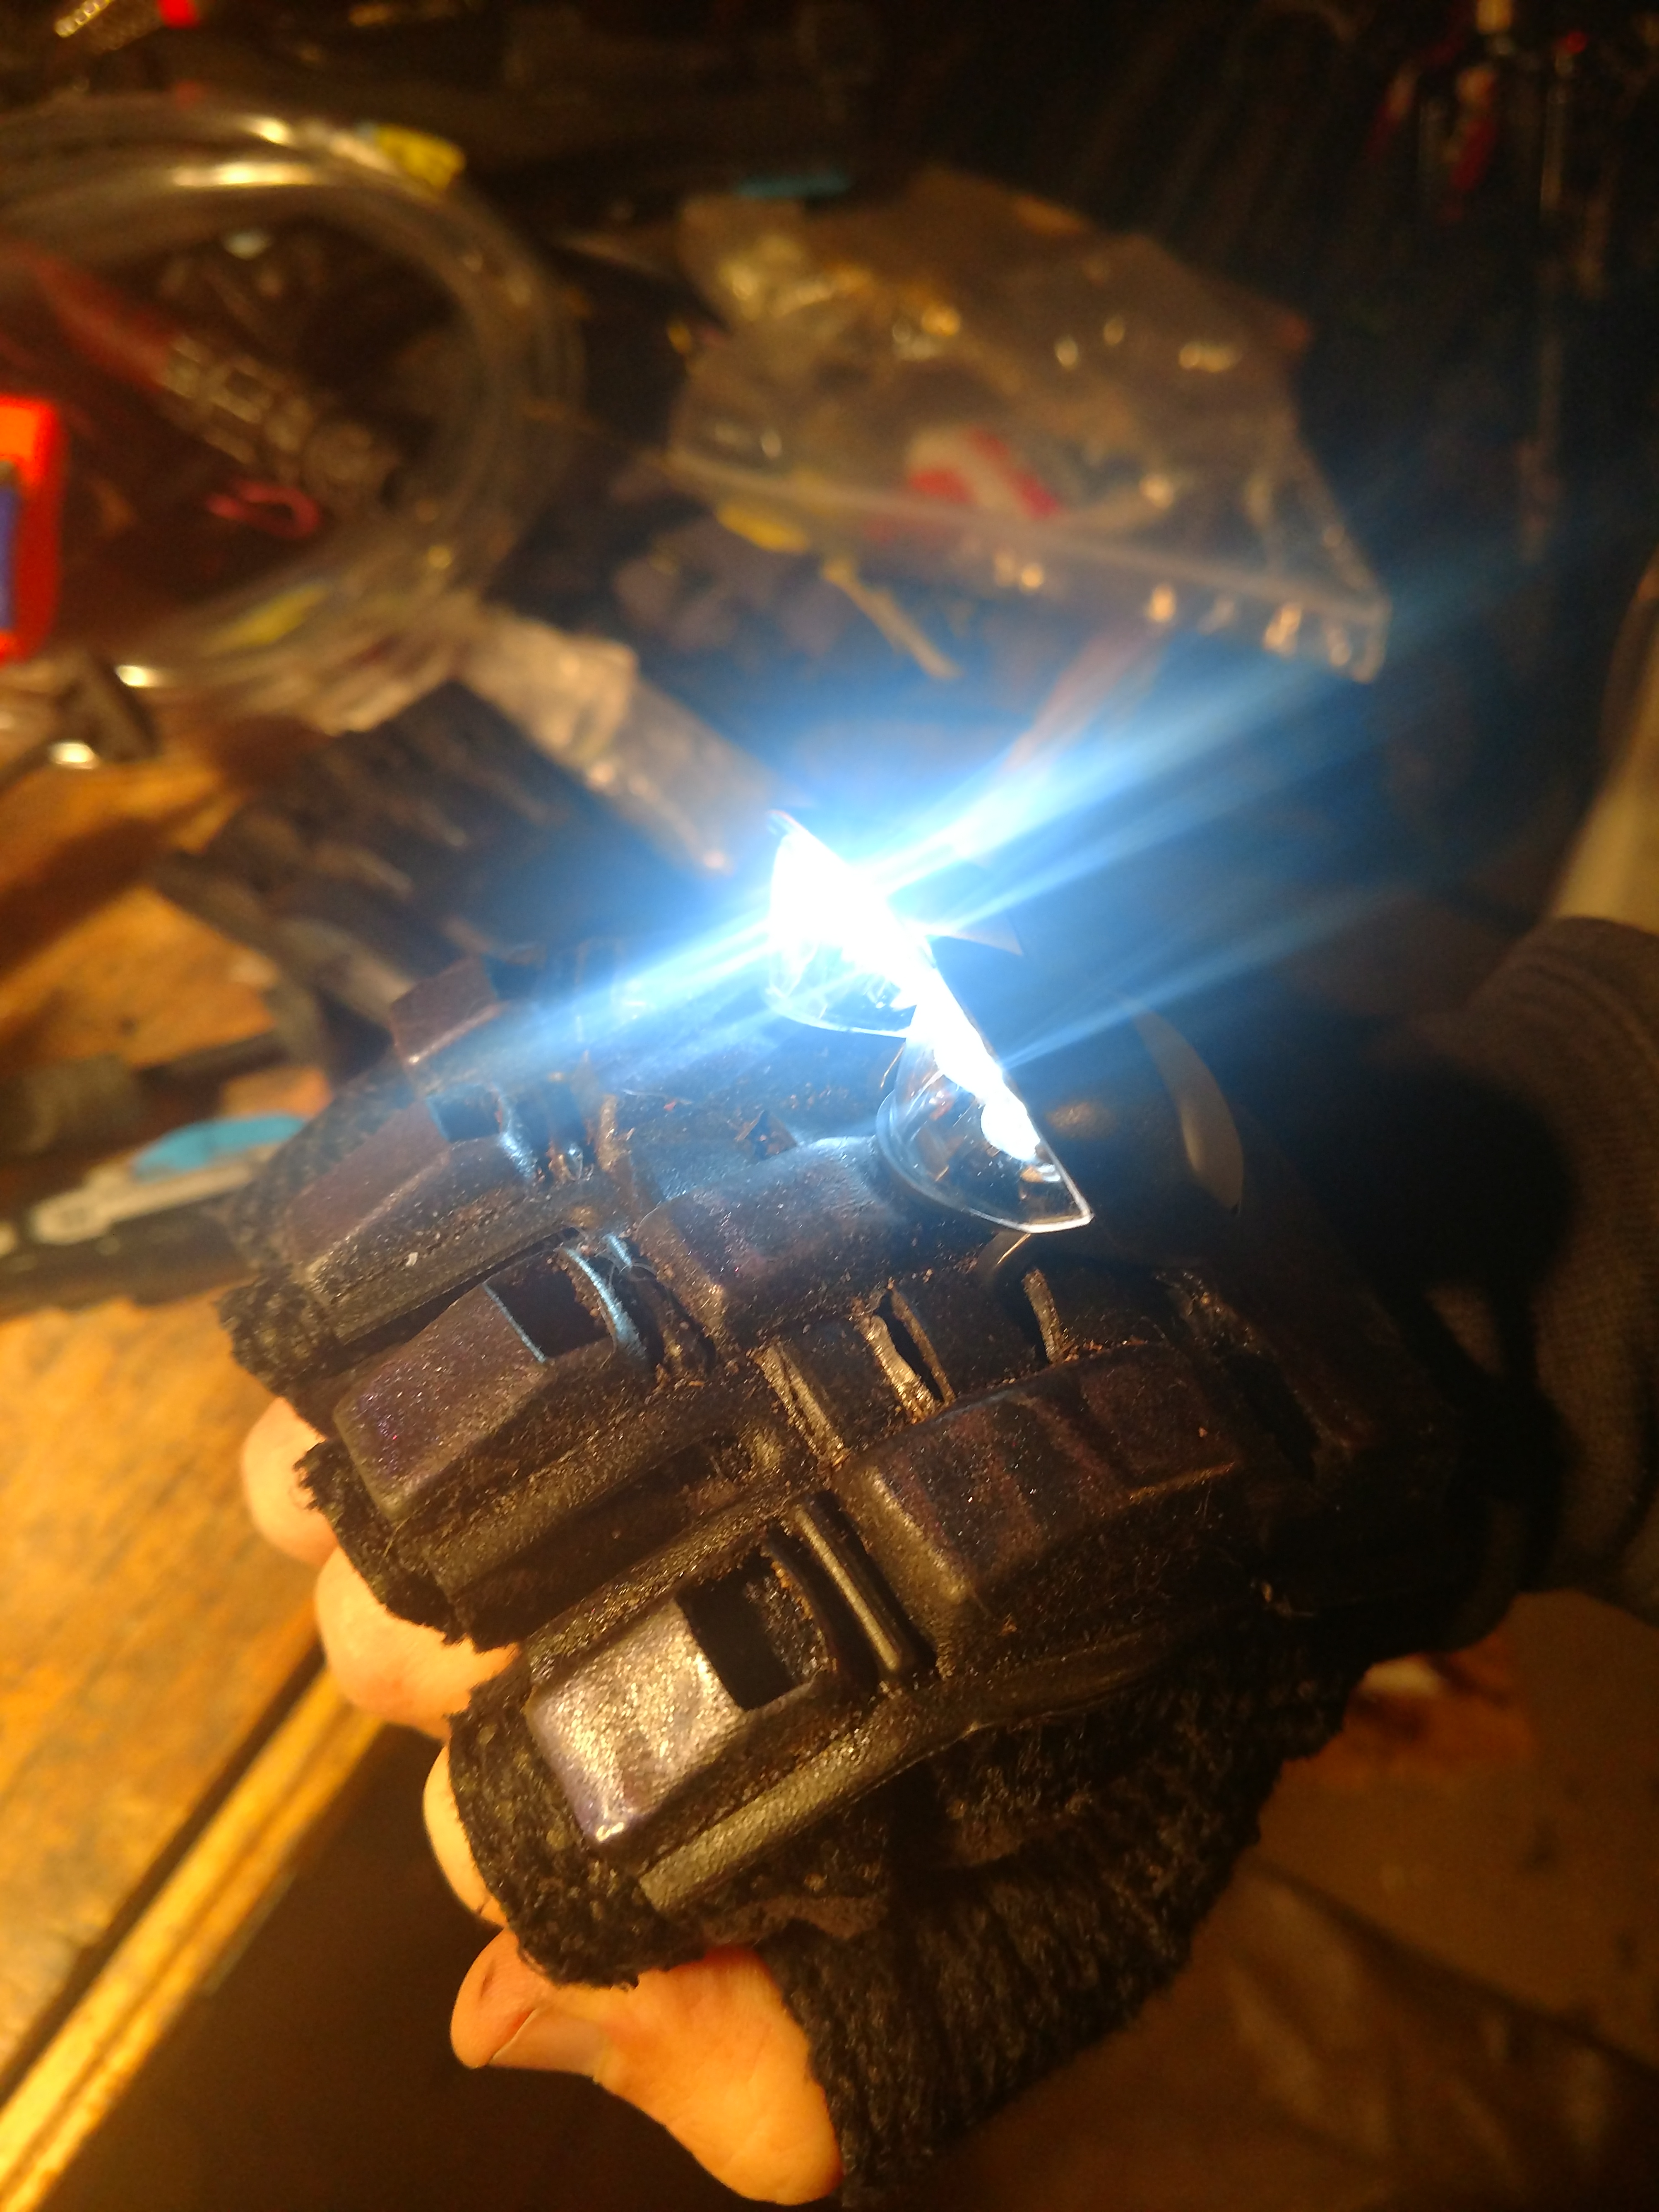
On another part, I found some good LED flashlights that will fit perfect on my gloves. I am going to get these sewn in soon.
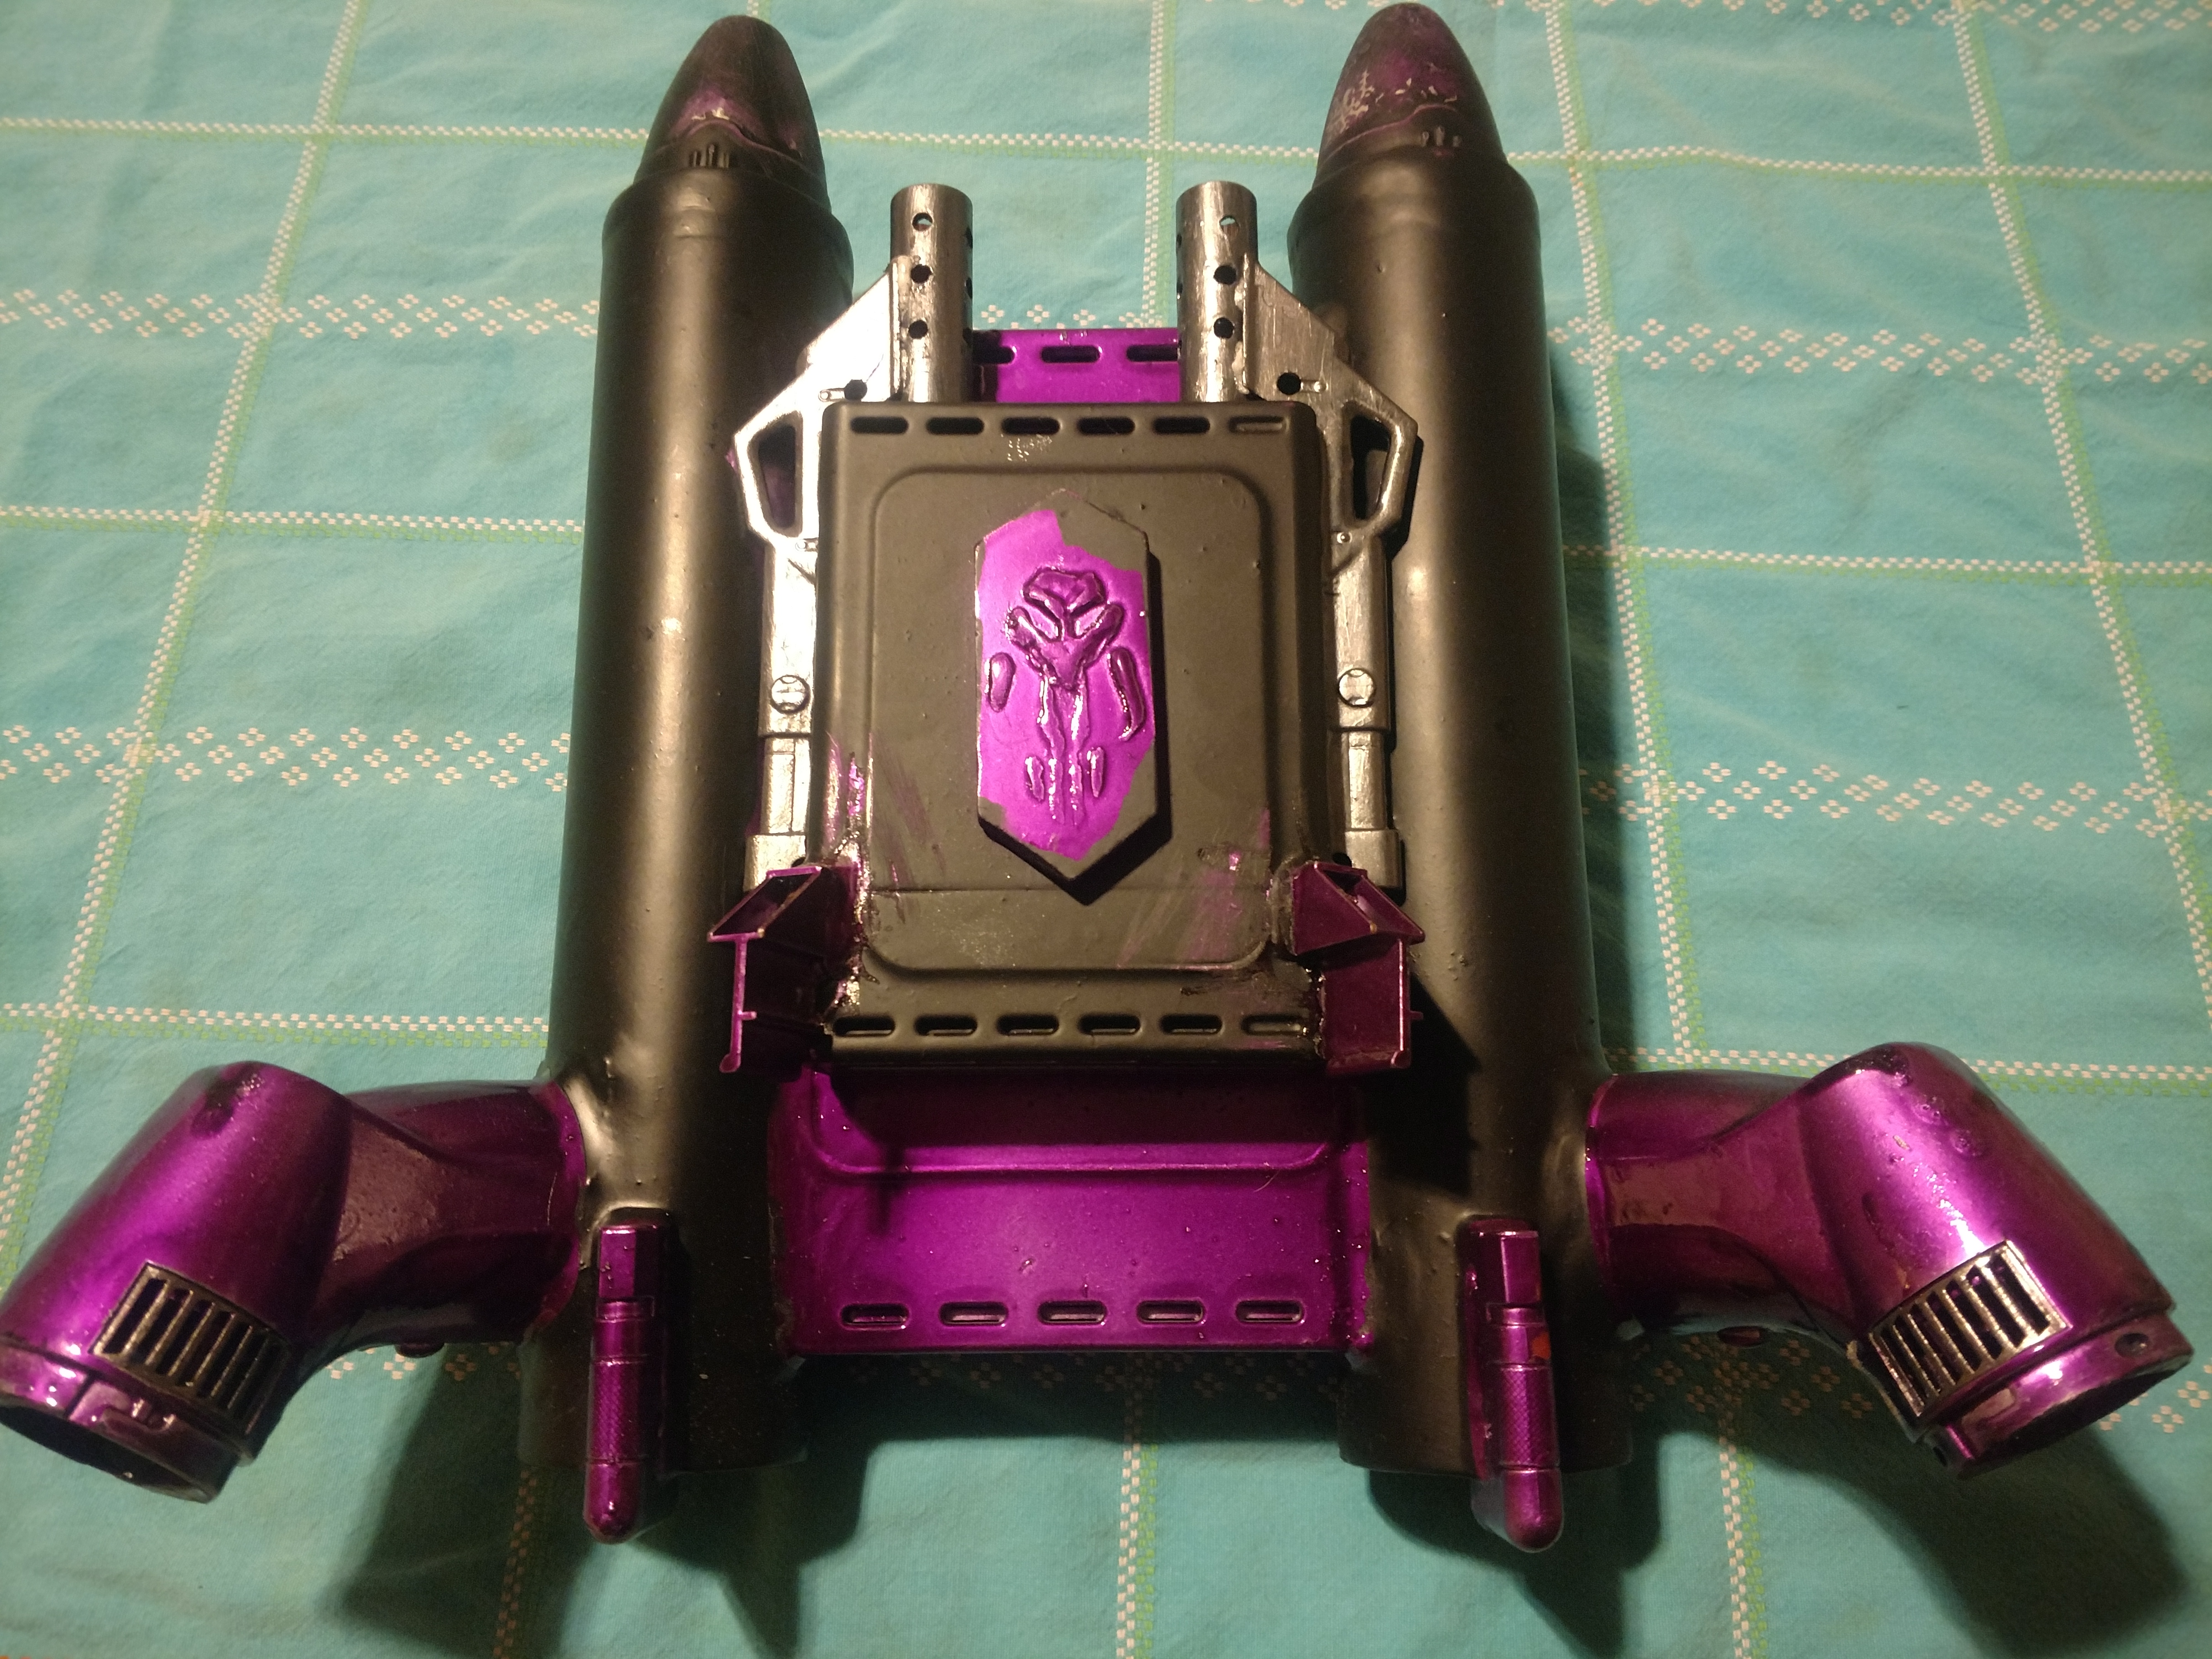
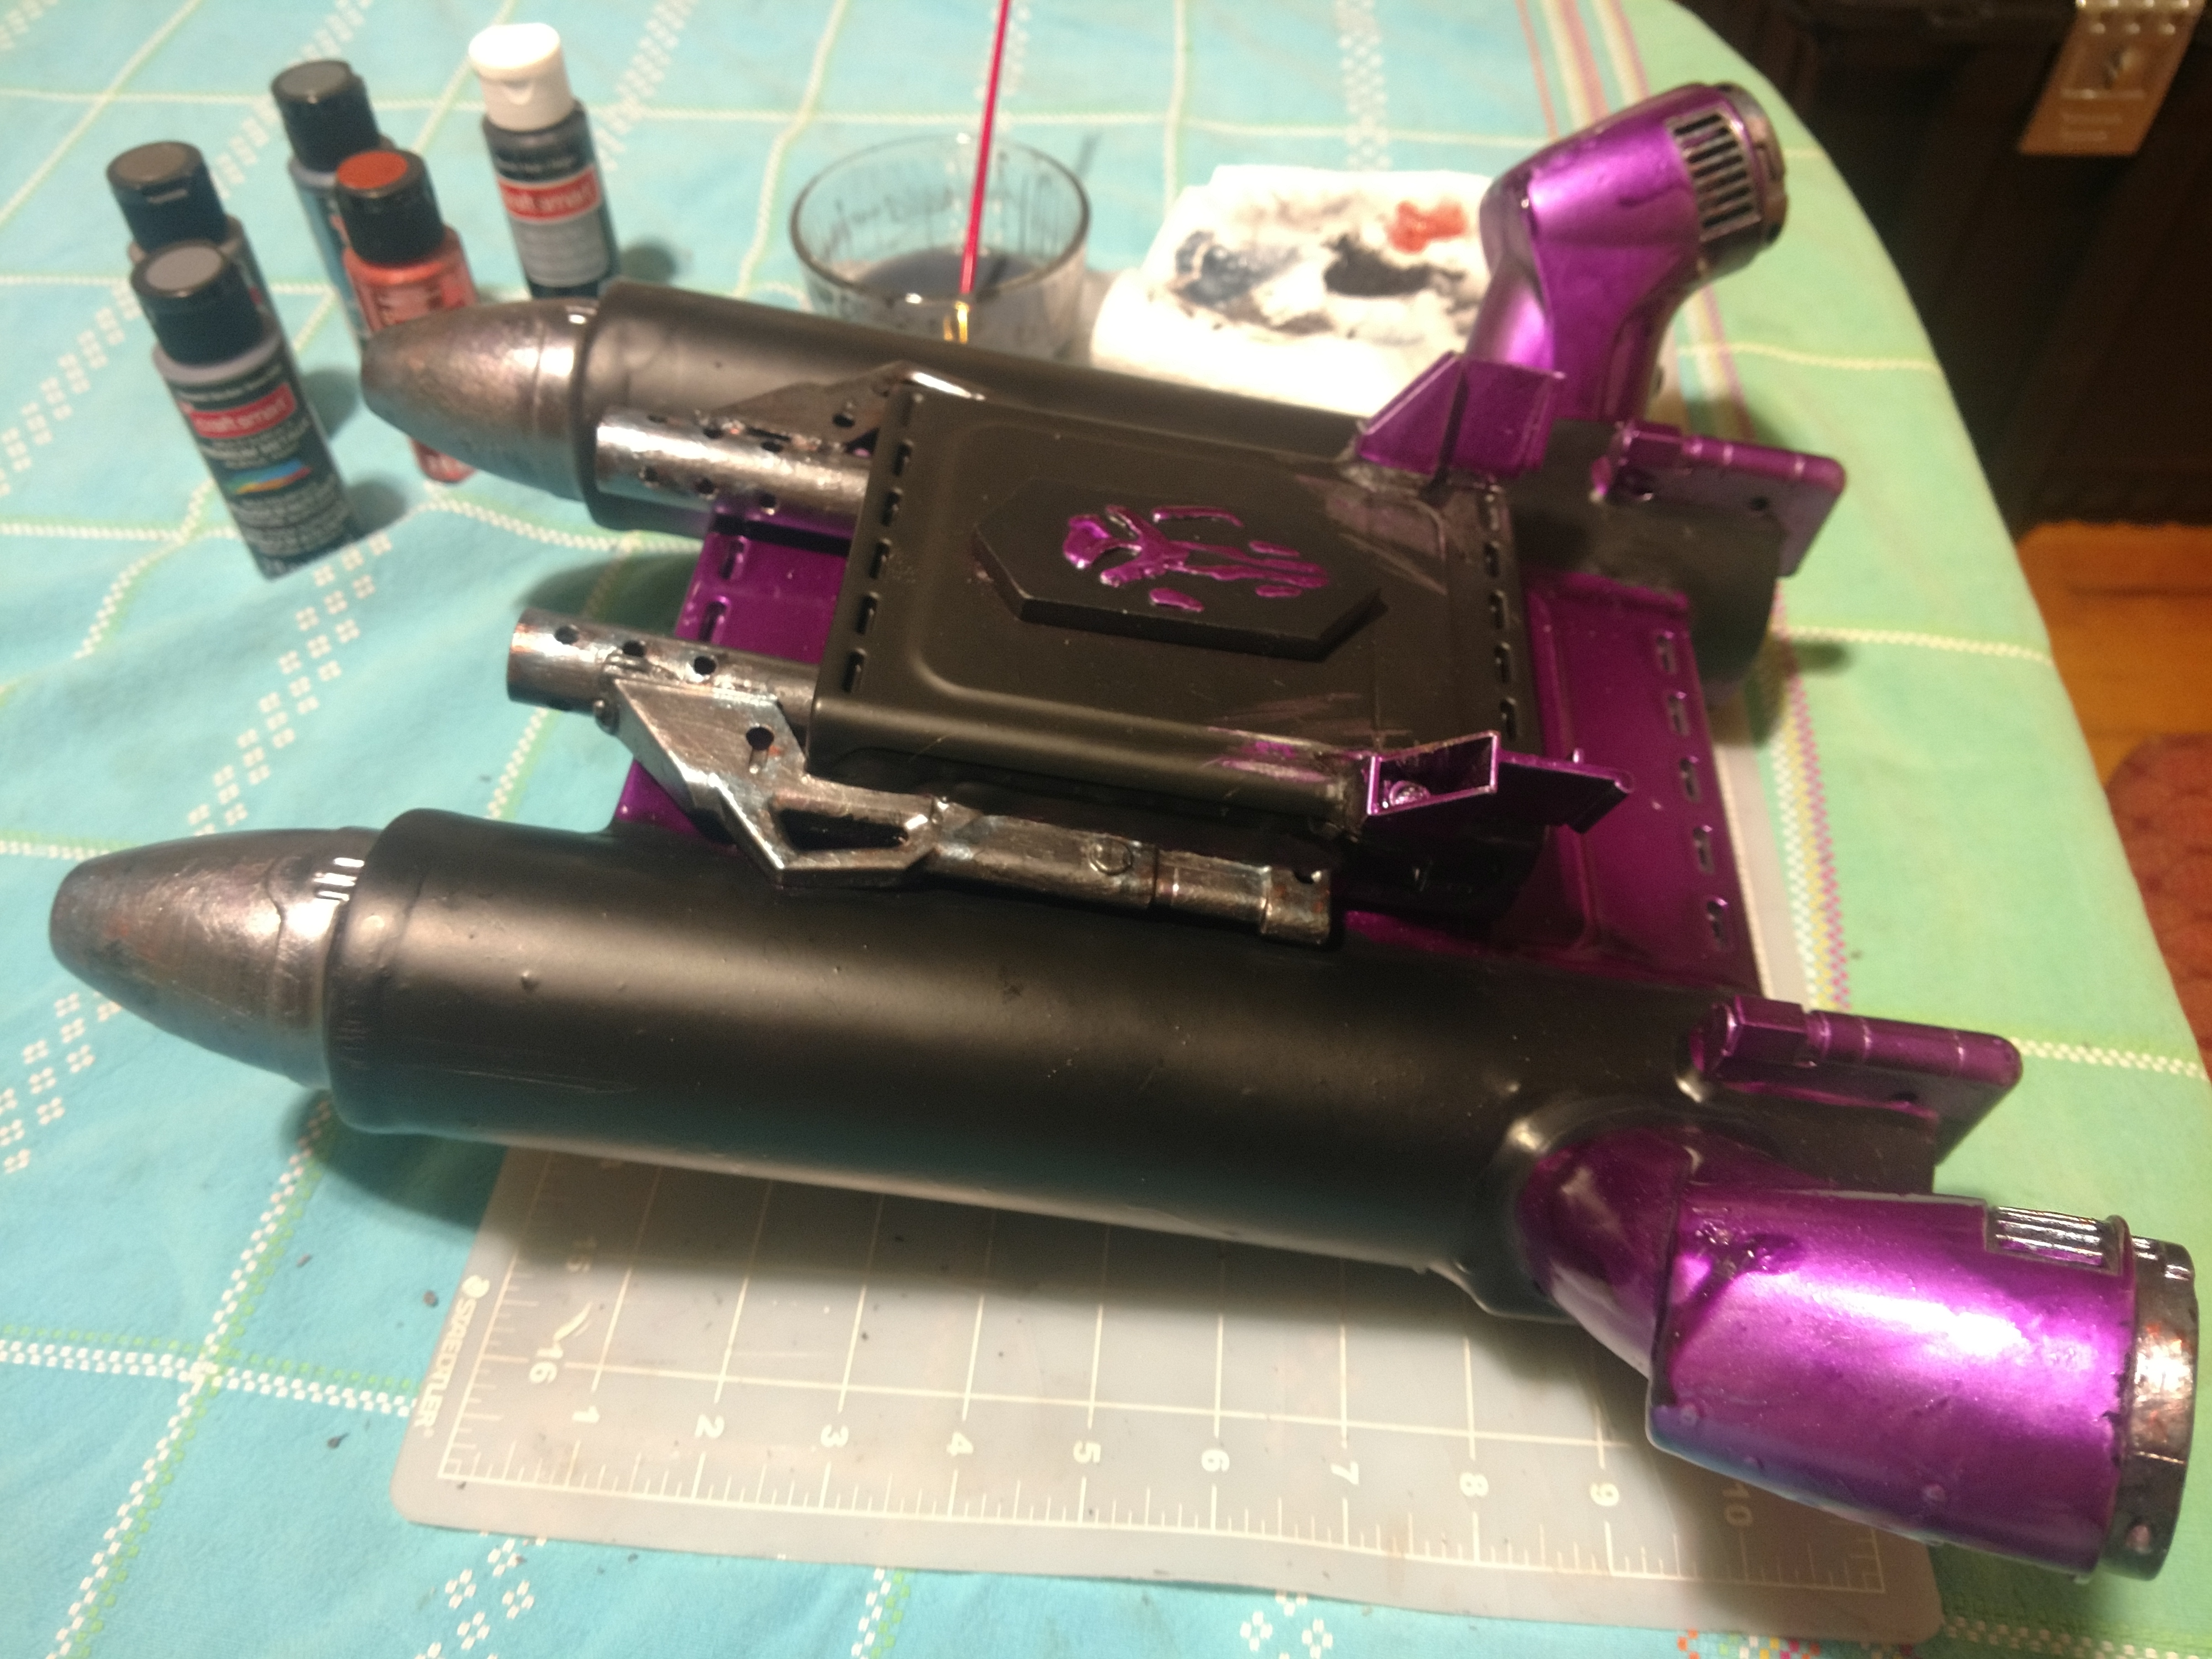
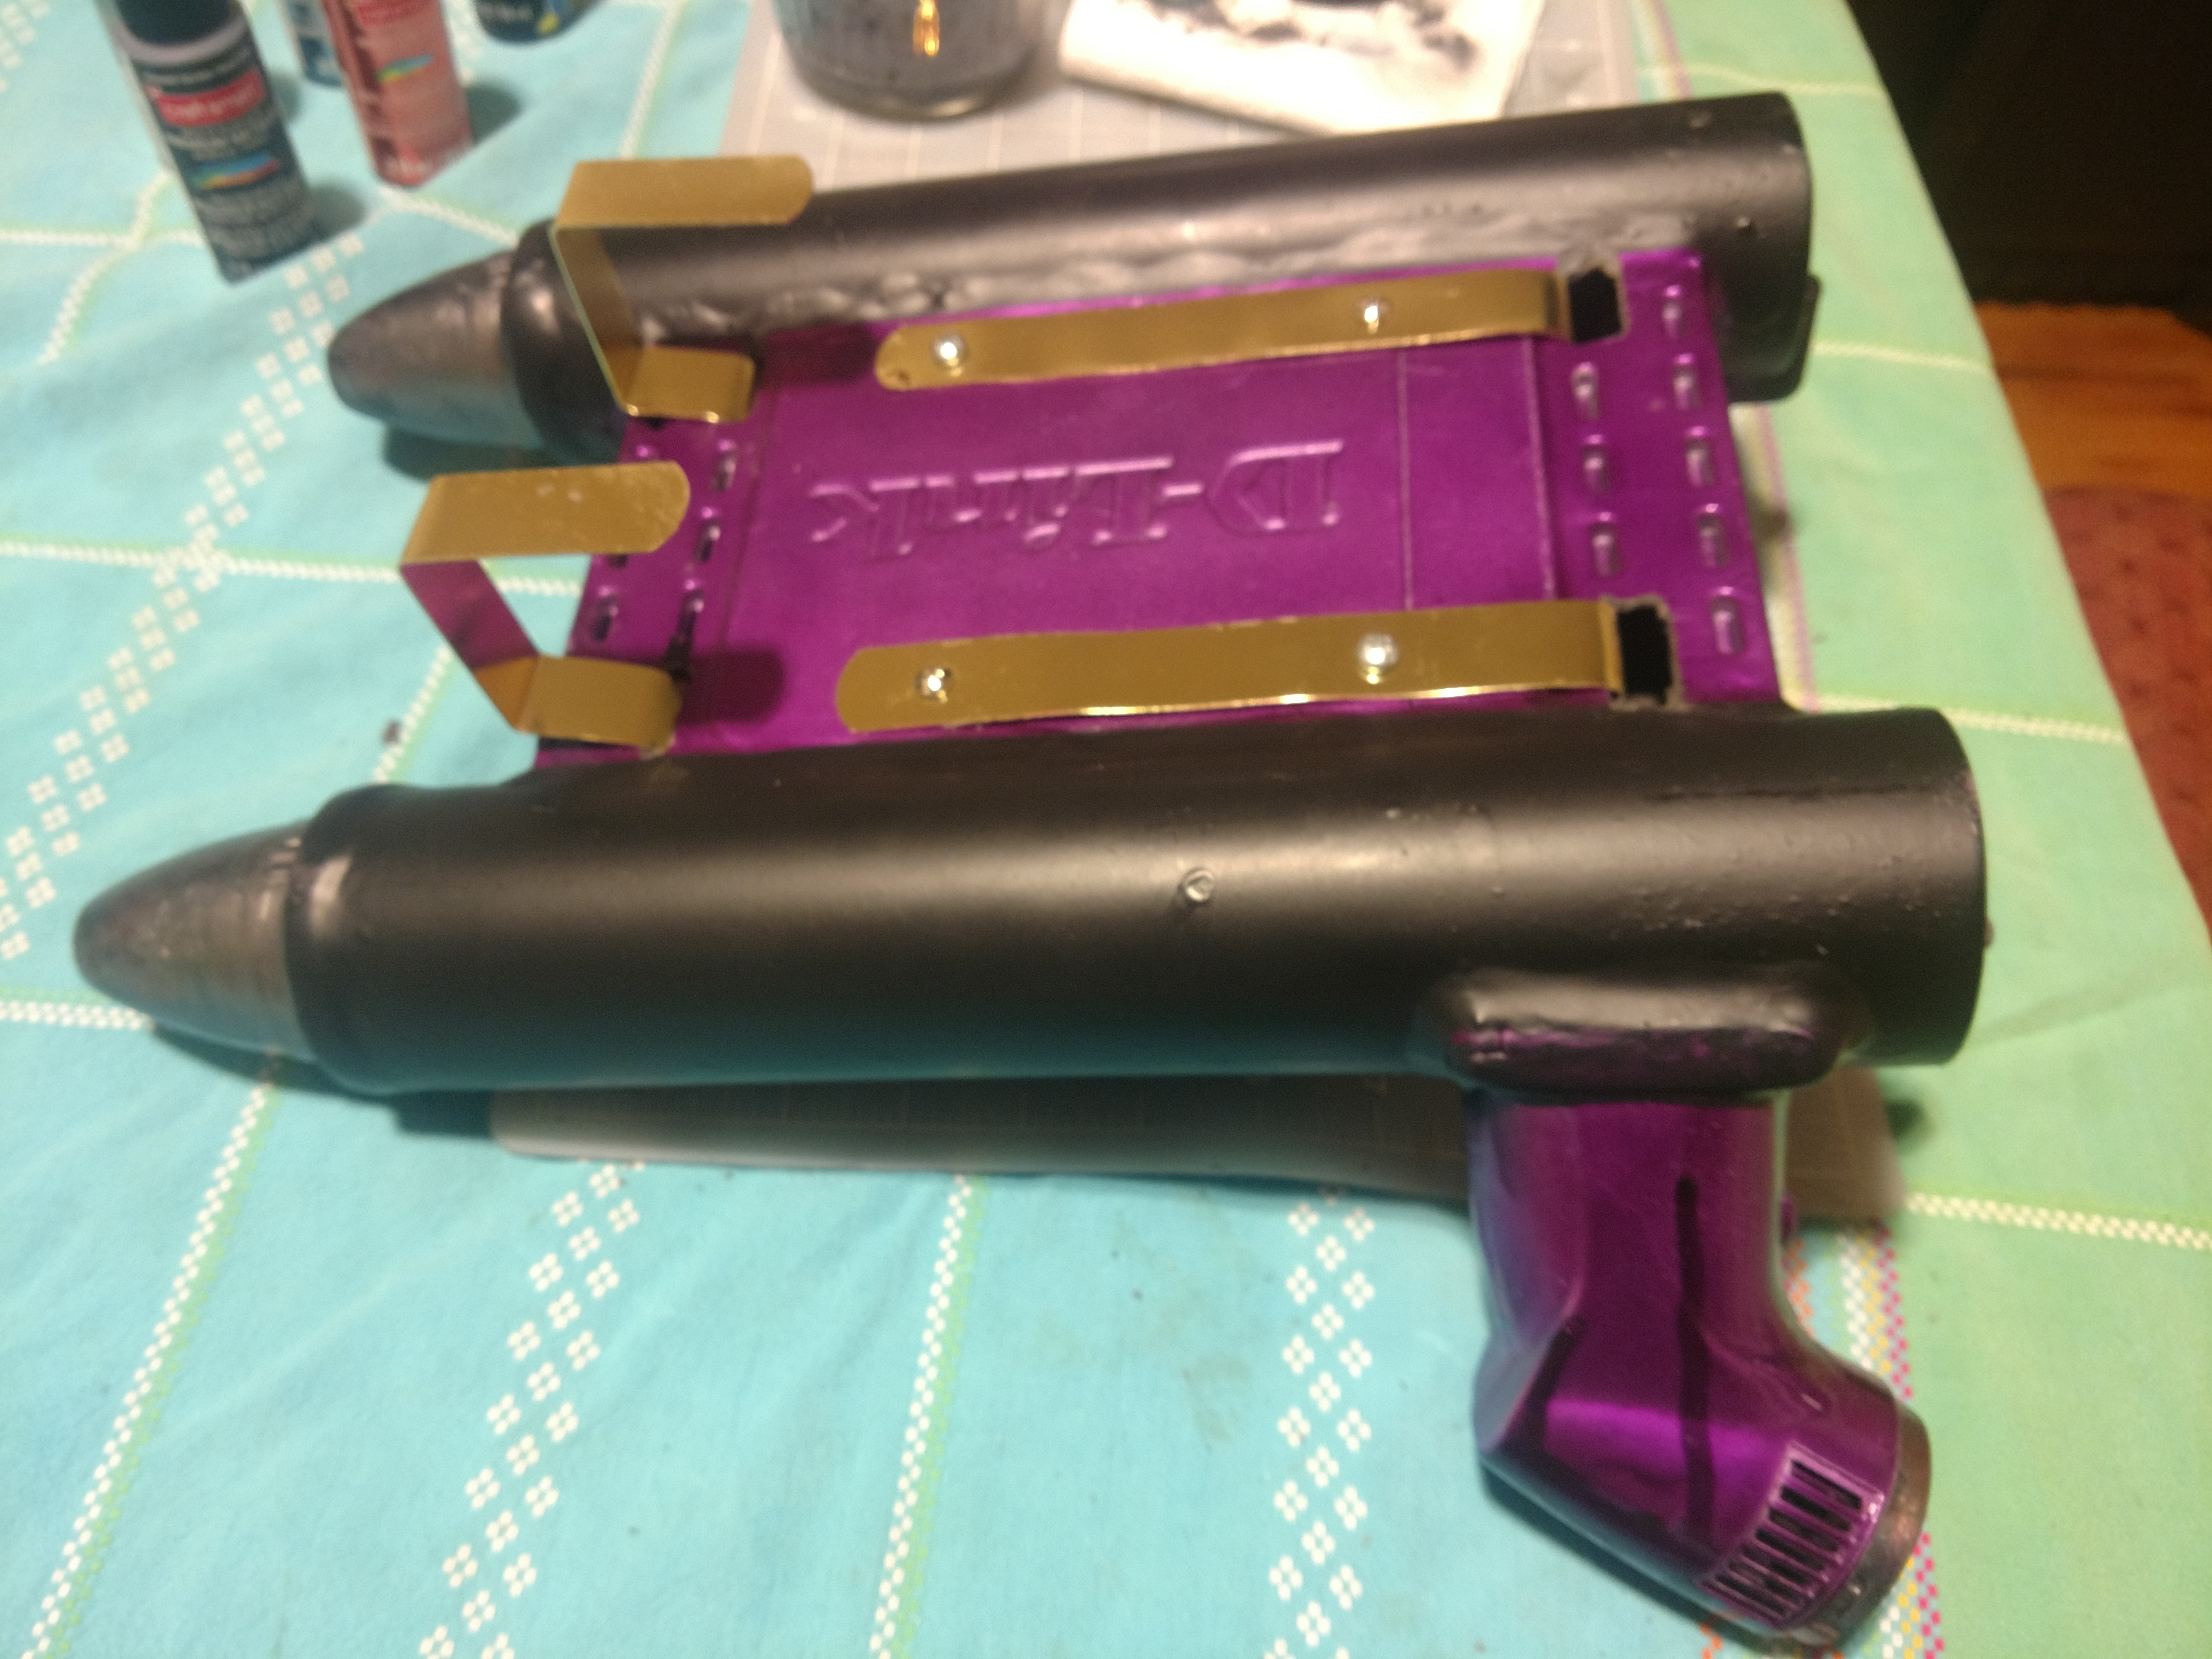
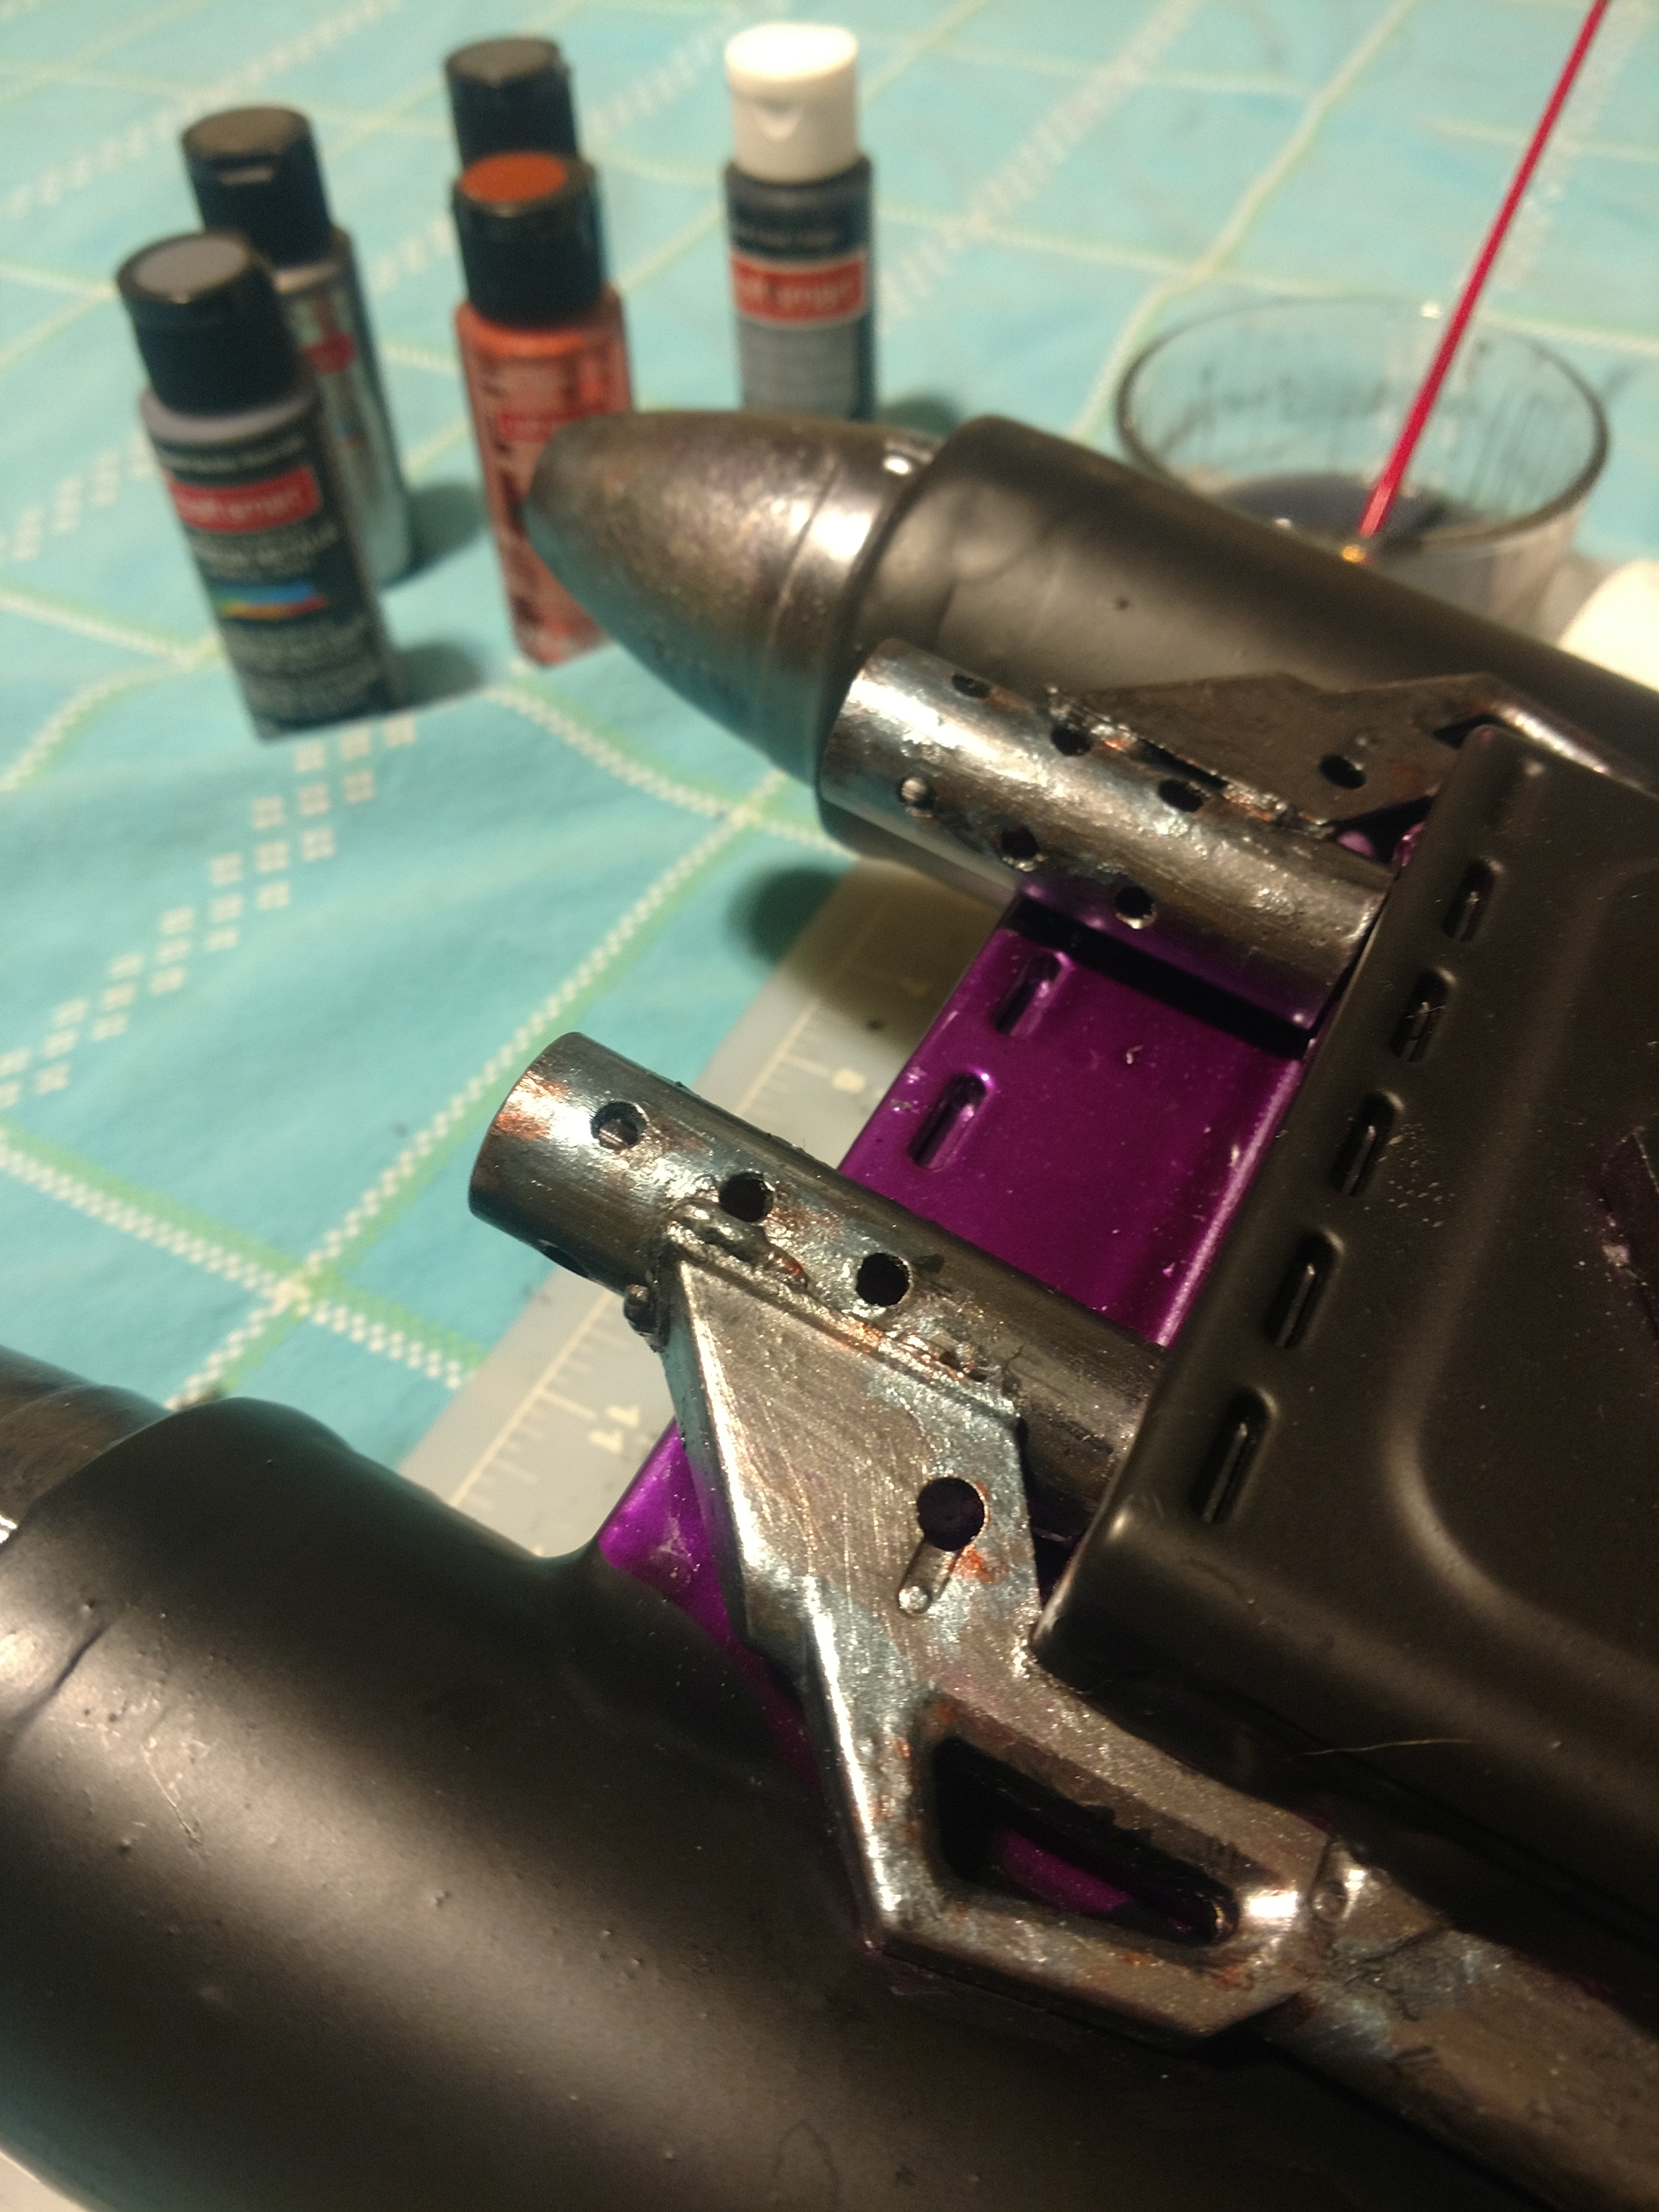
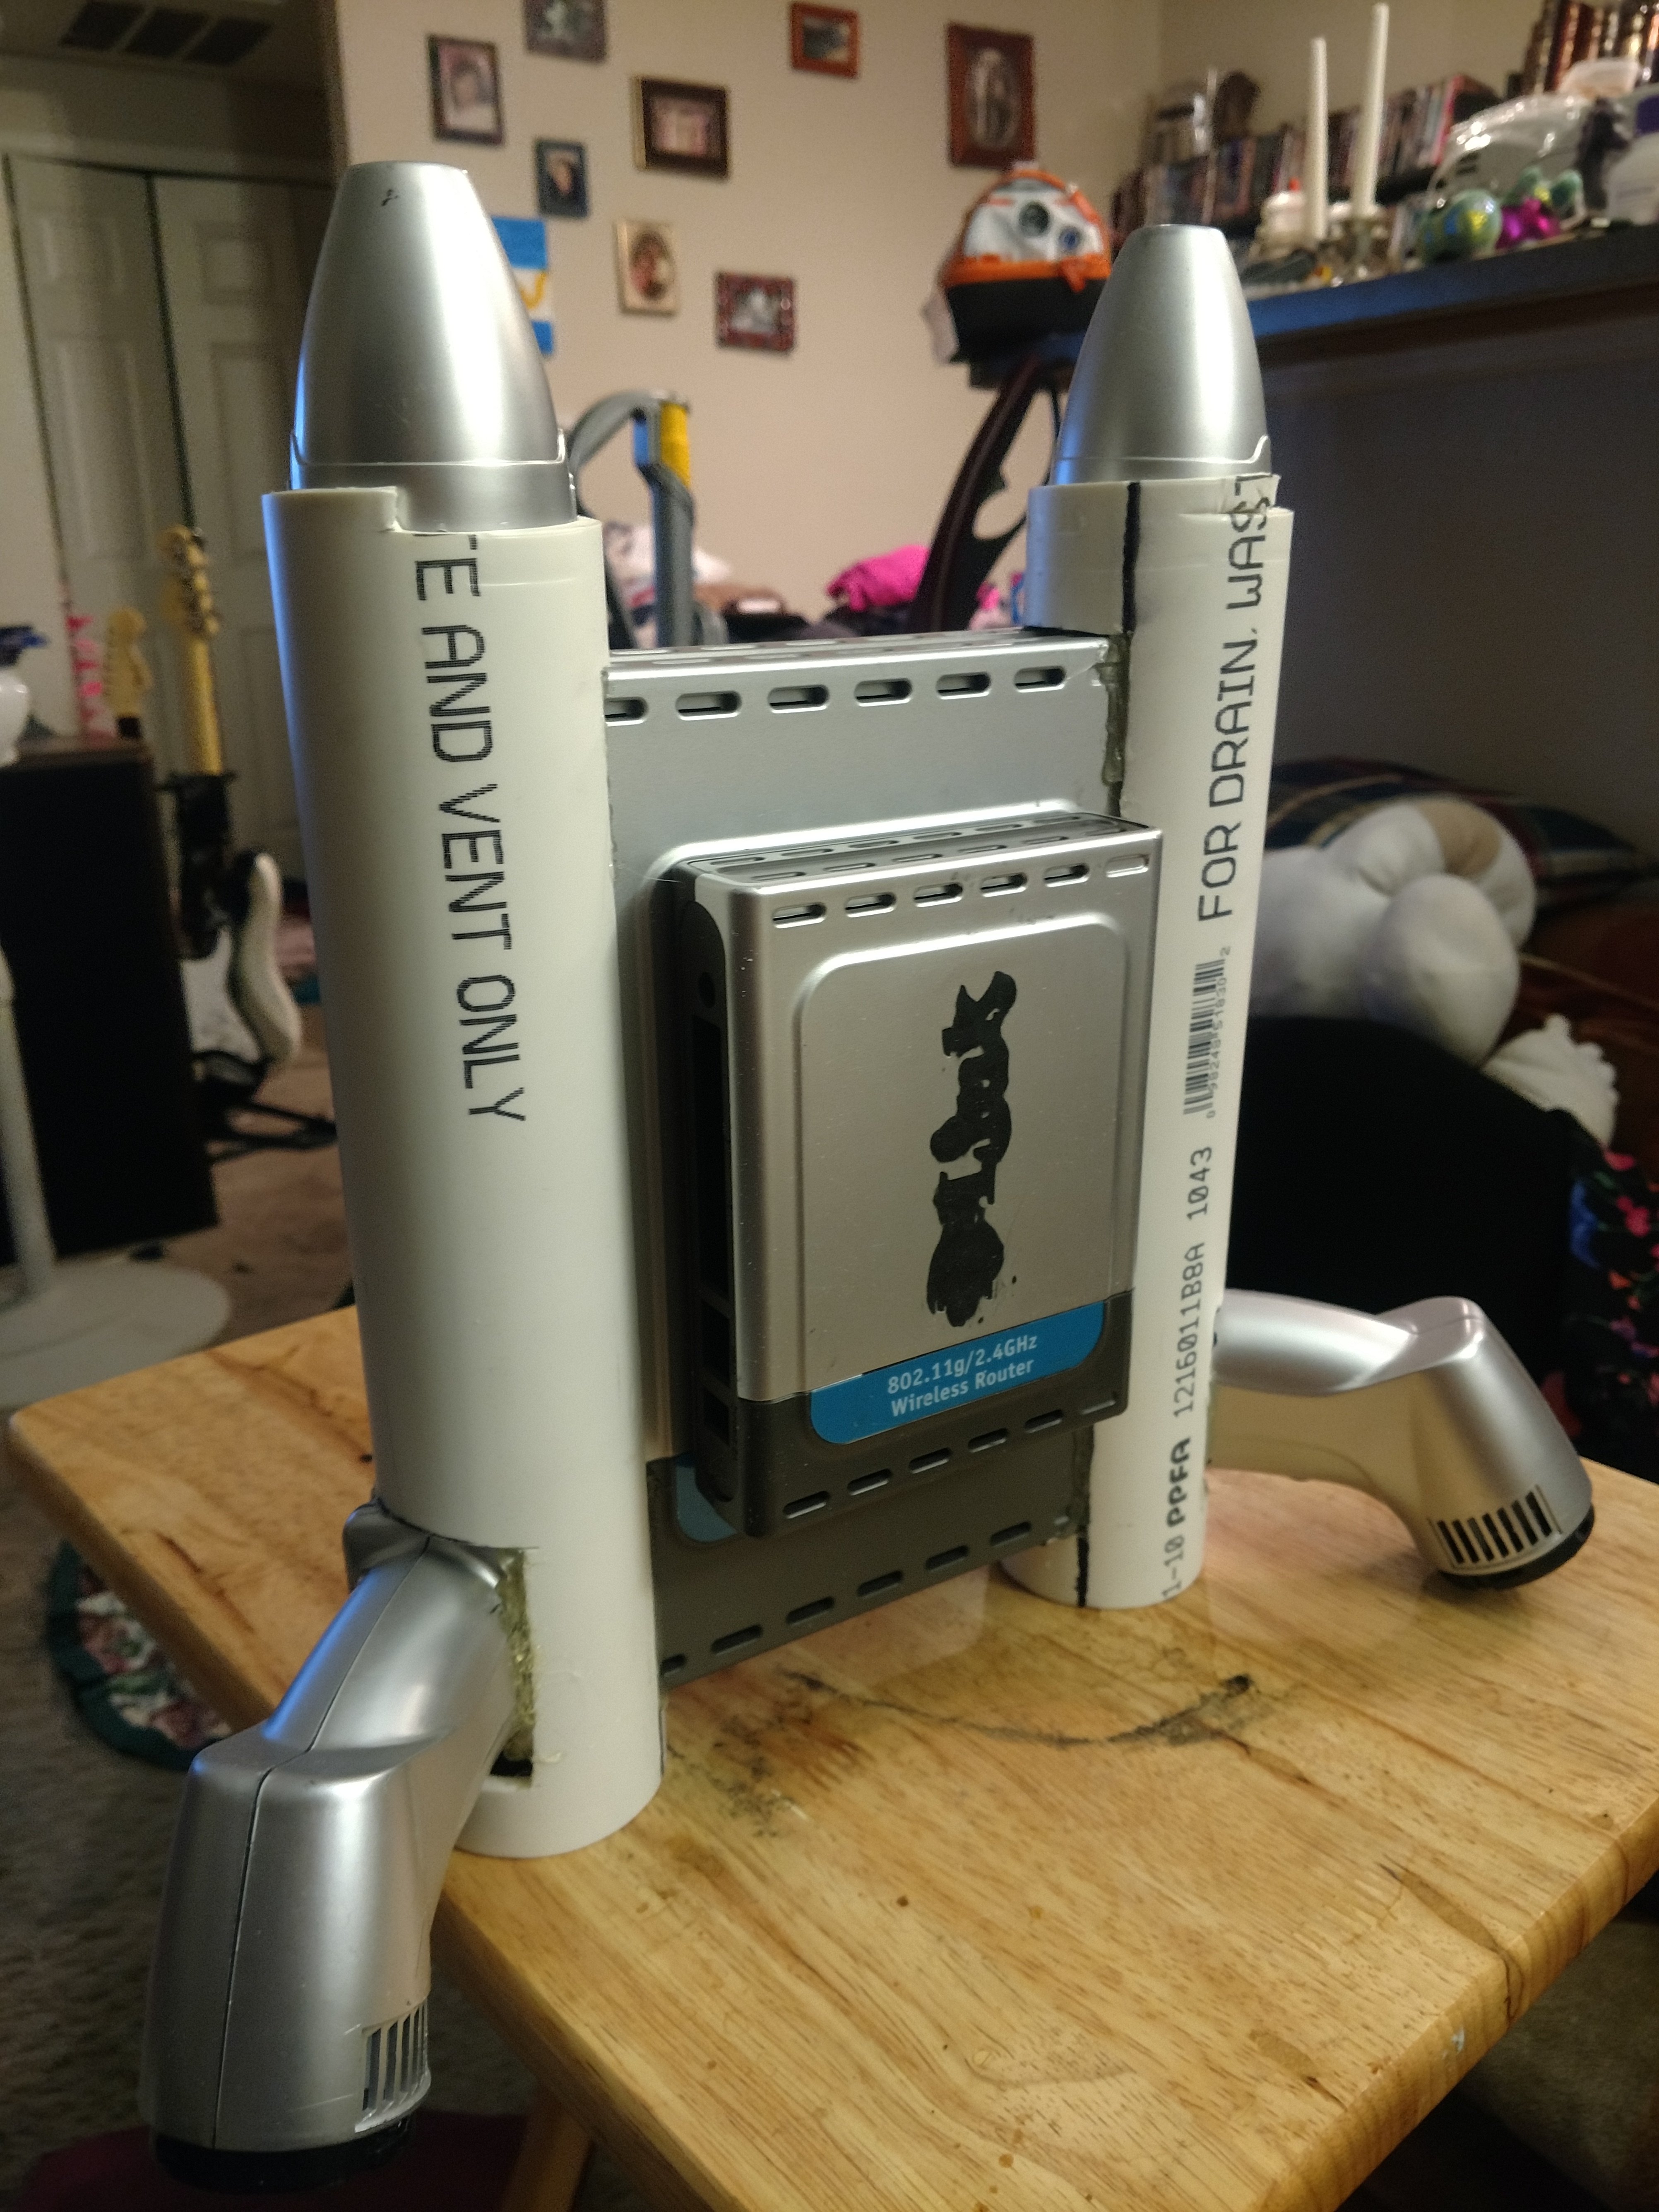
After getting a couple of old routers at the ARC down the street, I pulled everything out of them and started using the antennai for my helmet, but realized I could utilize the empty shells for something better. I put them together and along with a couple of 2 inch PVC tubes with slits cut in the middle. Afterwards, I found 2 old computer keyboard vacuums, took them apart and used the heads as the tips of rockets and the lower halves for exhaust vents. Somehow I managed to make the beginnings of a small jetpack after only spending $10.
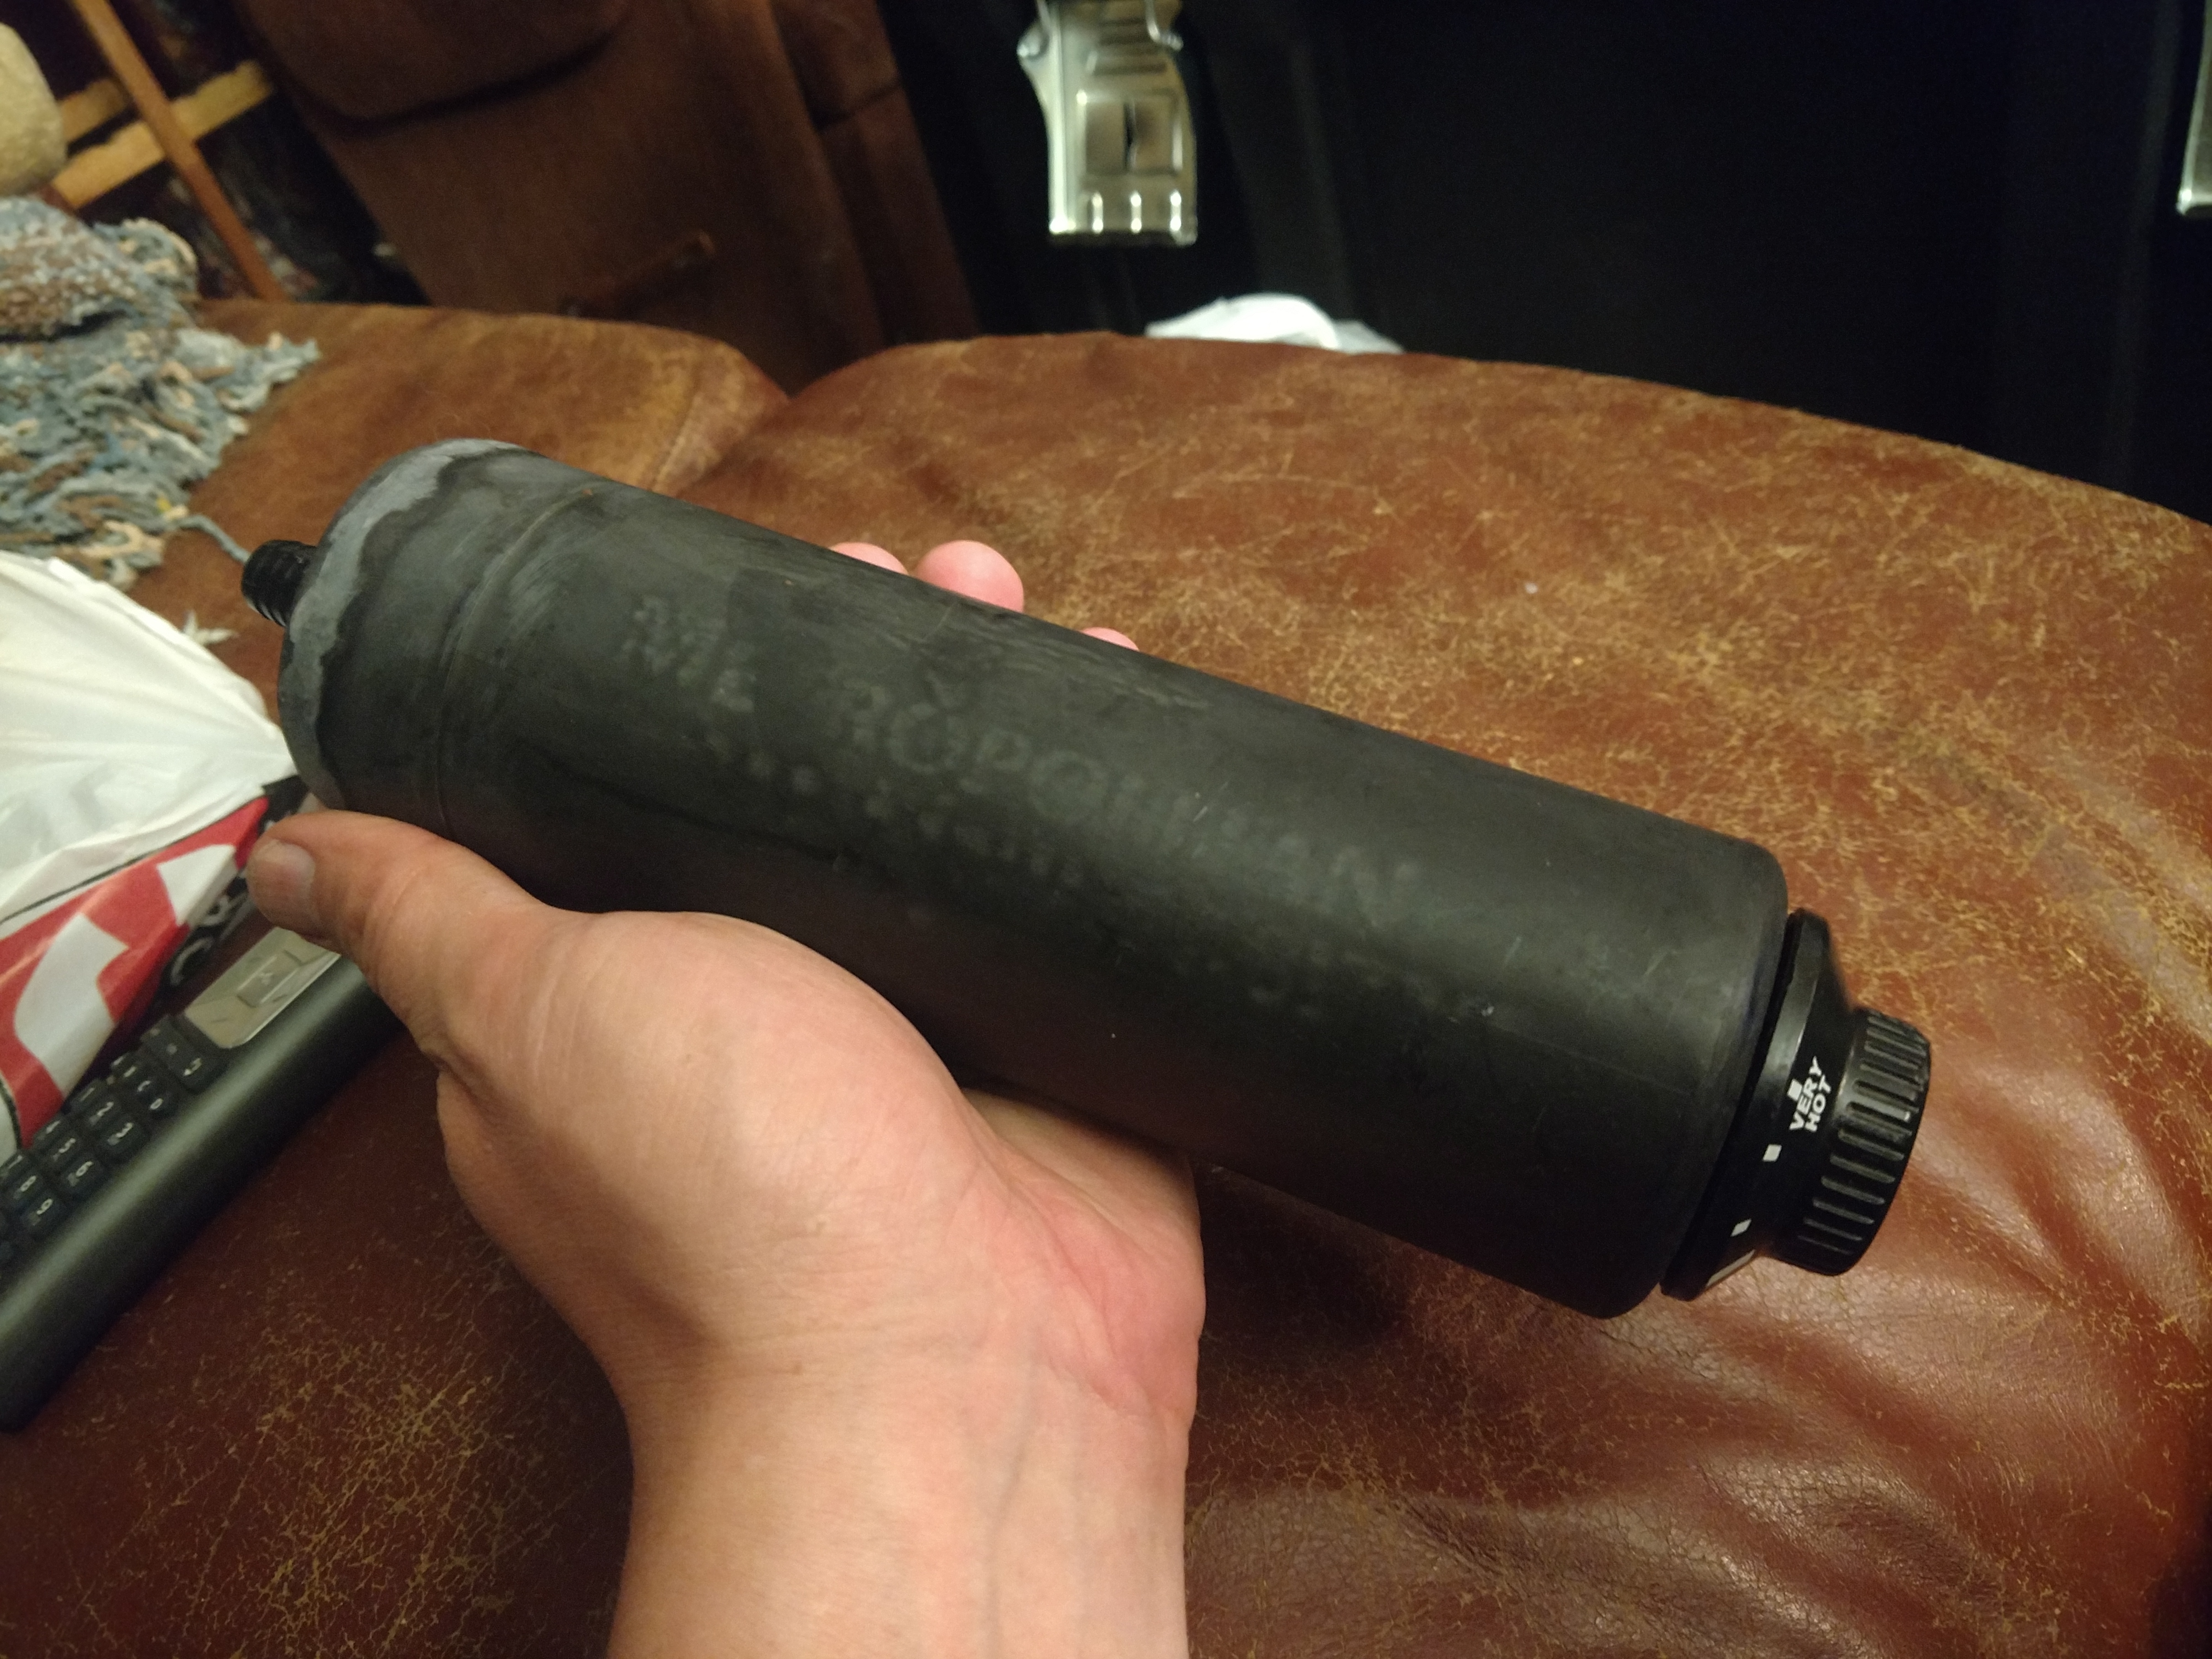
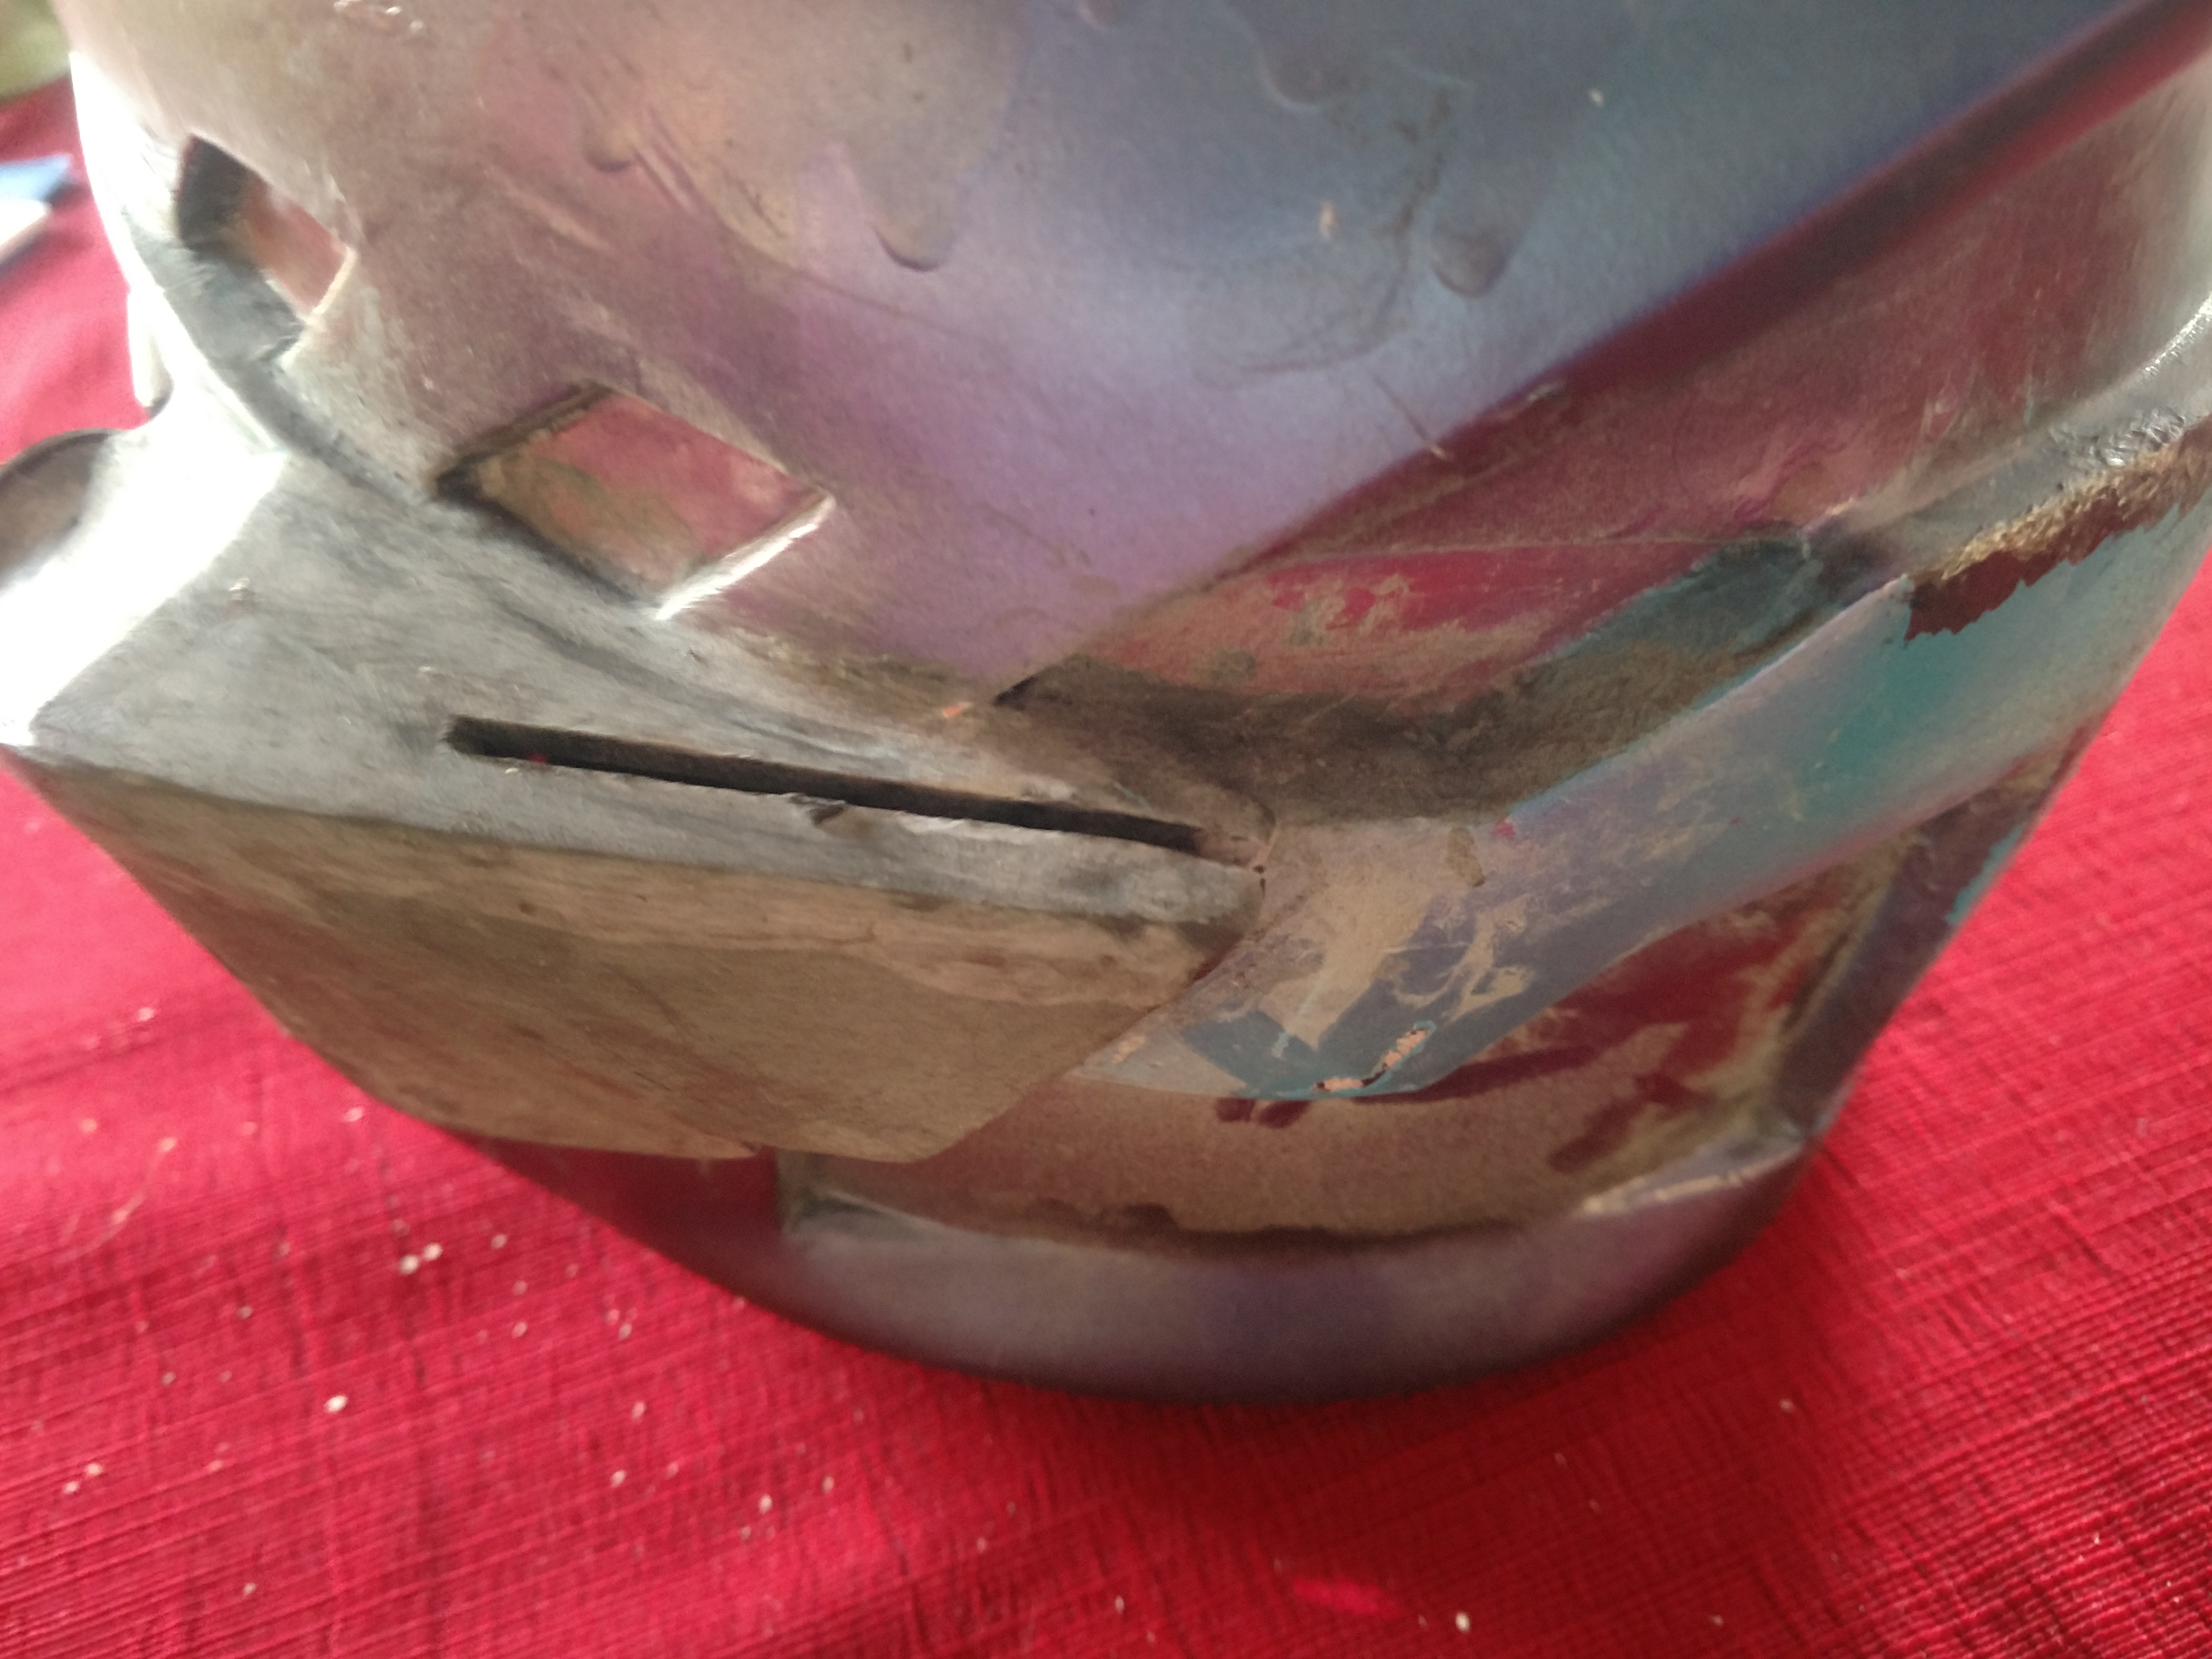
The other project I was working on was making a tank for the cutting tool I had made. I found a good easy to cut water bottle, cut off the cap end and sealed it with ABS. Then I installed a hose connector on one end and on the other I put a what looks to be an old camping stove dial on the other and made it move. I will make some kind of leather harness for it later and attach it to the back of my belt.
Additionally, while I have not gotten them sewn in yet, I did attach the LED lights to my gloves. I like the way they look, but will probably use some apoxie sculpt to make them into one piece.
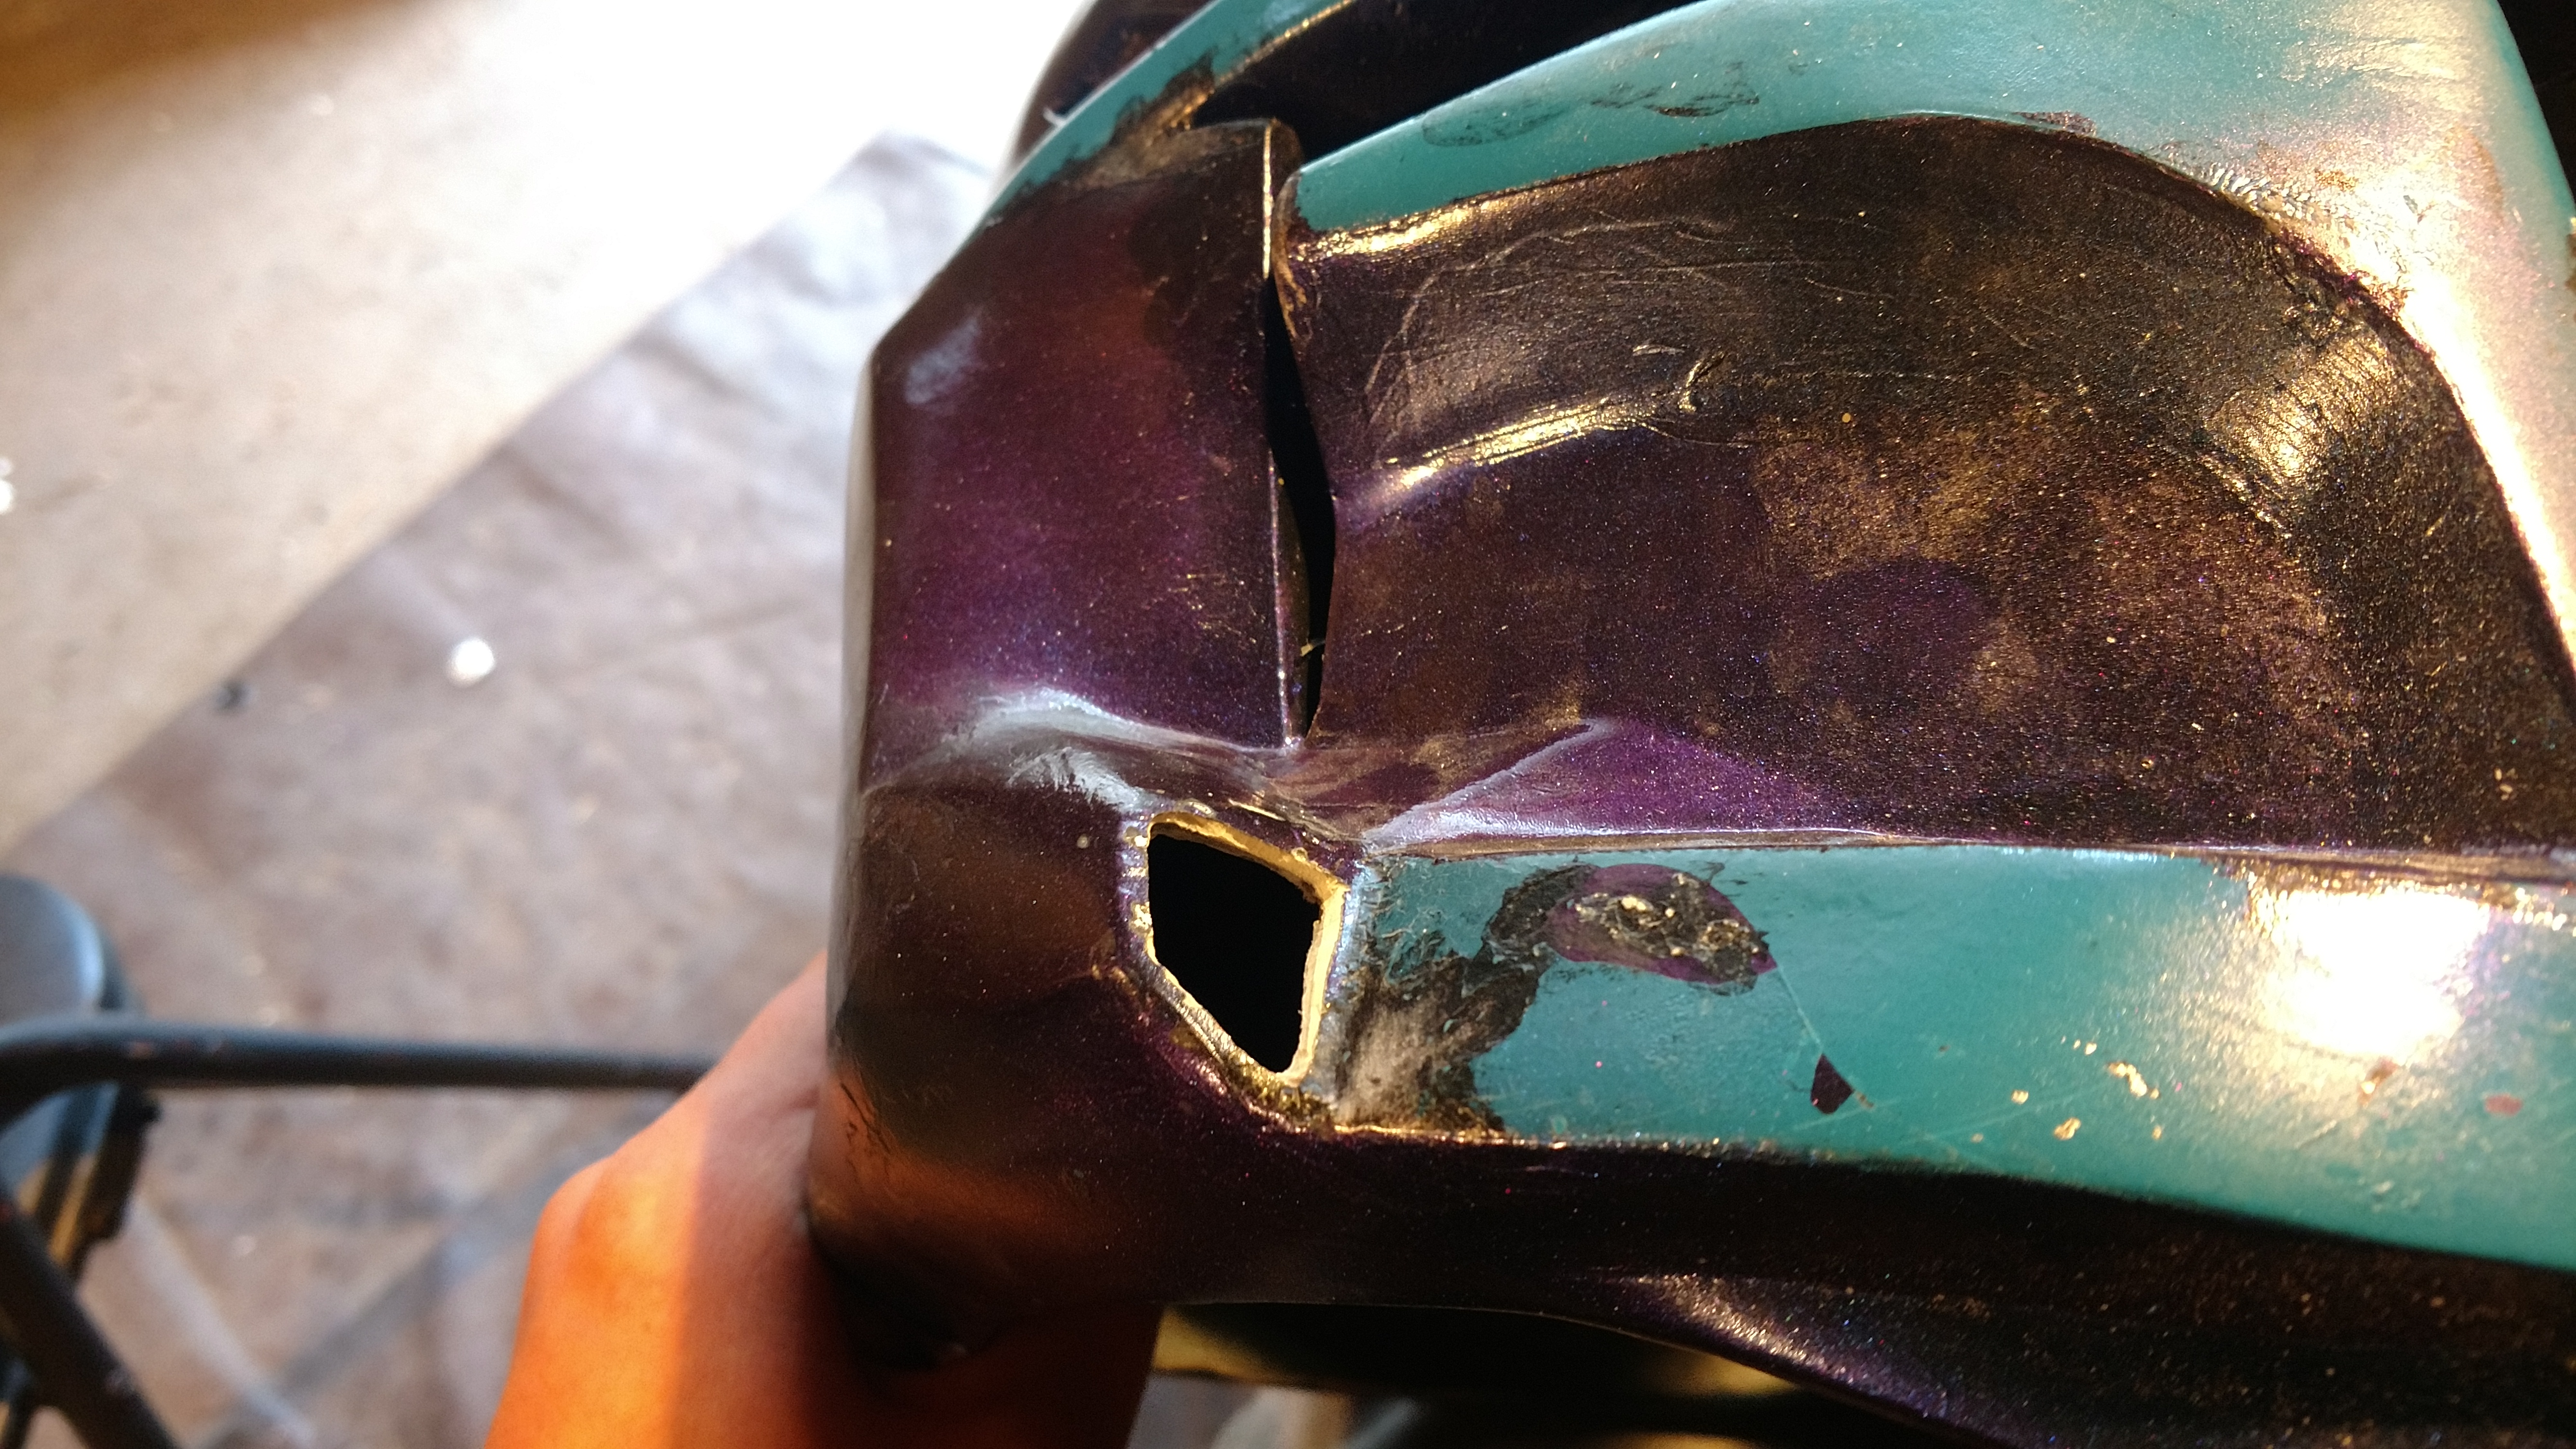
Probably one of the scariest things throughout the making of all my armor was cutting into my finished helmet directly into the side to install the antennai housing. I was so afraid I was going to ruin it.
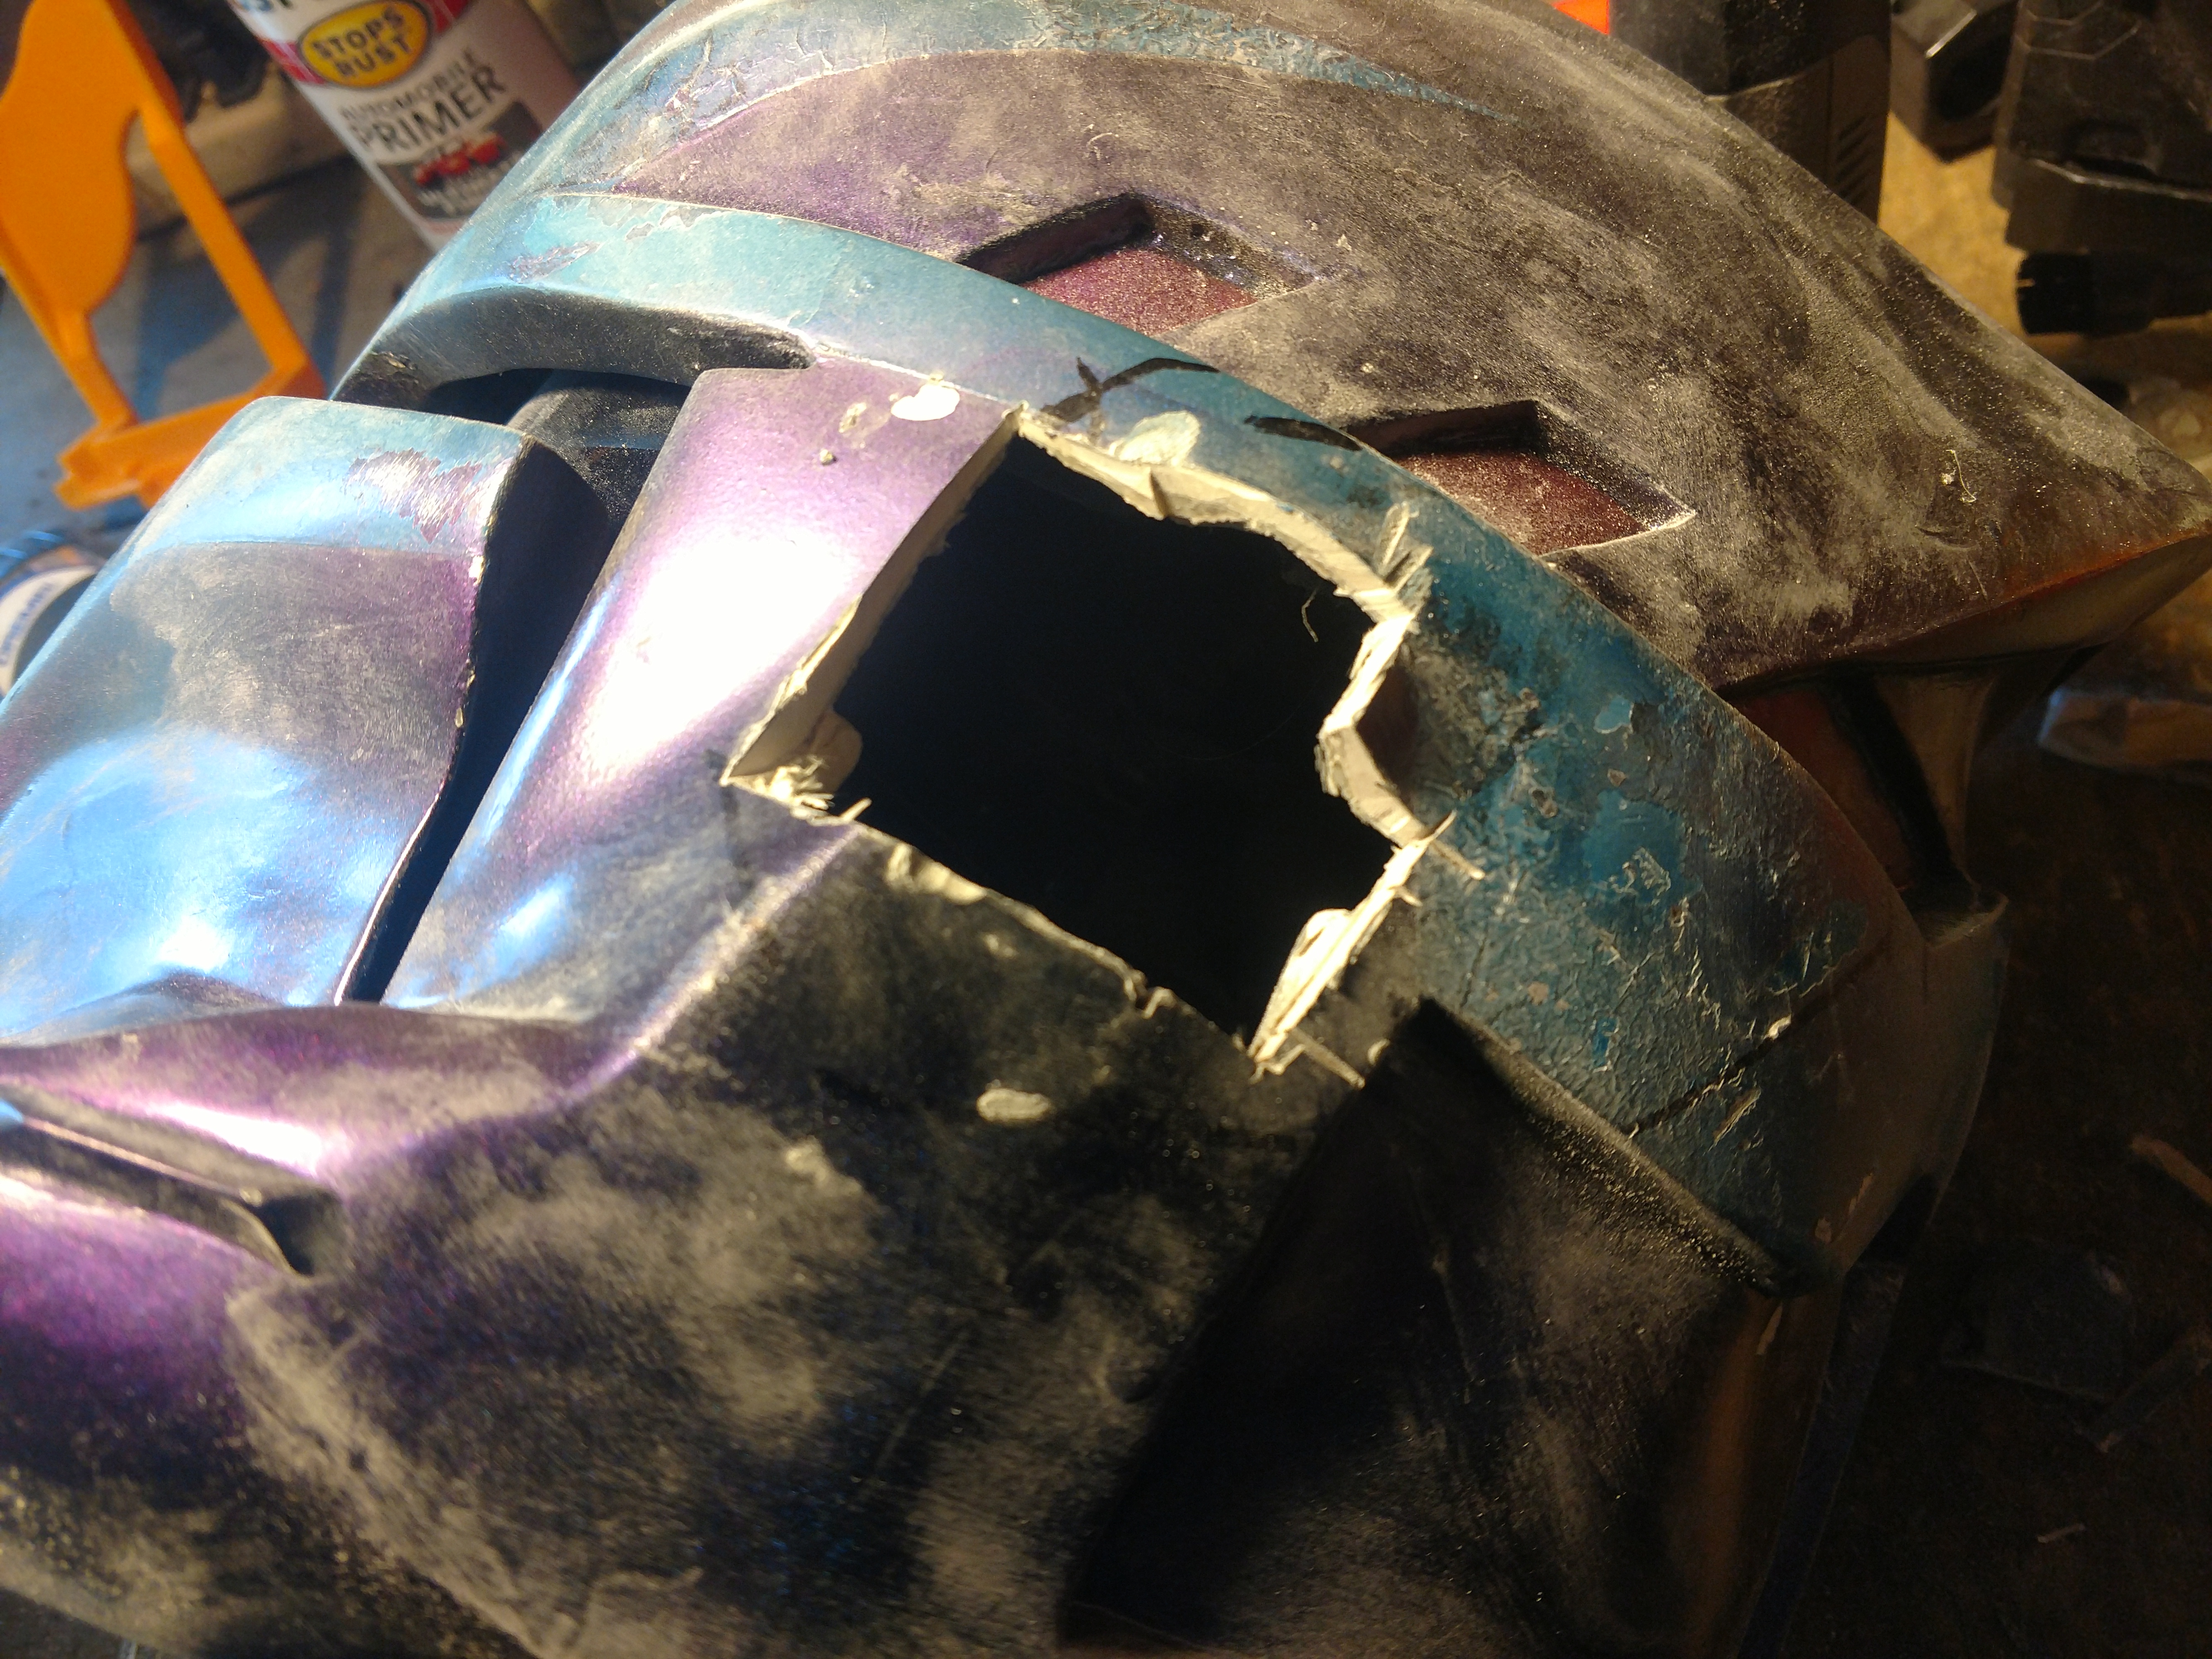
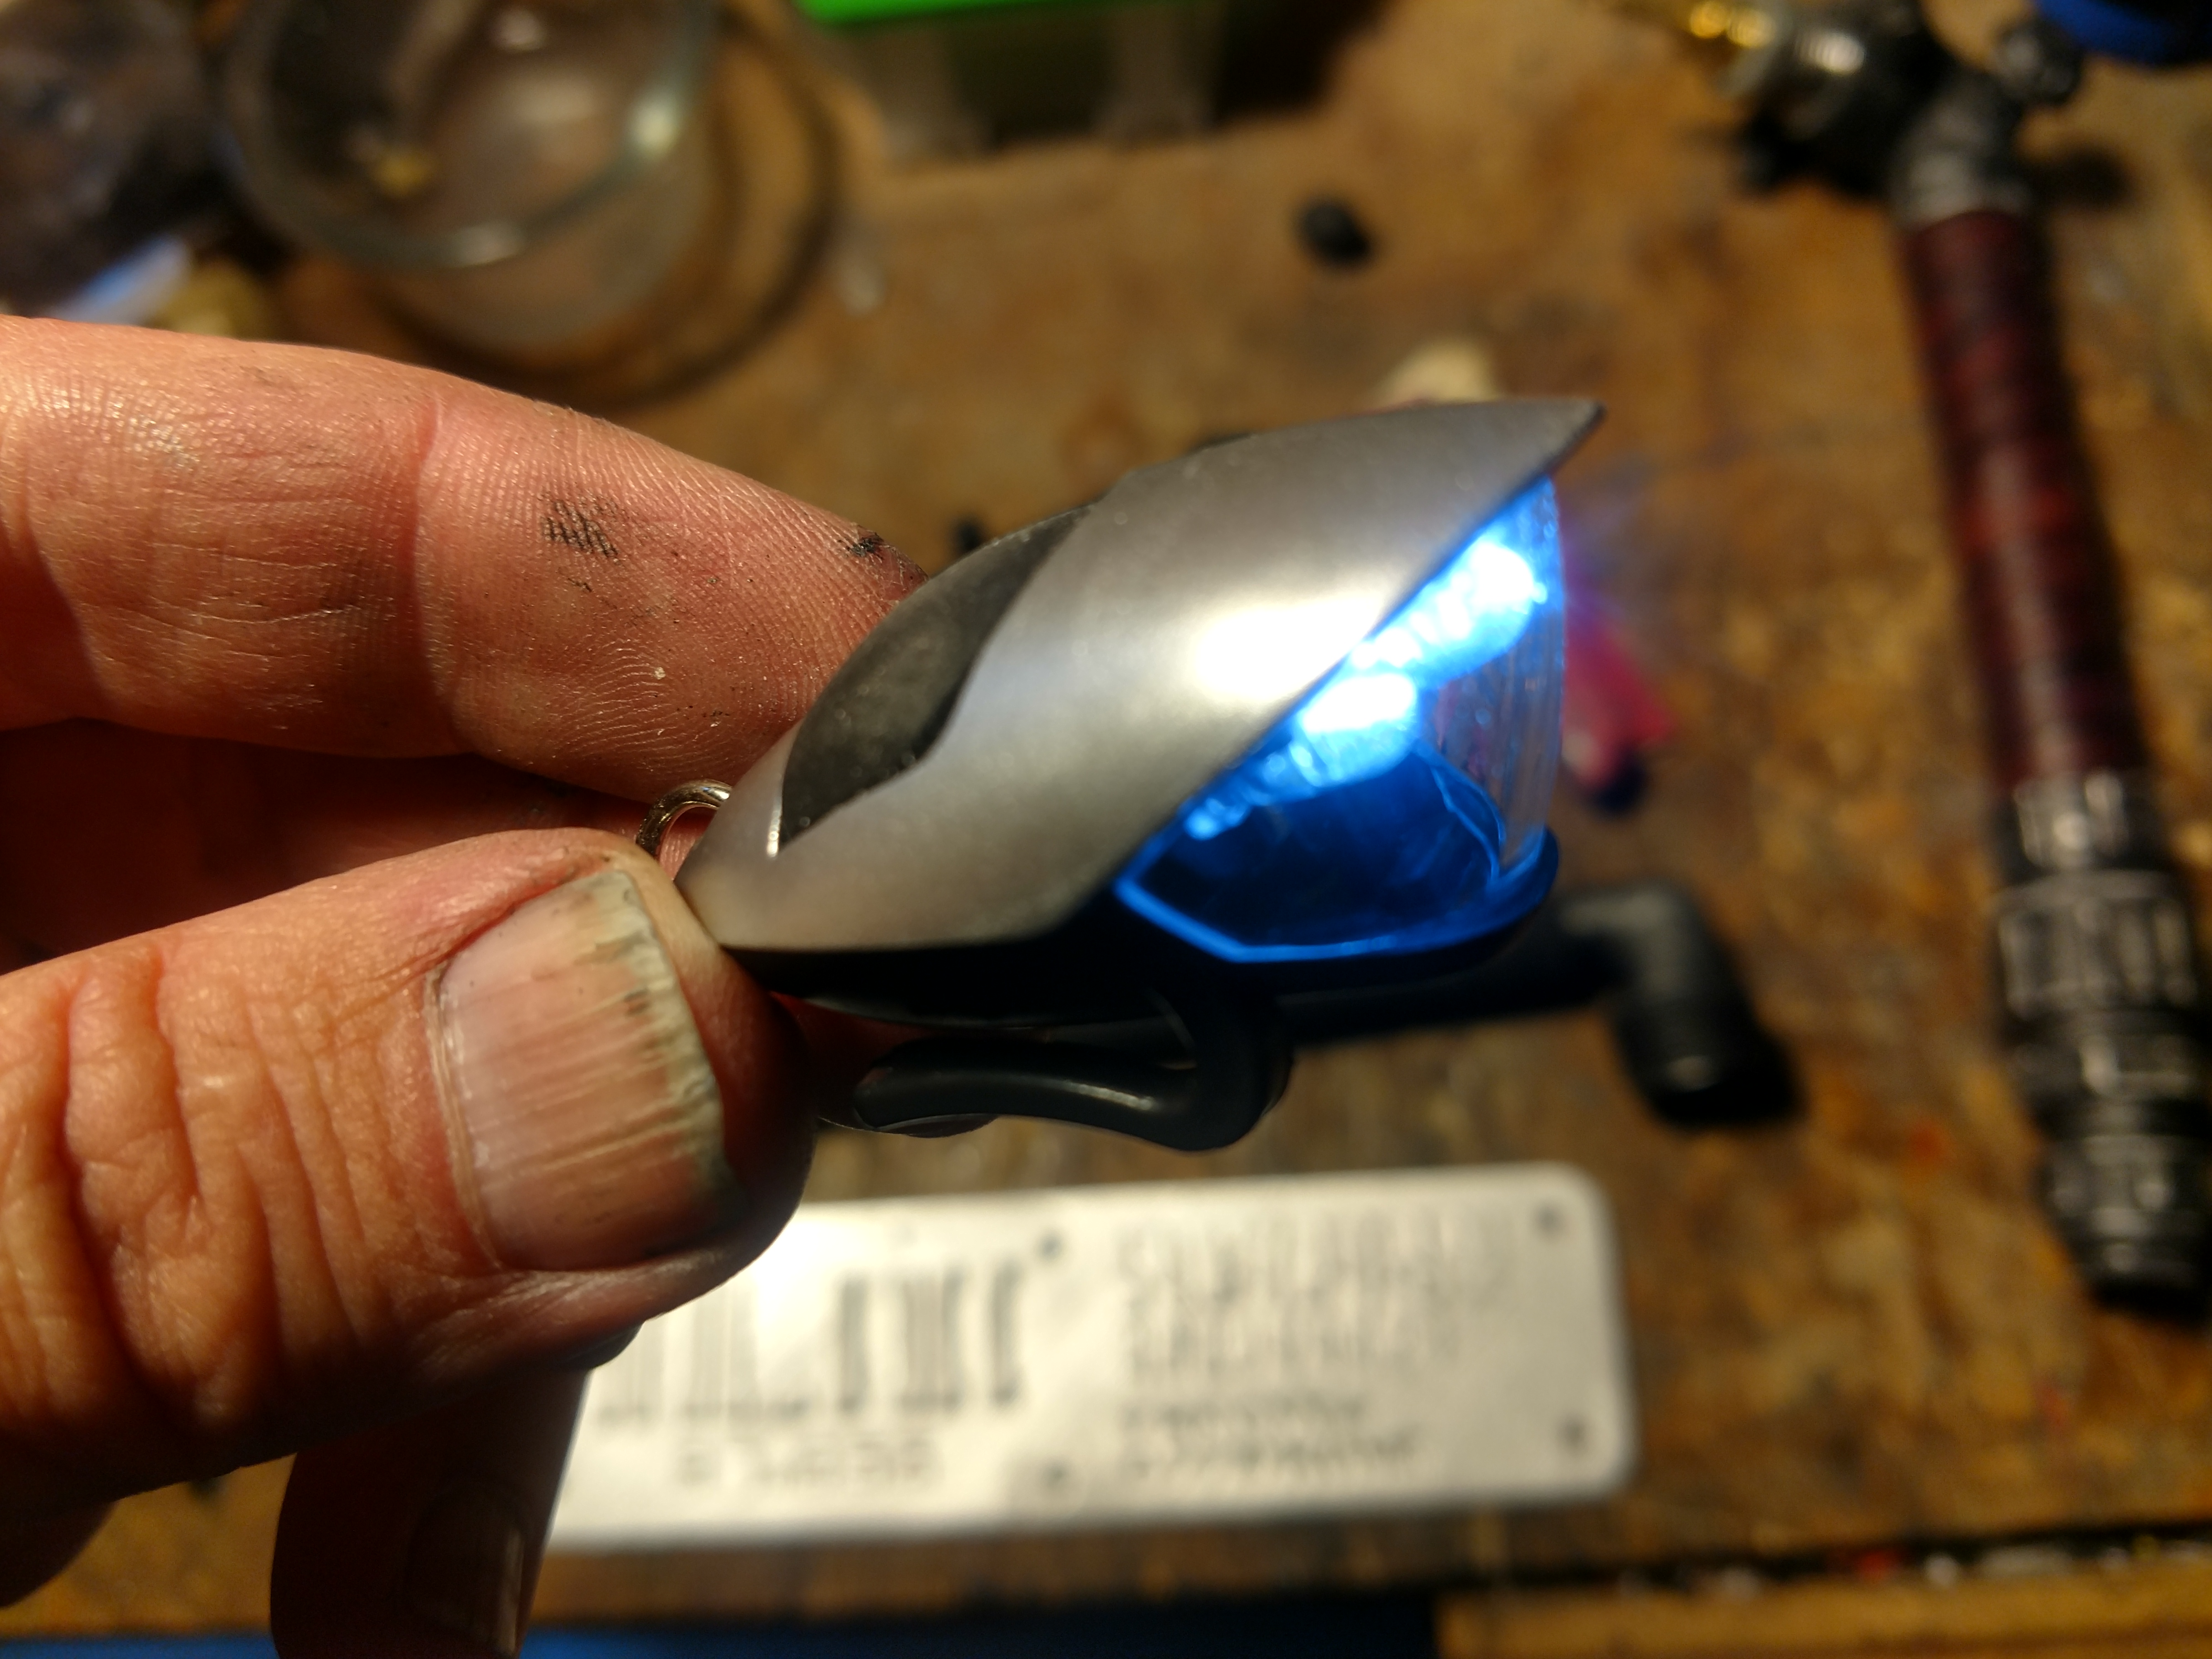
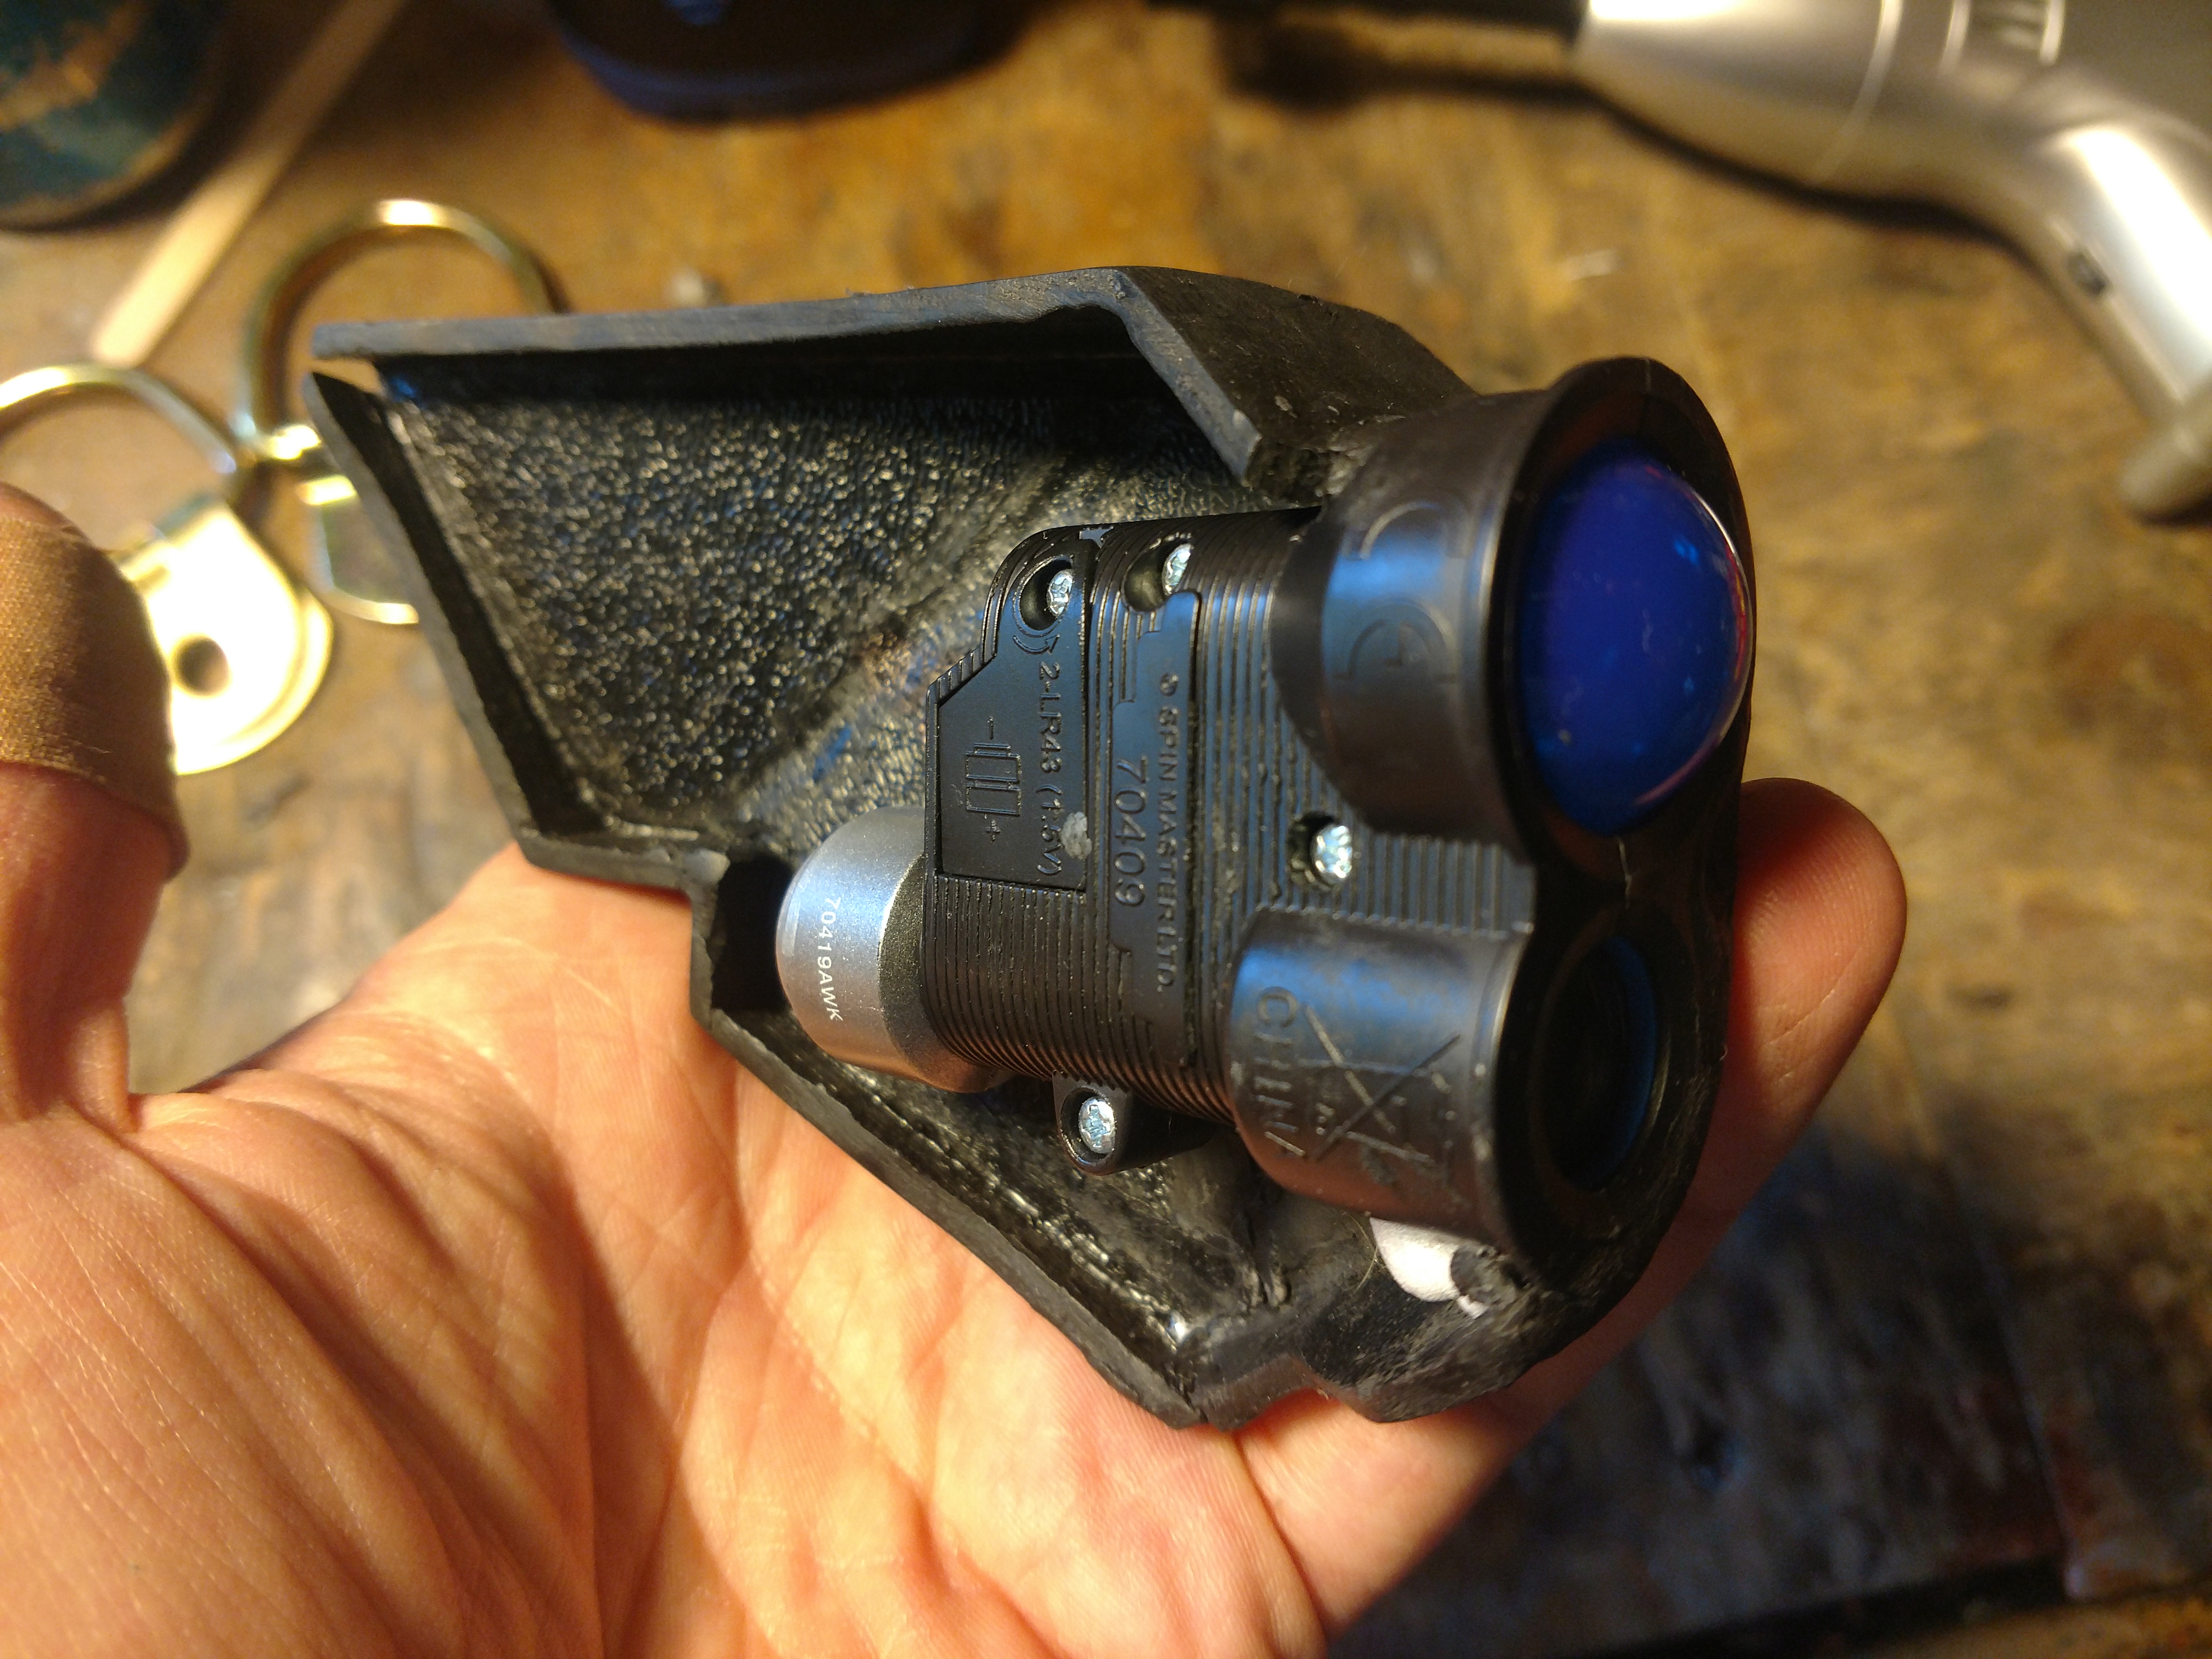
At first I was just going to do the normal housing, but I came across a small little spy gear toy that I thought looked great for additional visual sensors on the helmet. I went ahead and installed it into the housing first and then proceeded to install the whole thing on the helmet.
After a short delay of the holidays, I started working on everything again. I started by creating a new antenna for my helmet. I did not want the standard one that you find everywhere else and also did not want it looking like my equipment I plan on putting on my back.
I started by cutting out the ruff shape I wanted from spare ABS I had laying around and cutting a slit in the housing I had created earlier. Once I had it to where it would fit properly I trimmed the antenna and made a hole for it to pivot on a screw or other rod.

Once I got that all taken care of I started to add a few greeblies and made some extra parts to the antenna using apoxie sculpt. I want to add a few copper wirings to the circular bit under the small clamp and attach them to the sphere part later. Once I am done with that I will clean them up for painting.
Recently I found that my Flightsuit was needing an upgrade, so I decided to endeavor in sewing my own using this pattern.

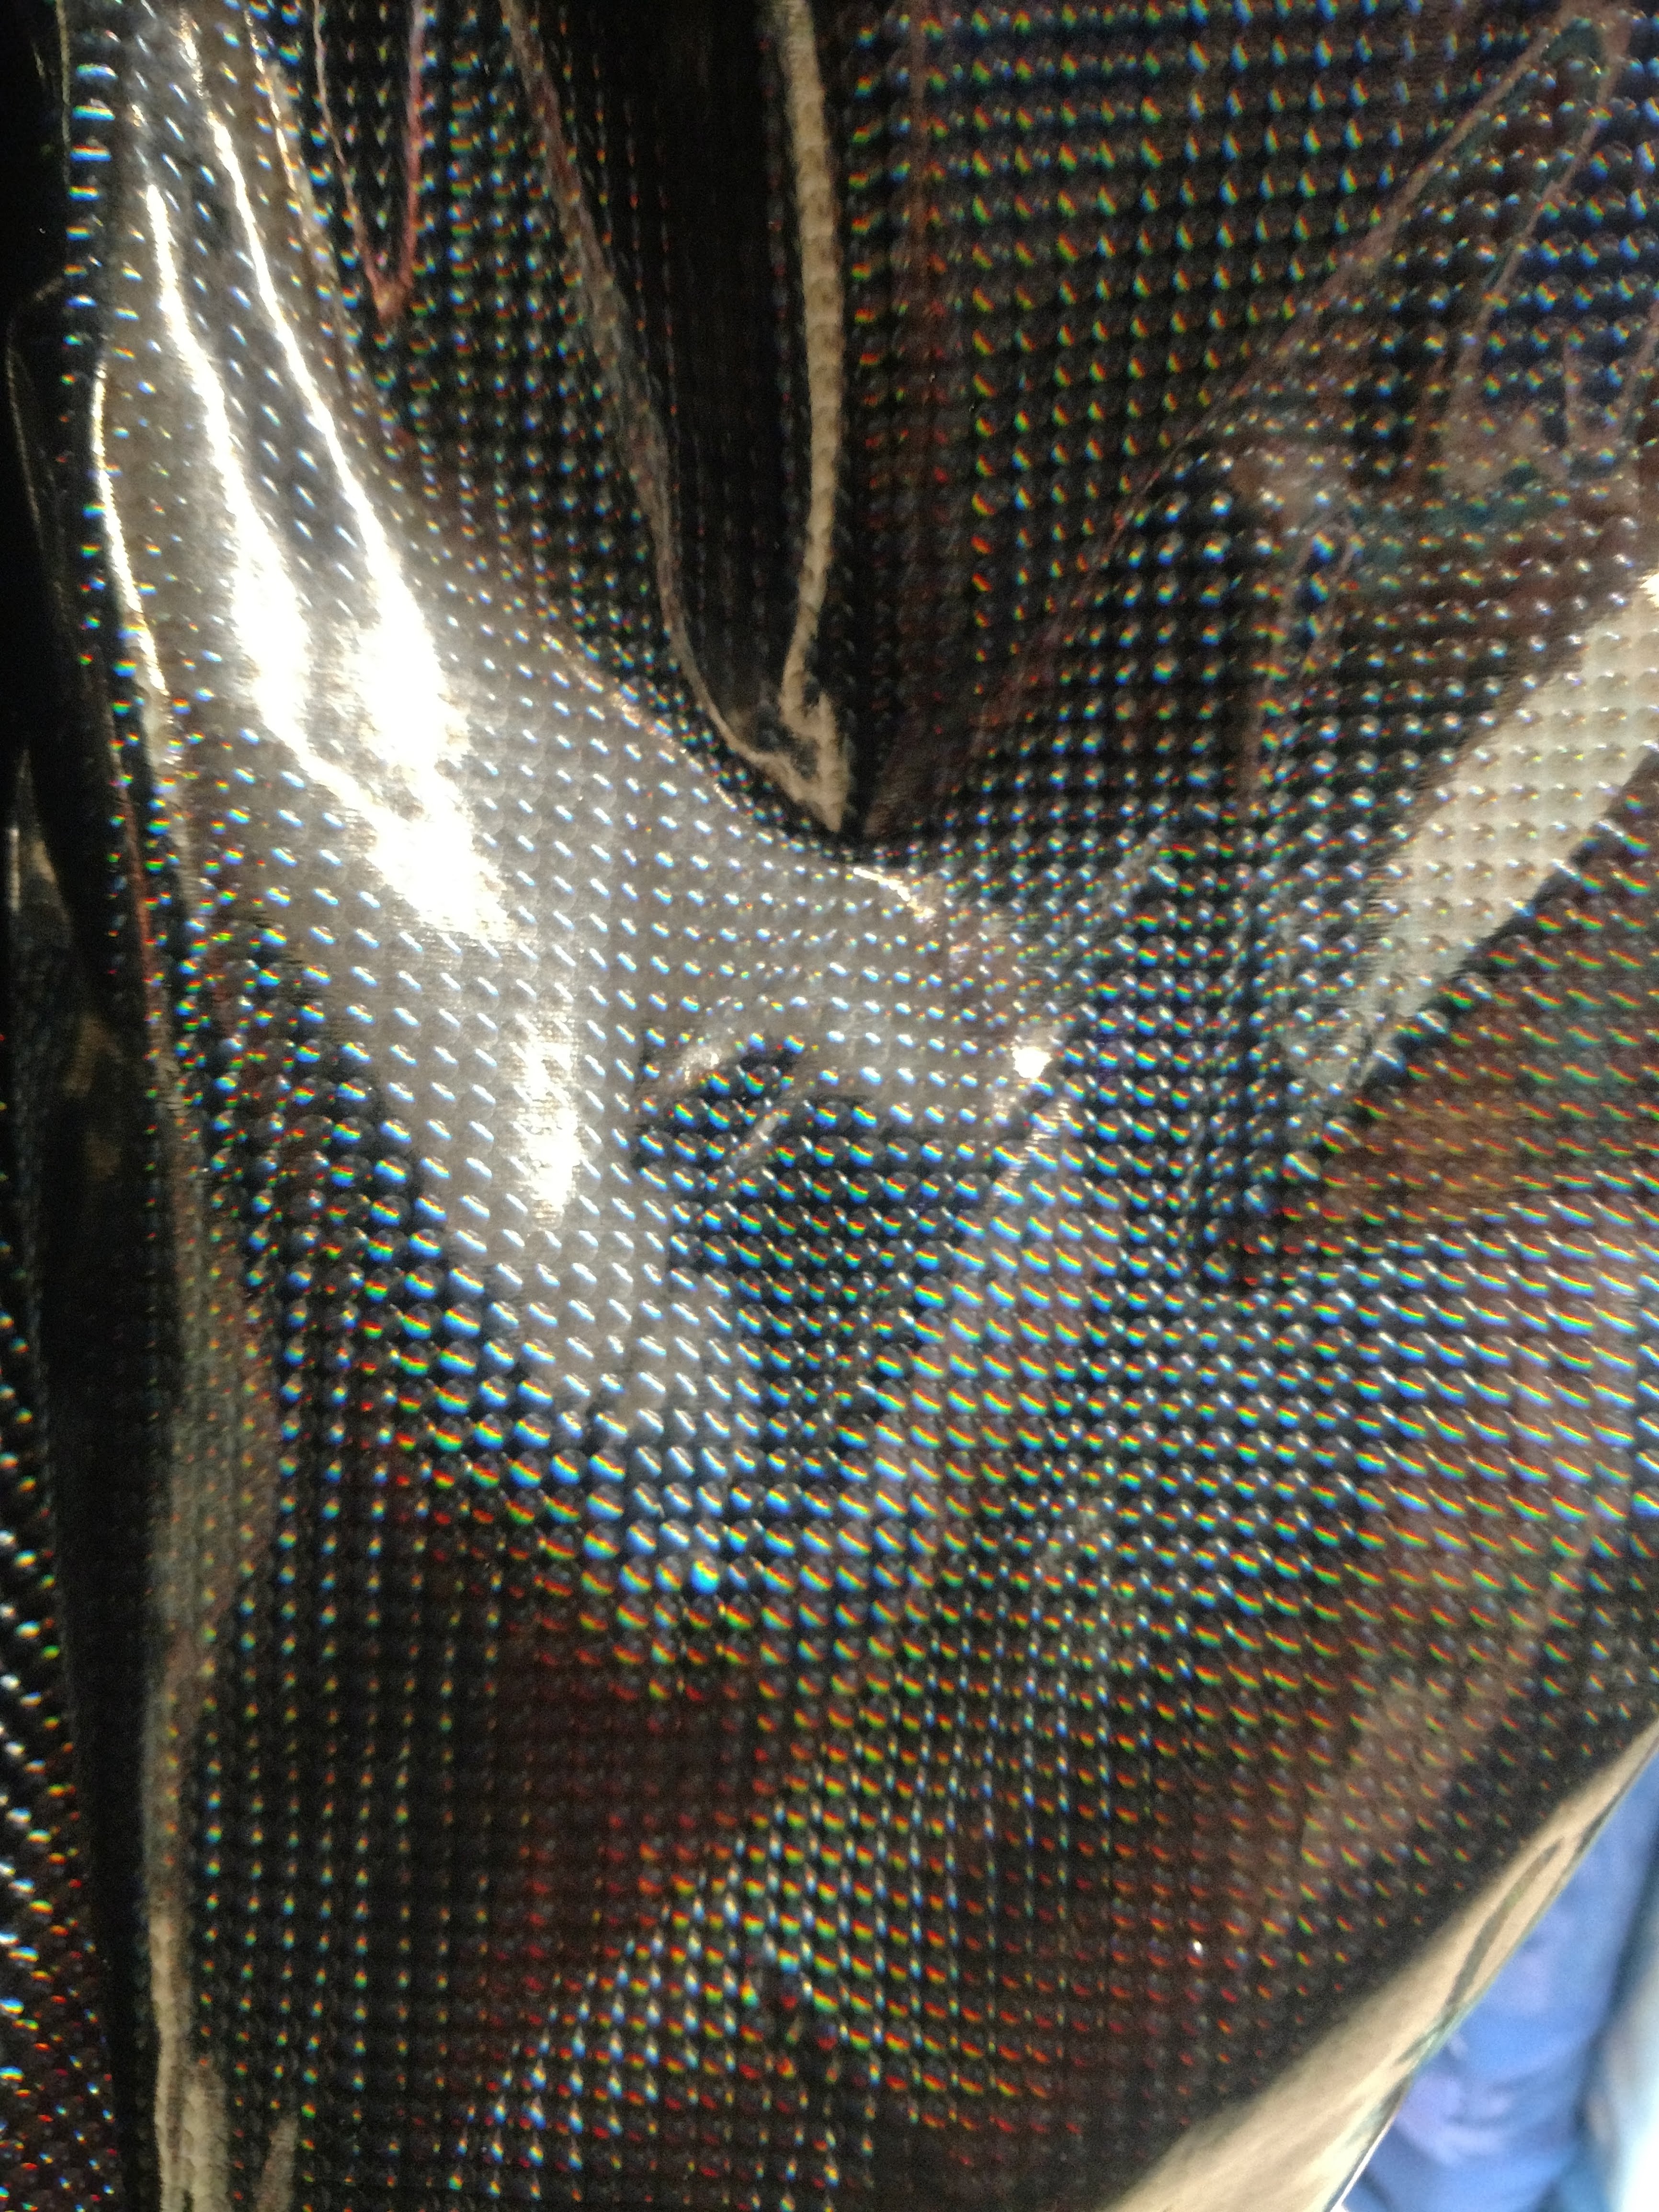
At the moment I have found these first two fabrics to use for the main parts of the suit. I really like the hex shaped fabric, but unsure of the second, even though it gives it a carbon fiber look. The third i plan on using in very small amounts for accenting the the rest of the suit.


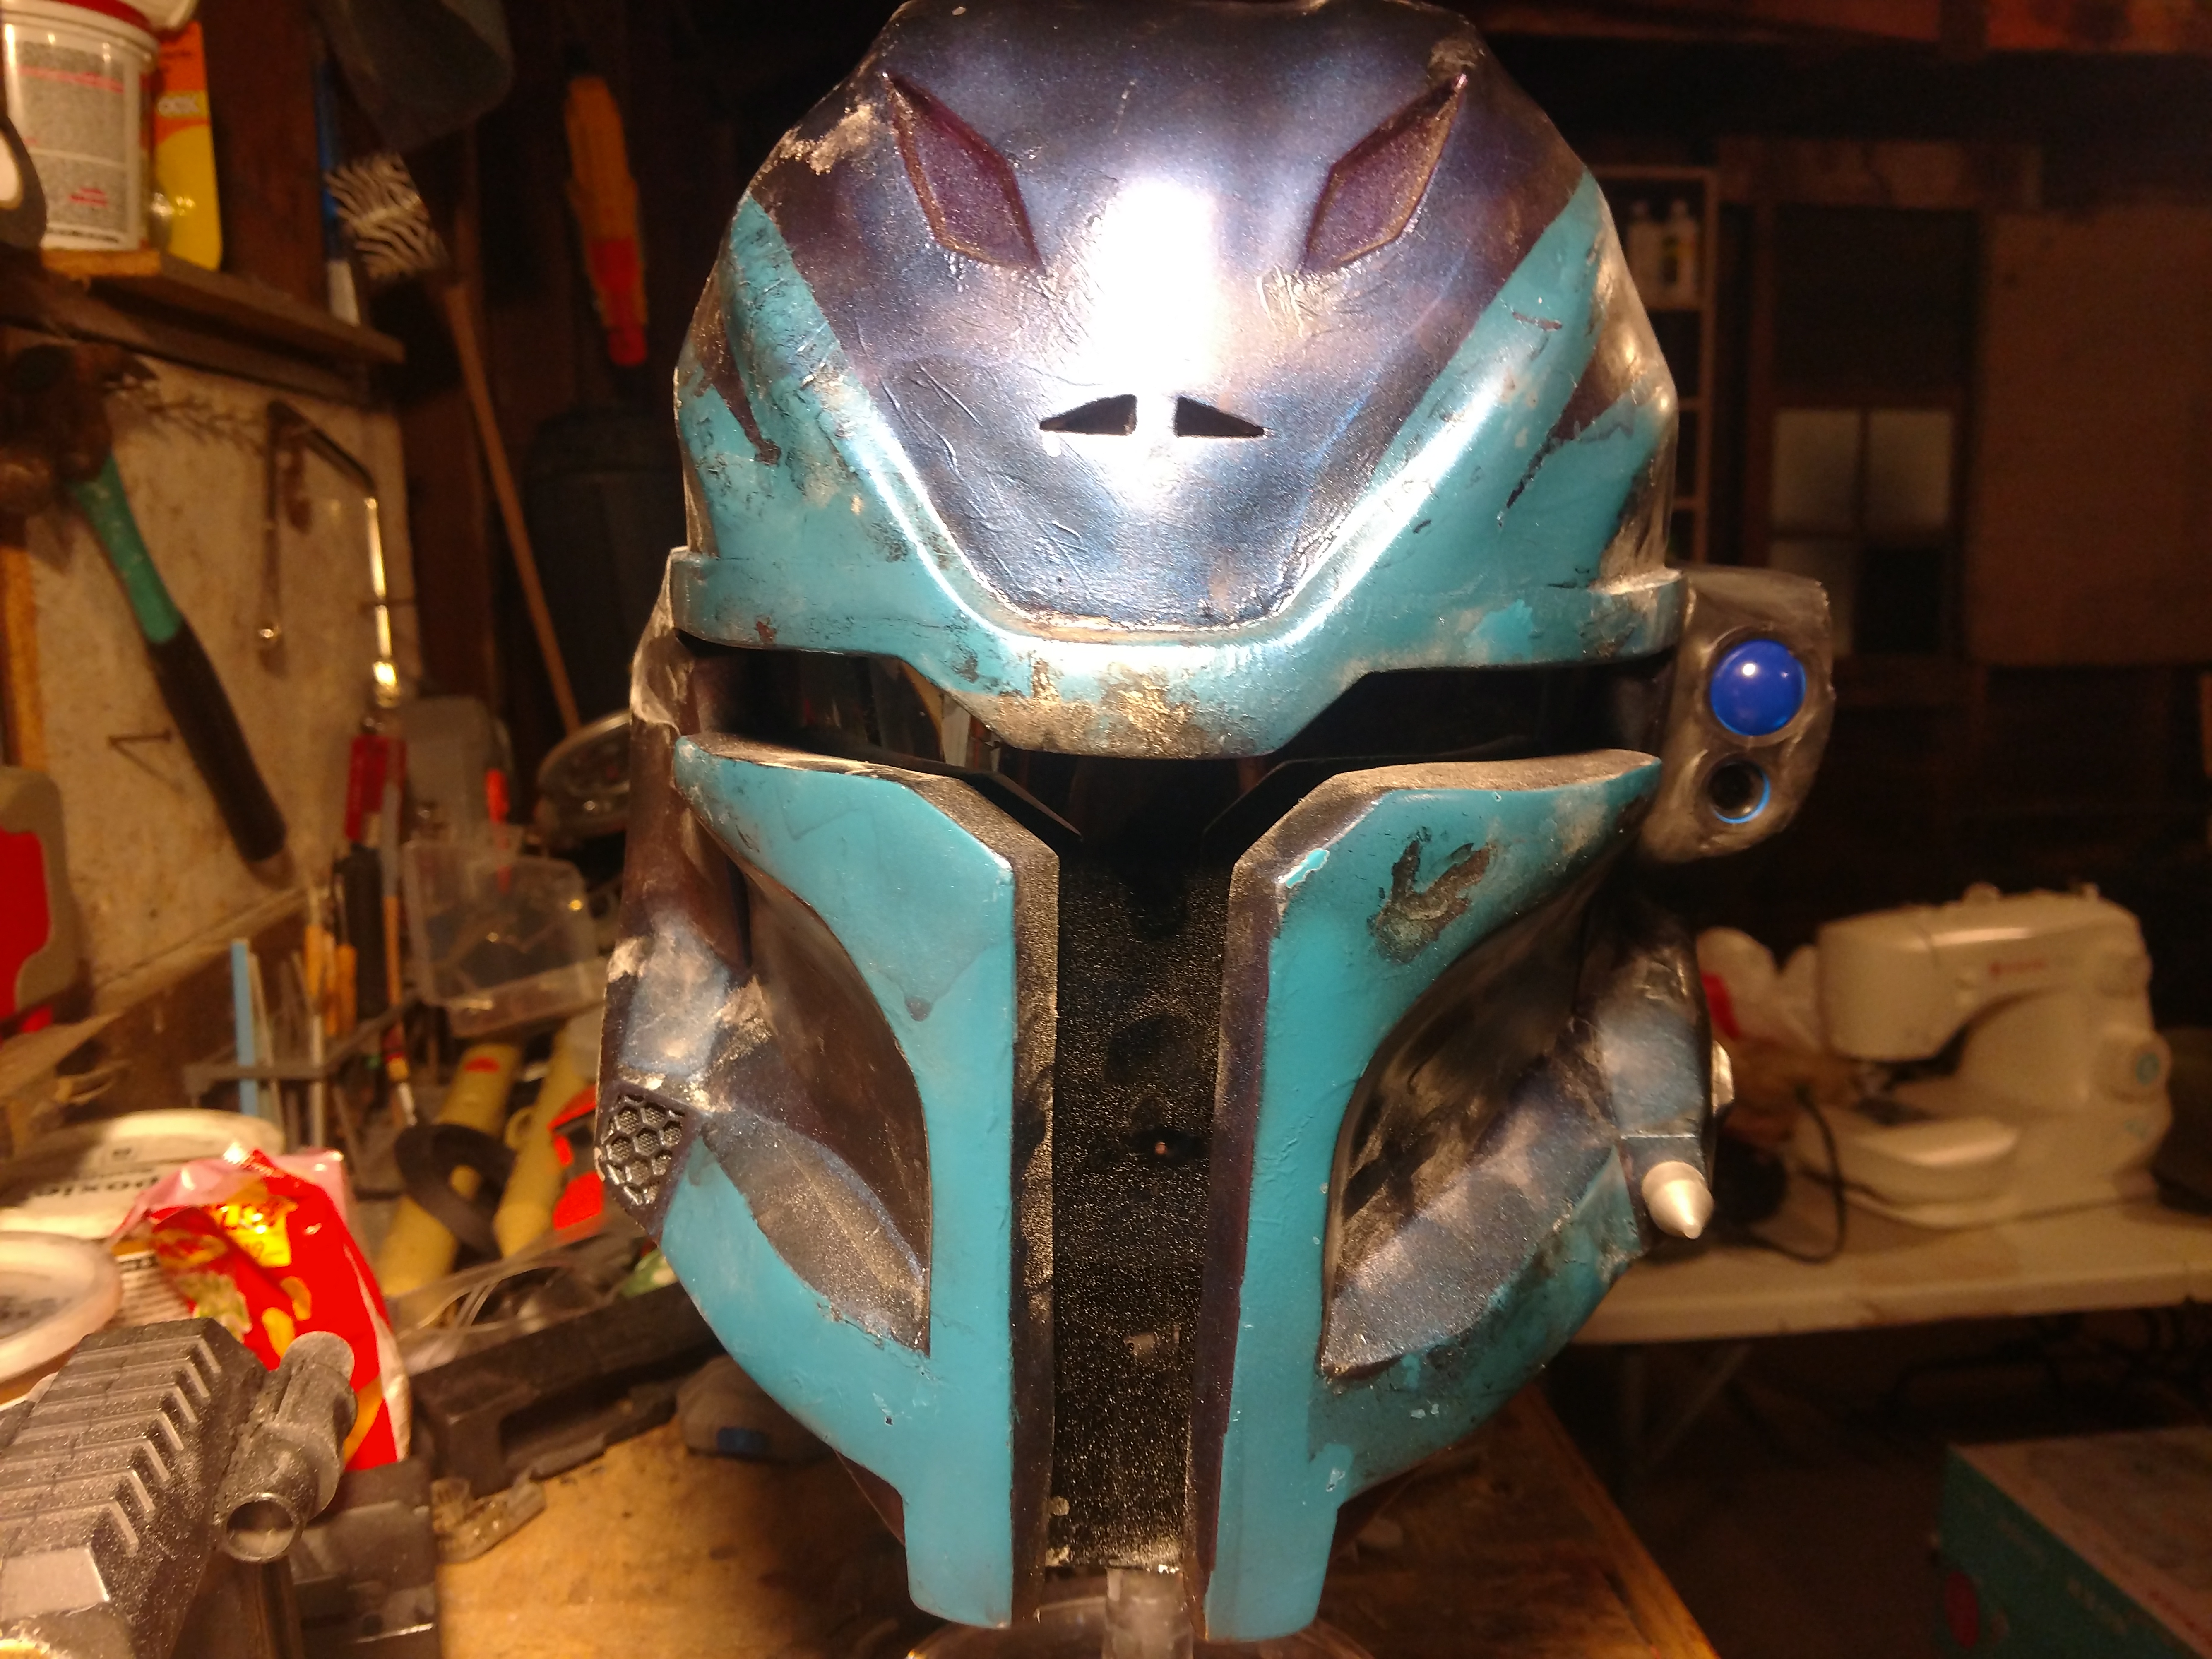
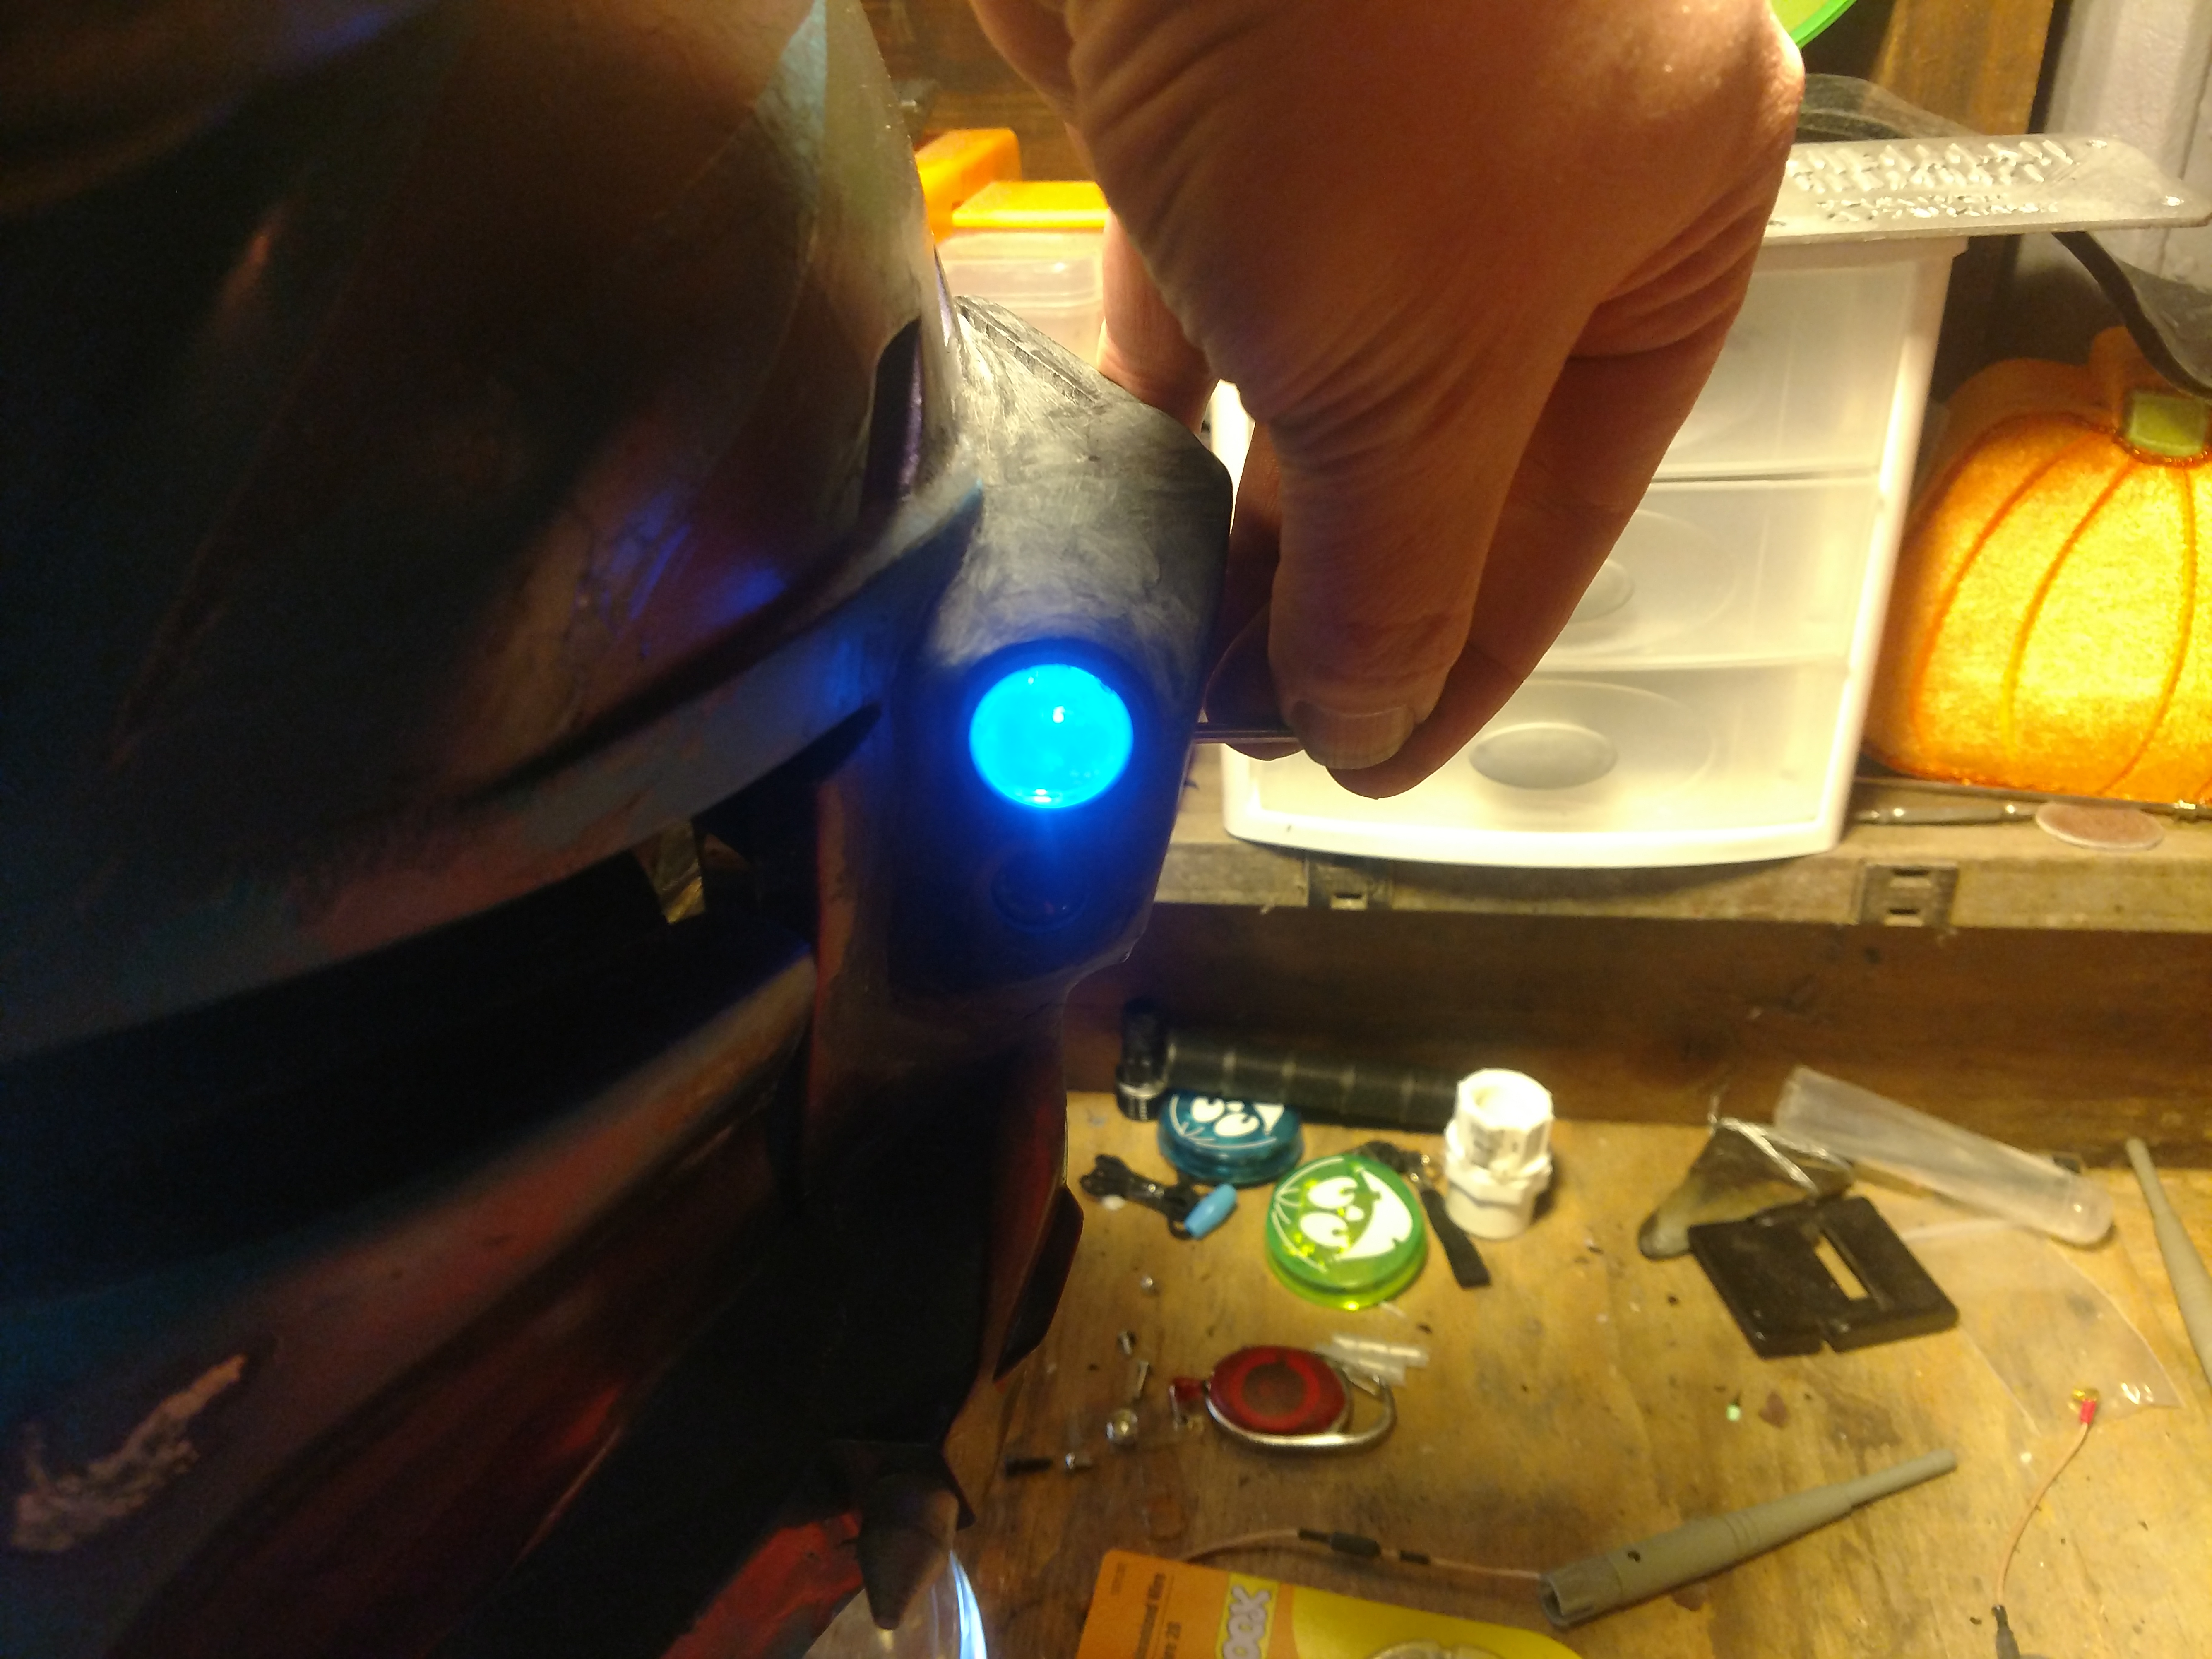
As you know, I have been working on my helmet recently and after a little bit of time, I got around to getting the light to work and installing a button on the outside.
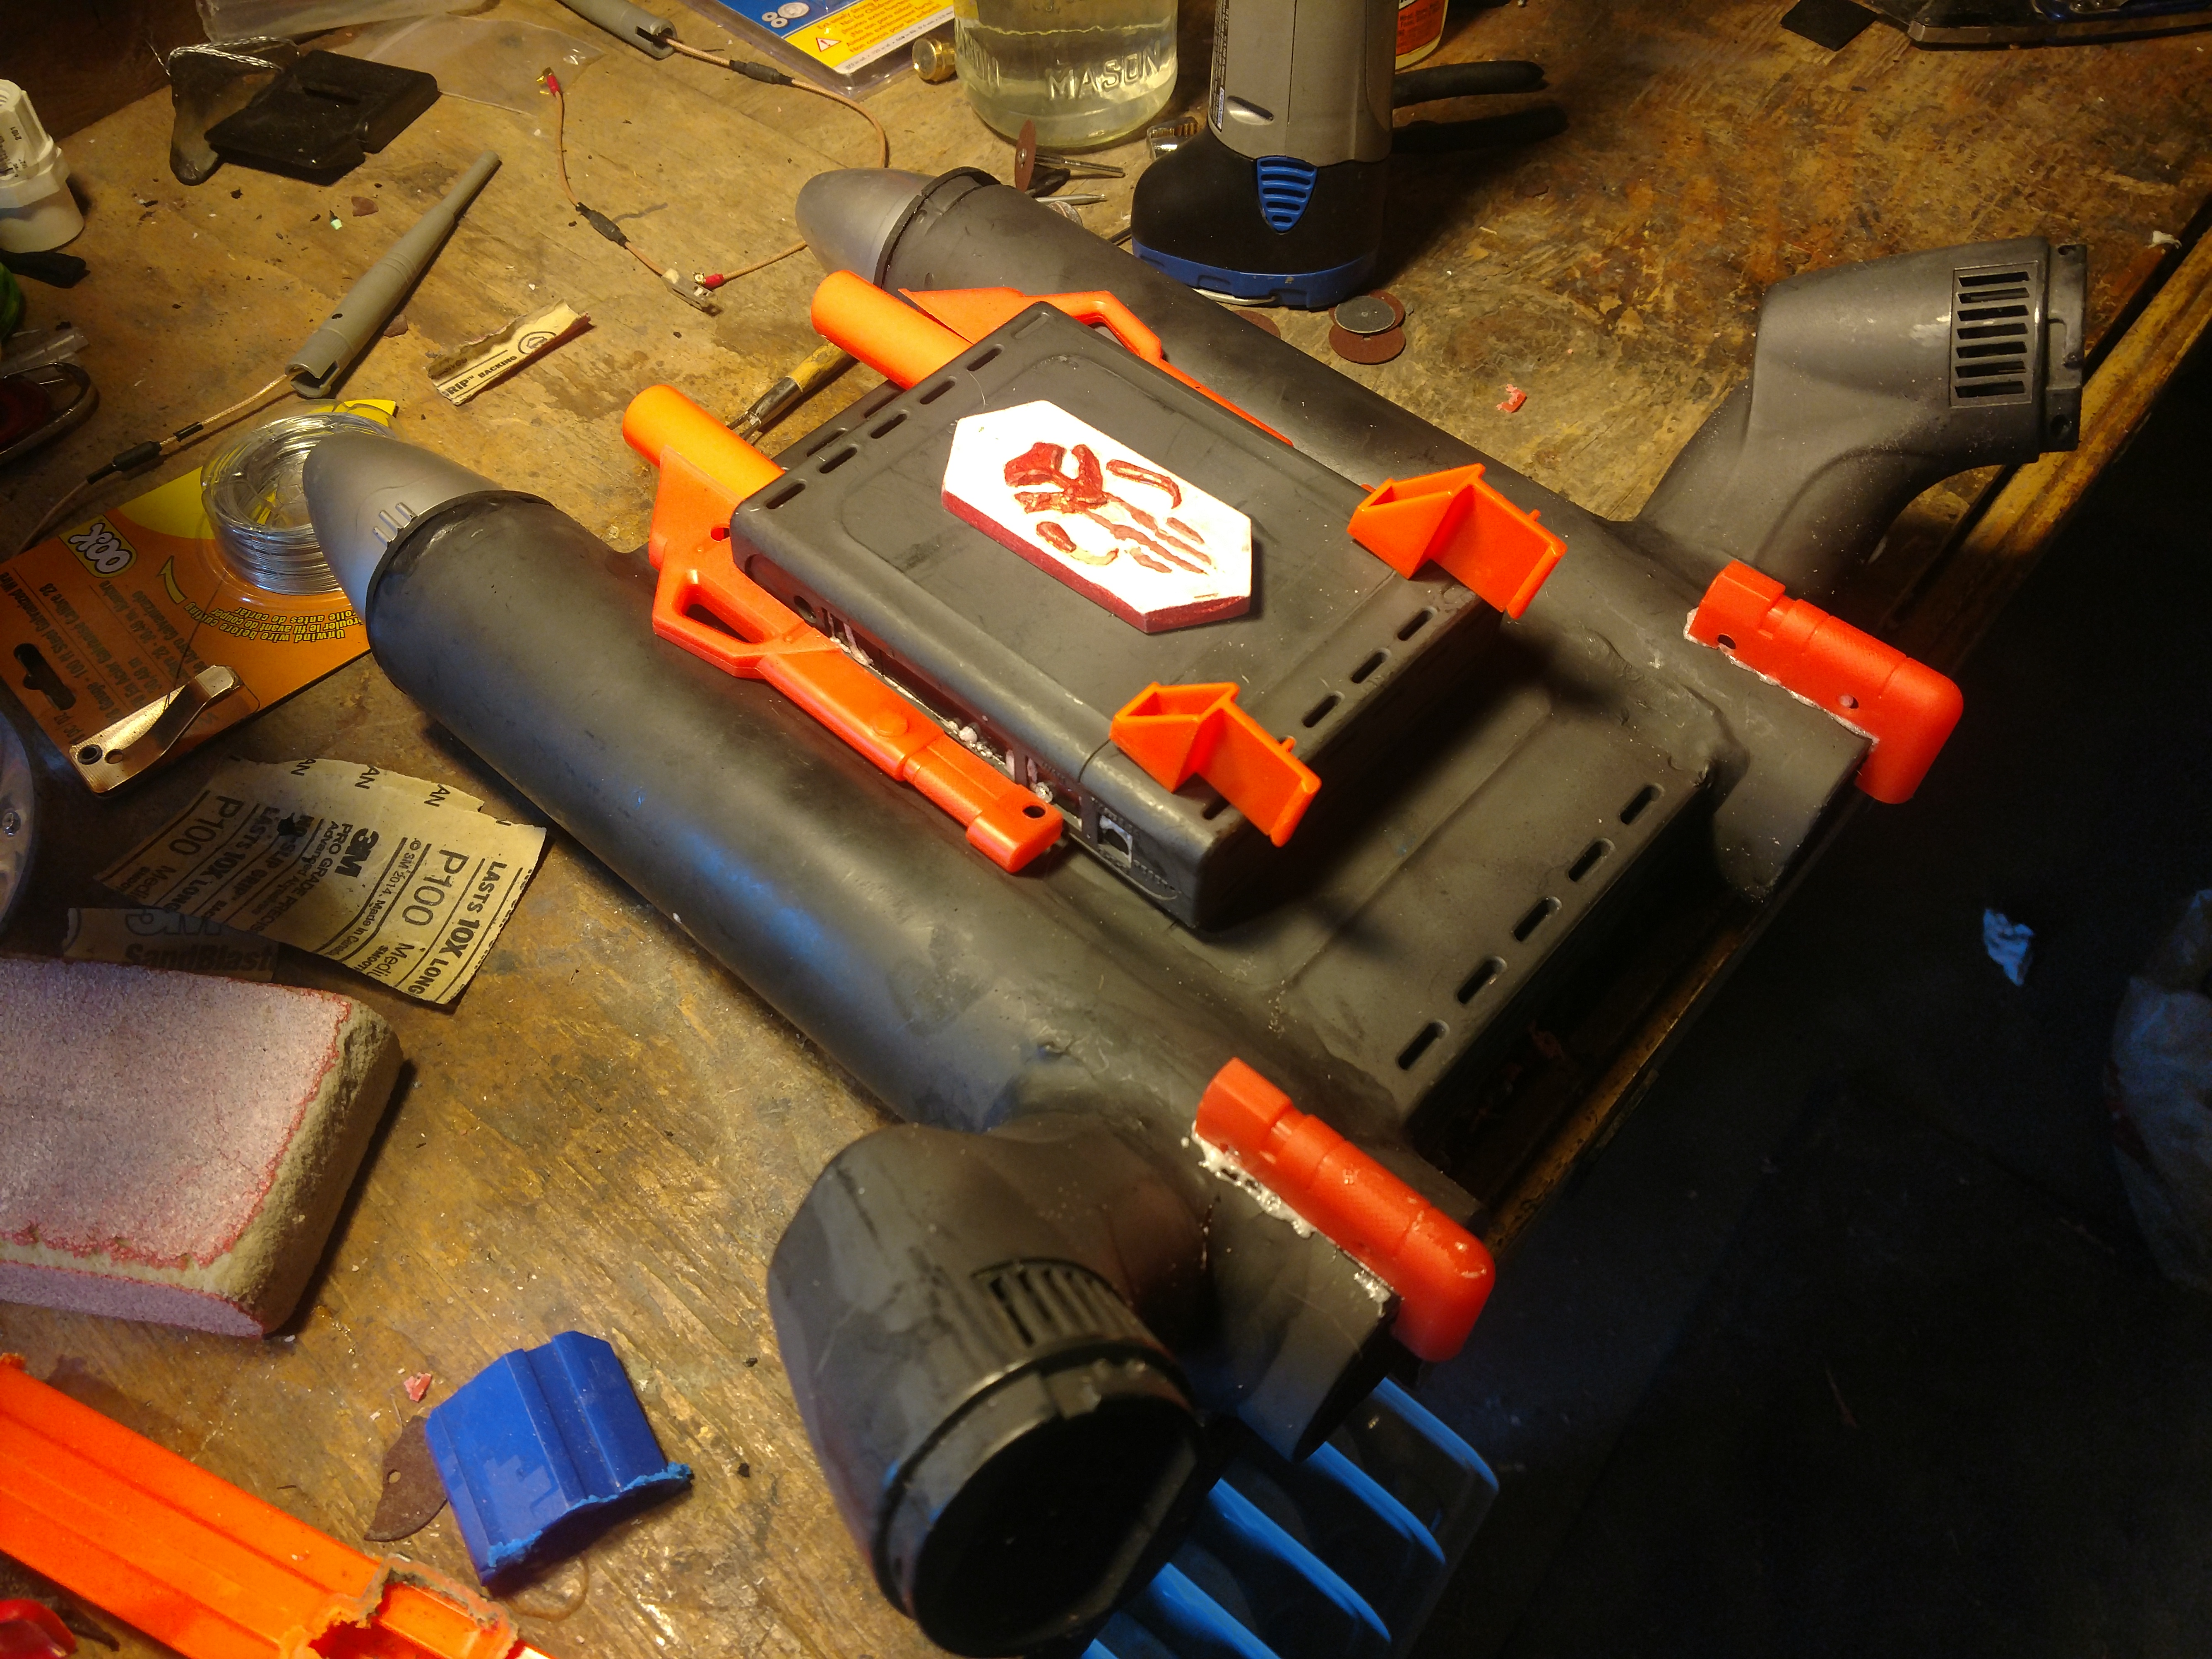
Afterwards I decided to move my efforts into working on my jetpack. I found some random nerf parts, sanded some down and added them. I thing it really made a huge difference. I am also going to turn the small cylinders at the top into an air to air repeating blaster.
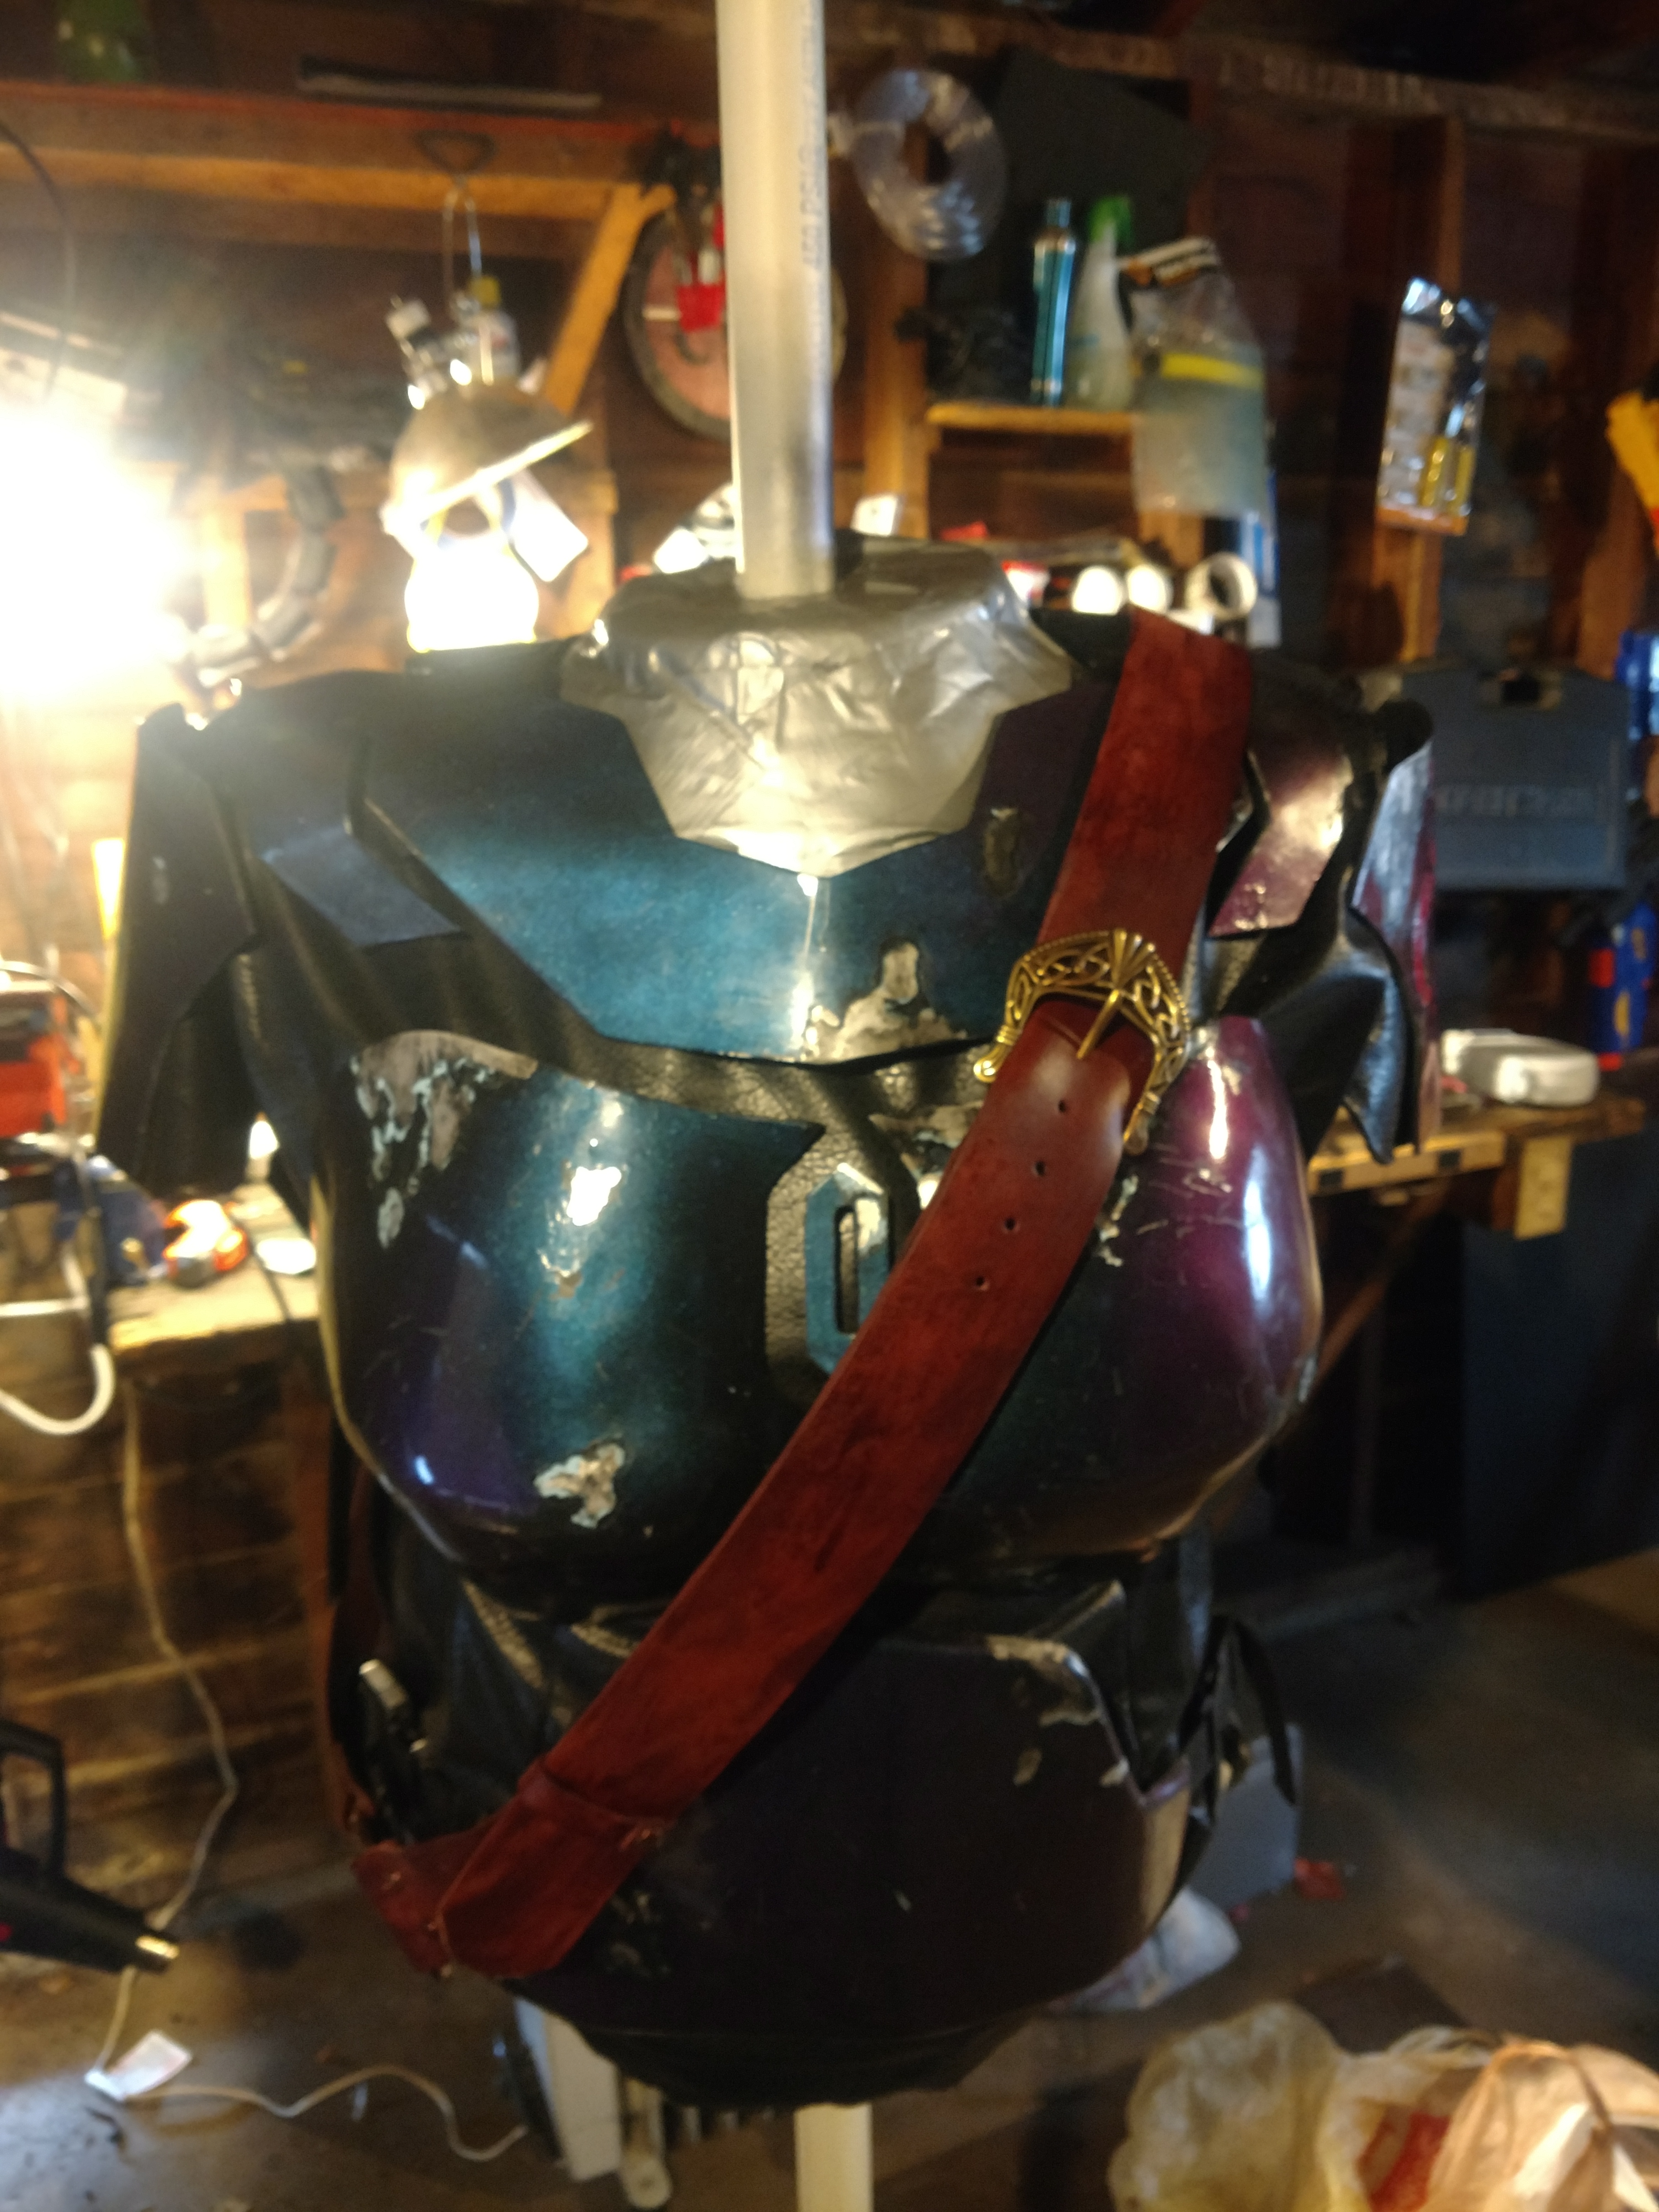
Finally made some progress on my bandolier. Got the leather all cut out and dyed. Then attached them to the back plate with a simple d-ring.
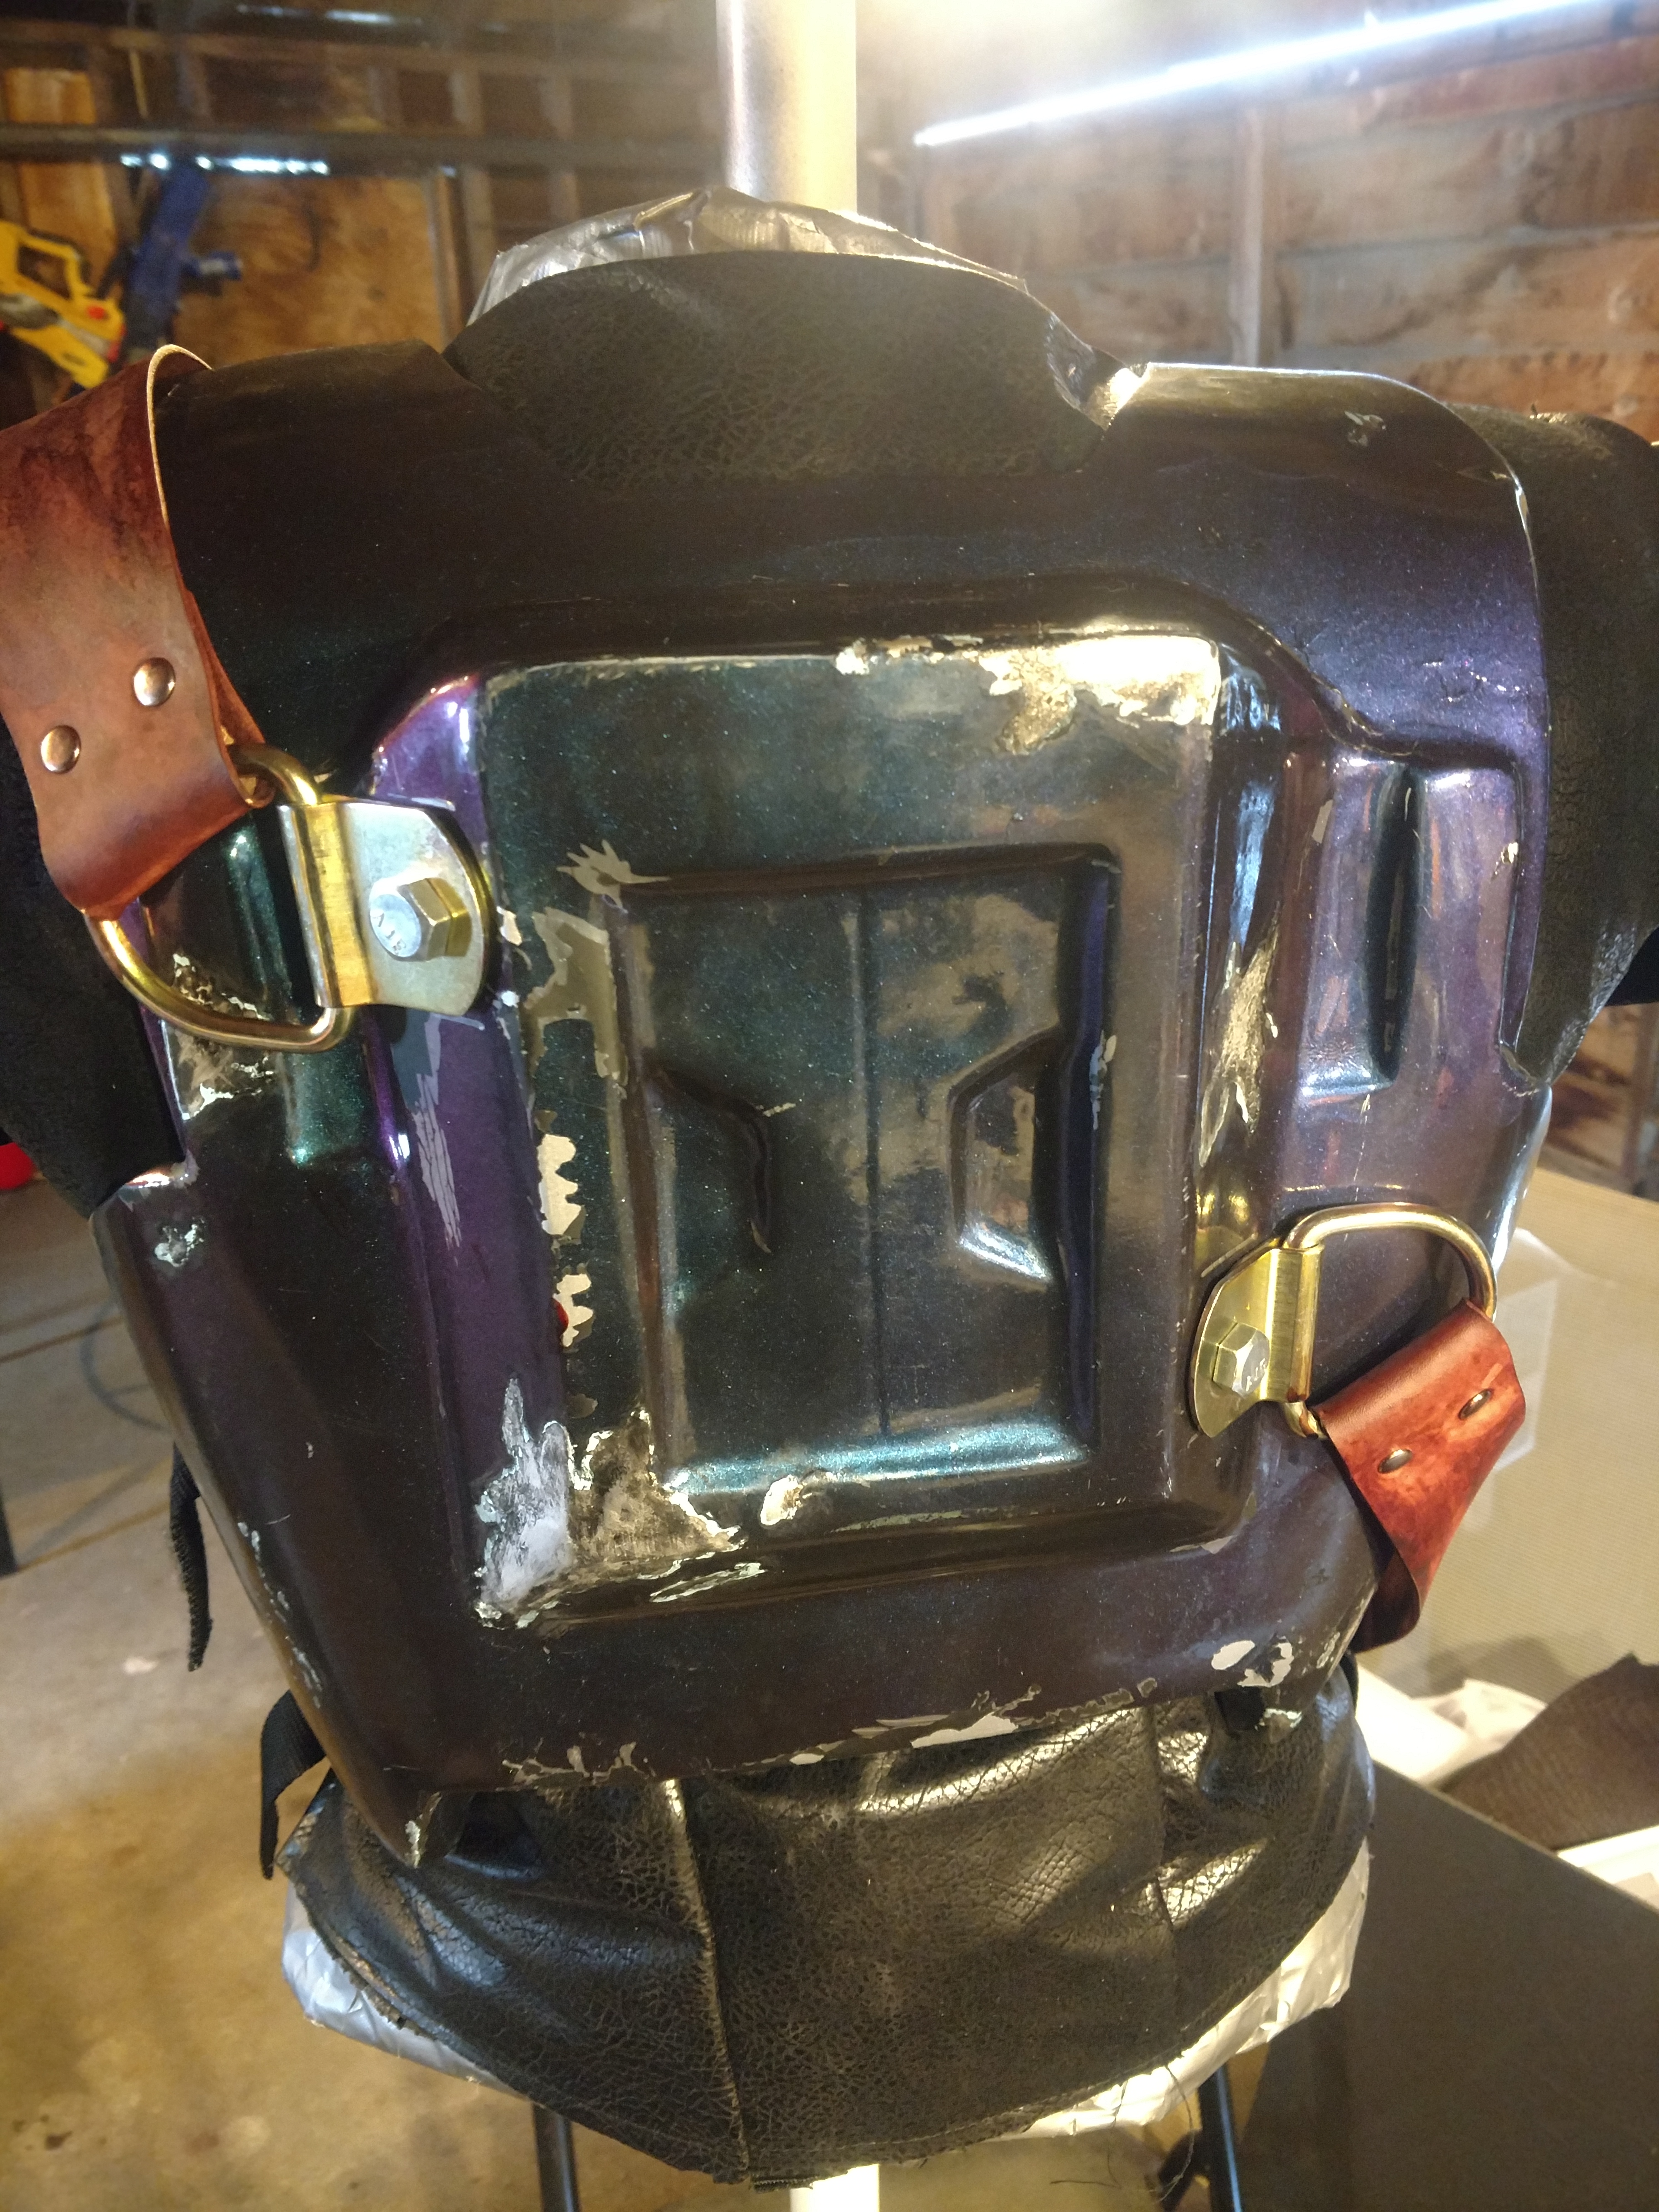
Now that I have the bandolier on it's way, I have been able to start getting other things going as well. I started by putting magnets on the inside of my sword. It is just made of foam, so fairly easy. Afterwards, I glued on some magnets to the inside of my backplate. No it is able to sit nicely on the backplate without a sheath or any trouble.
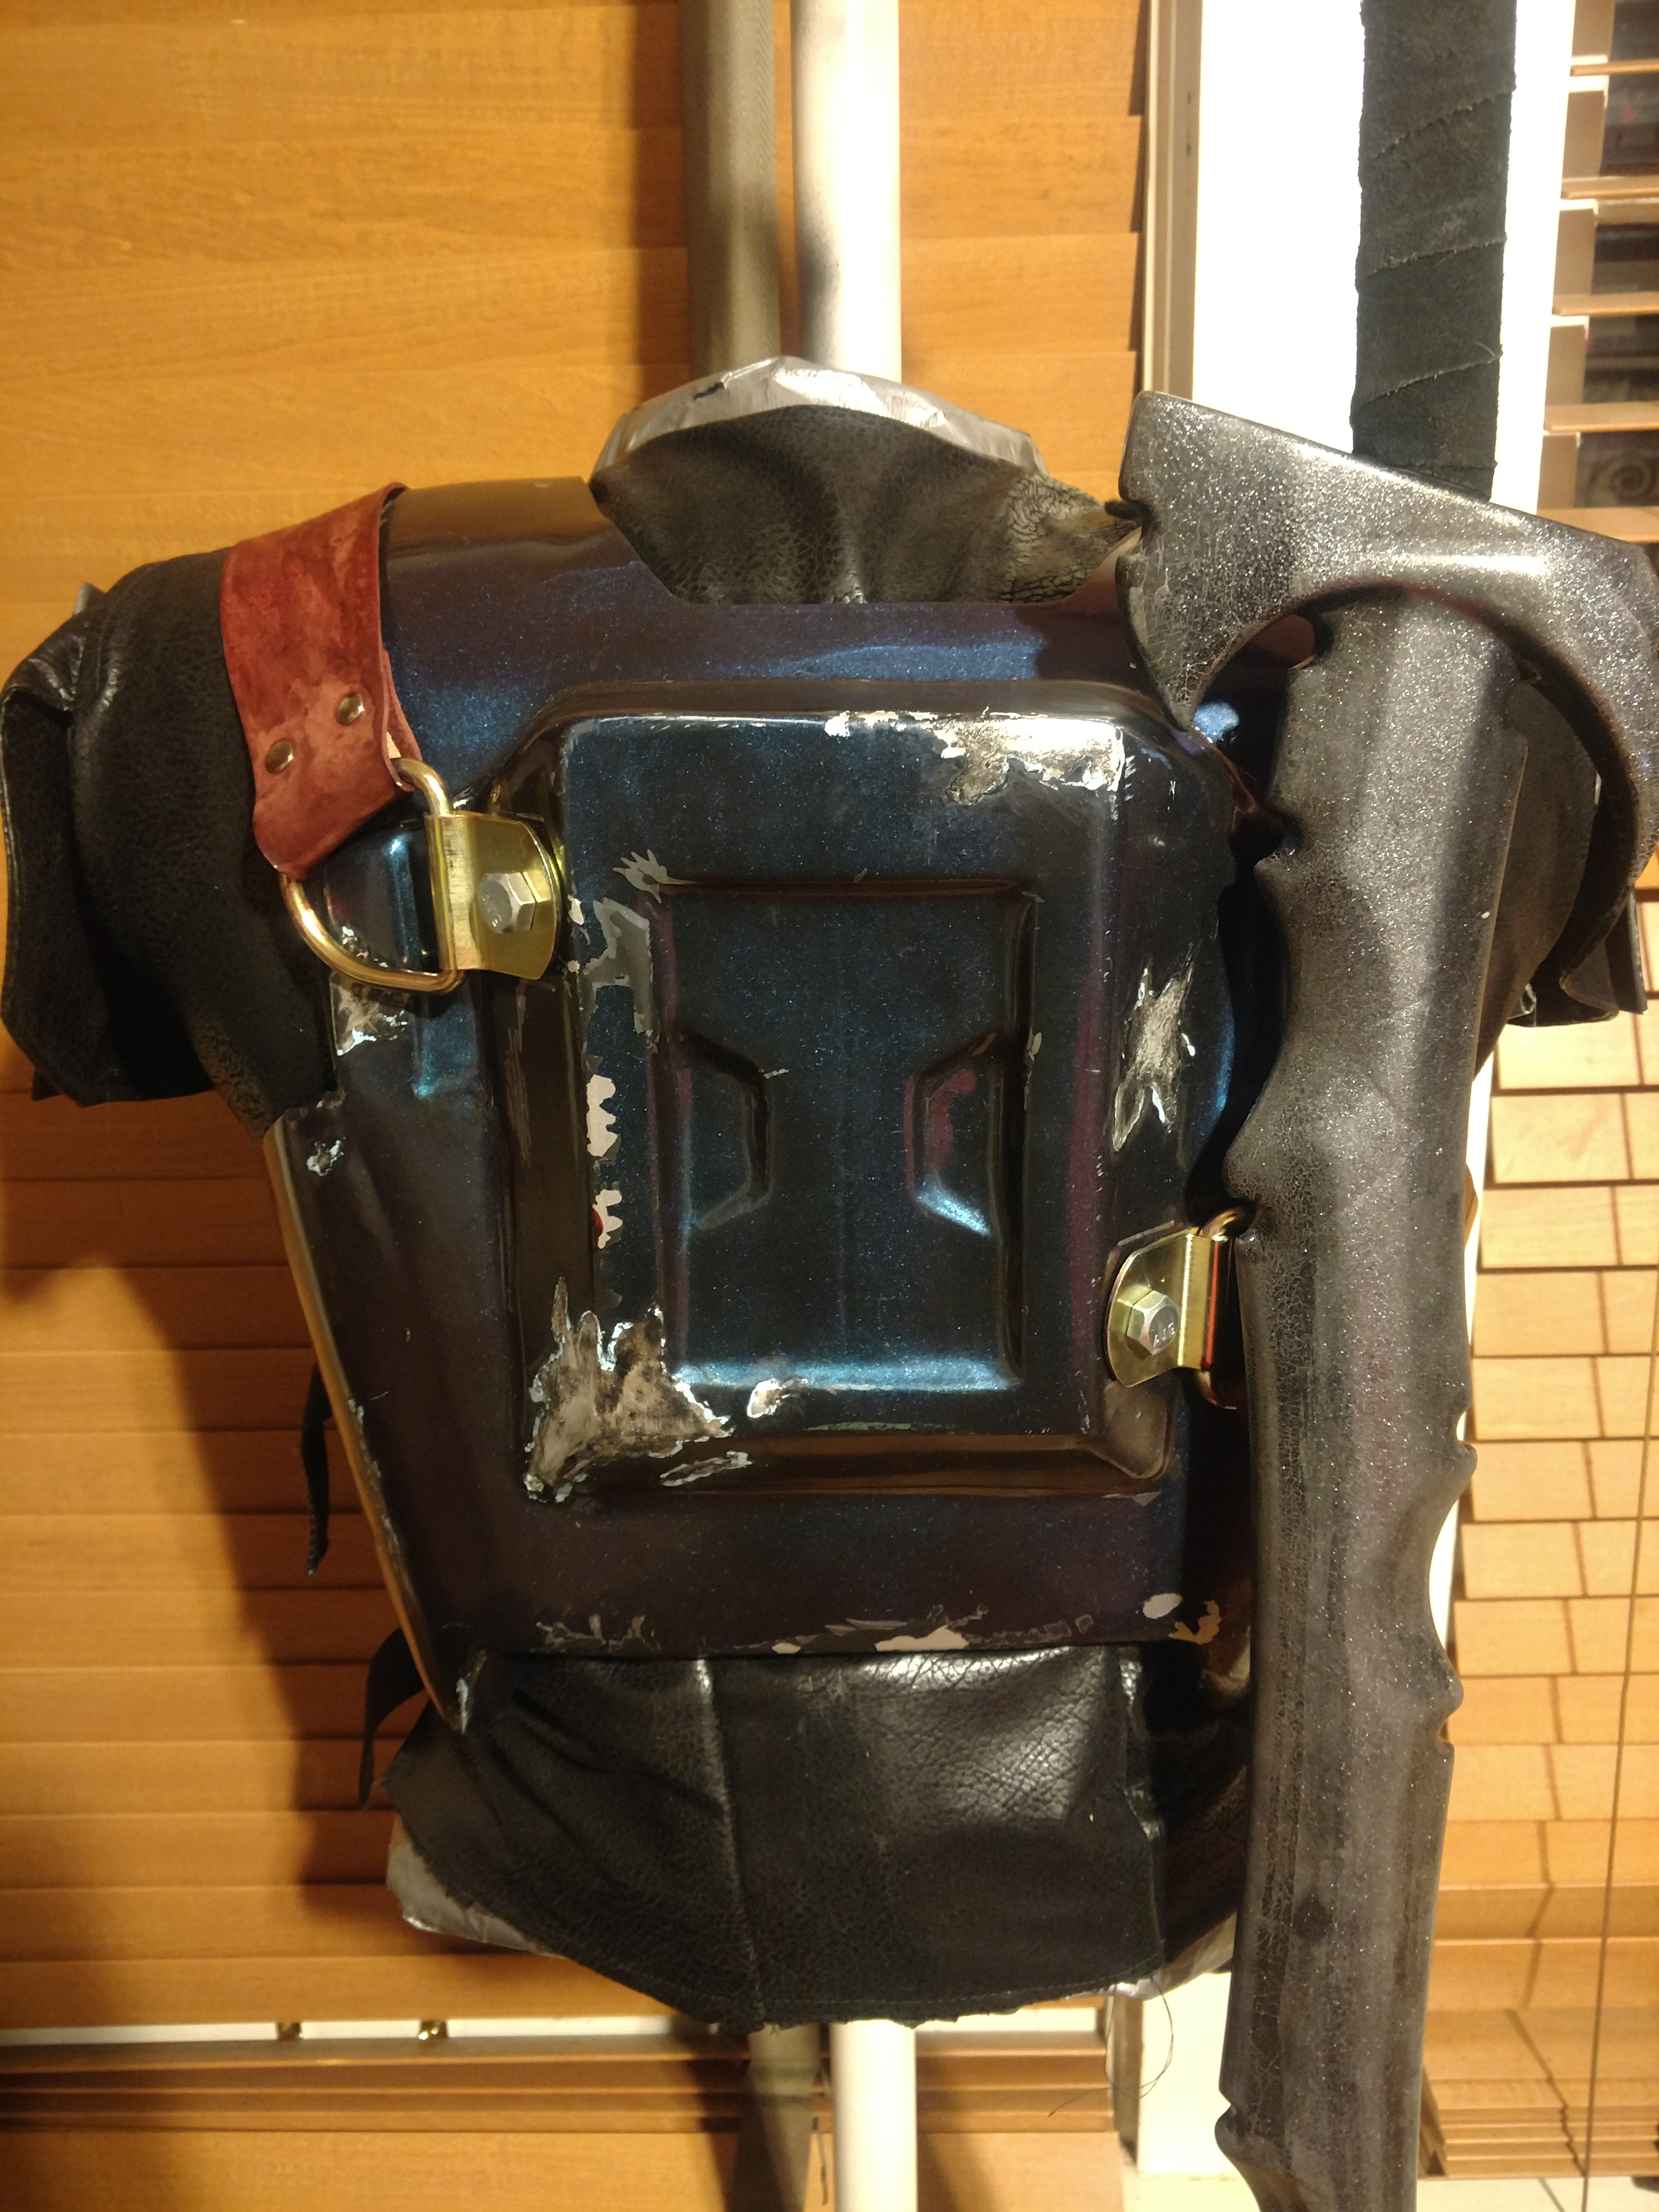
Recently got some work done at an armor party, which with some help we got the mounting system done for the jetpack. We made a couple holes in the length of the pack and screwed down a couple of metal Christmas wreath hangers I picked up at Home Depot for a $1 each. I just need to reinforce the backplate and add some magnets now. Took a little time to sit down and paint some detailing on to the pack as well.