Hello! I was struggling to find any sort of guide on just how to properly manufacture and create internal Hinges as well the locking mechanism. Decided I was pleased with the First way so I elected to create another and take lots of pictures!
Things you'll need:
-Sintra, or other material for gauntlets.
-Templates from Forums. Boba Right-Arm is one I used
-Piano hinge.
Can use 3 12", but really wasteful. recommend buying a longer one to save on waste.
-Super glue / Hot glue
-Sand paper
-Dremel cutoff wheel. (recommend.)
To cut your hinges!
-Clamp (recommend)
To hold while you pull hinge. A friend with pliers works too.
-One pair of pliers (Two if you don't have any sort of clamp)
-Sharpie
To start, print out your template. Cut it short enough so that when you bend your arm, it won't Jam into or Push in any way. Then trace out your design and cut out. Unfortunately I don't have pictures and this seems relatively straight forward!
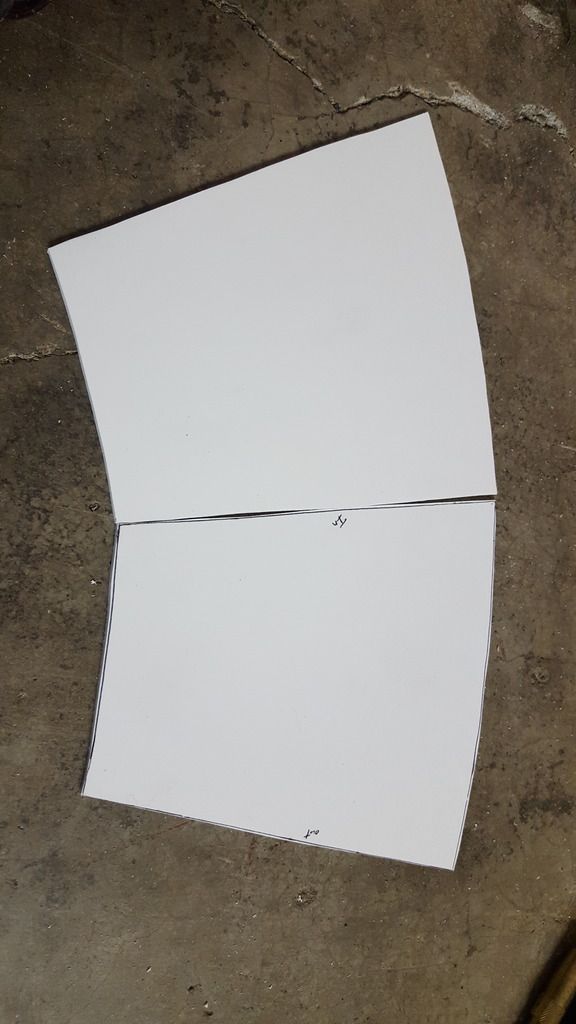
lay out your now Cut out pieces of sintra. Mine were made using 3mm. If using 6mm, i recommend creating a groove in the sintra for your Piano hinge to sit. This'll put it to where your hinge either sticks out or is flush with the rest of the hinge. Has a much better look. From there, mark the desired length, and draw an X on the scrap side.

Once you've cut out your hinge that'll be on the inside, it's time to template the one that'll be on the Outer part of your forearm. Still inside the gauntlet, but this one goes on outside to give a seamless effect. i didn't have any hinges at my local store that had removable hinges, so I had to settle. No matter, it just takes a little more time. If you found some that Are removable, i recommend going to next couple of steps. Draw an X on the side that has the locking pin holes. You don't want these!
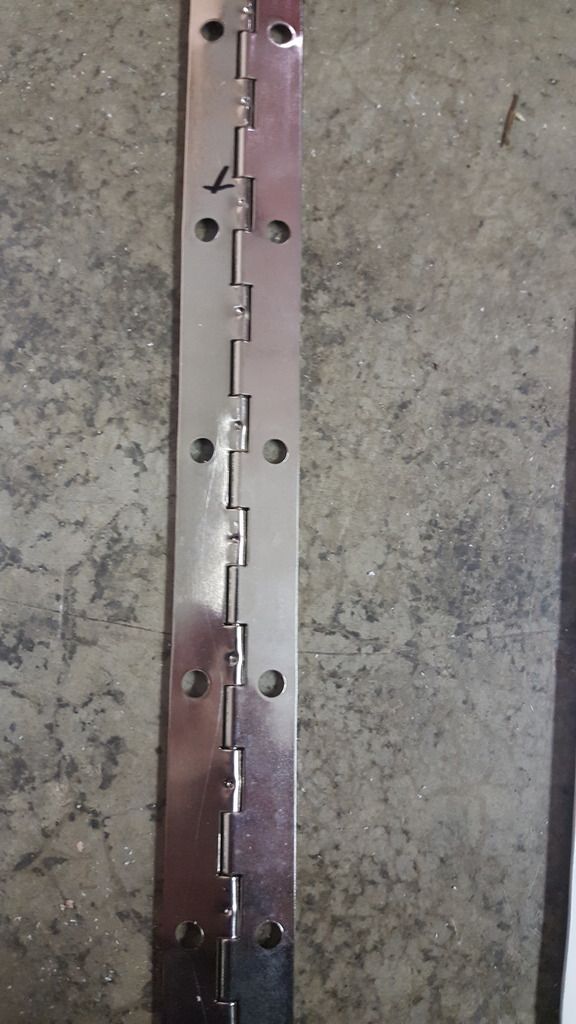
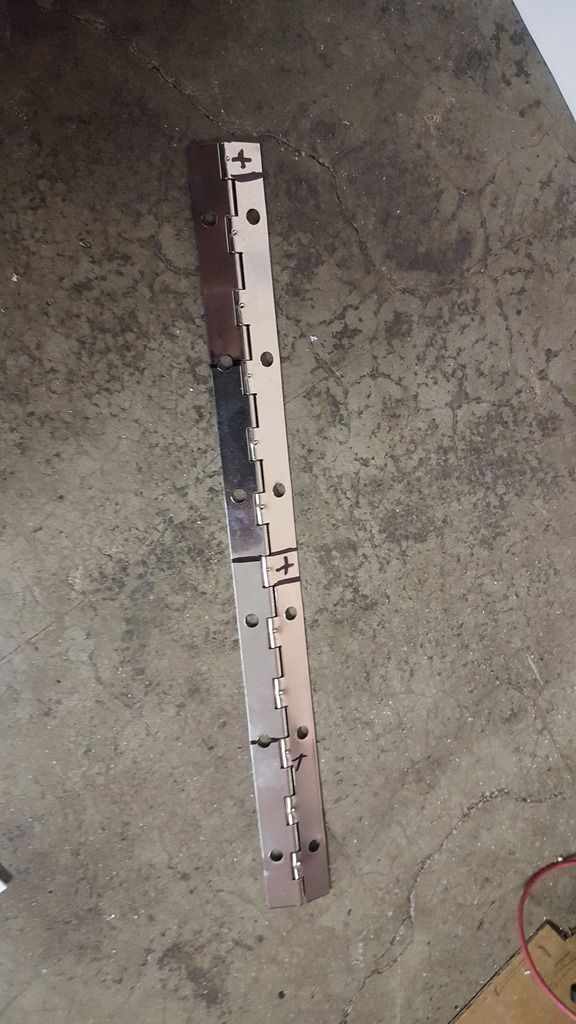
next plan ahead, to save you Time and money. The below design is an example of how to properly utilize and conserve! This will give you enough to make 2 locks from 1 12" hinge. first you should Cut your hinge in half, and then cut the side that has the locking mechanism. This'll free up your Pin, while still letting you take advantage of the other half. Once you've cut it, bend the pin showing itself with your pliers. Grip firmly into your clamp with the Locking side -down- (Trust me). Begin Twisting, and pulling your Pins out. You want the locking side to remain stationary as you twist, for added leverage. Cut all your hinges out, and you should have your two locks and a Pin with a 90 degree bend on the end. Just slide your two locks together, and cut your pin to length! The second image is what One gauntlet will require for pin or hinge setups. My locks were longer than necessary, but still preform just as good.

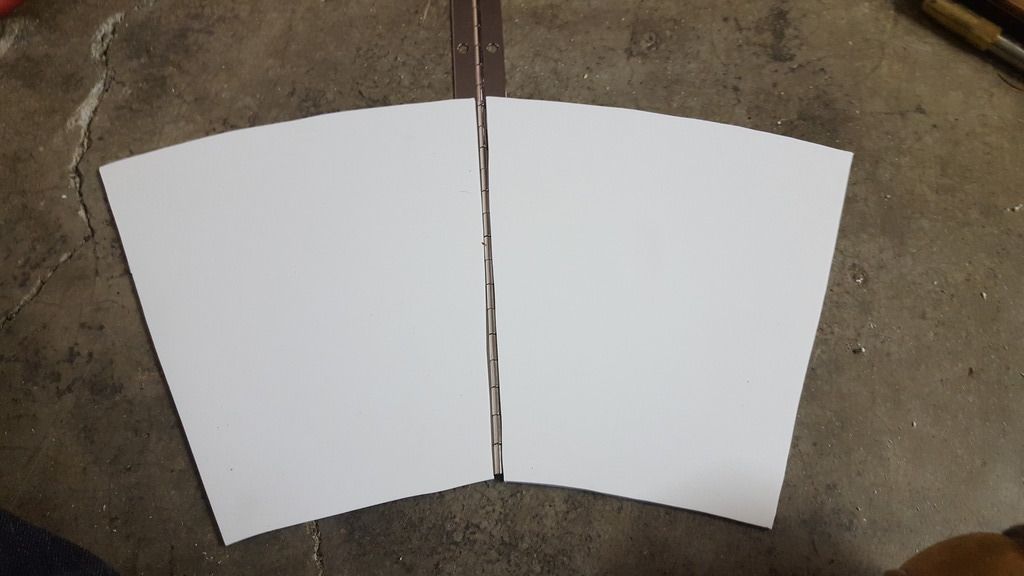
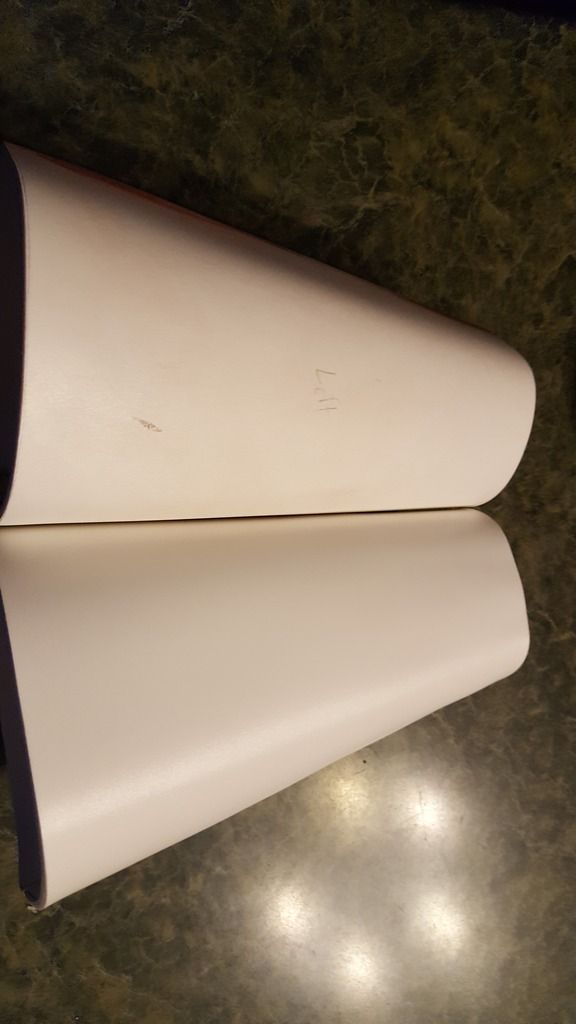
Shape and heat up your Sintra,making sure you mark which side goes on the Left and which one on the Right. I do this by 1's and 2's. I also label the INSIDE to help make sanding easier.
Heat it up, and slowly work it into shape! You want to get as close as you possibly can to being matching, because once you hot glue your hinges, it becomes a -real- pain. Once you've shaped them to the best of your ability, Hot glue your non-removable pin hinge first to one half and then the other.
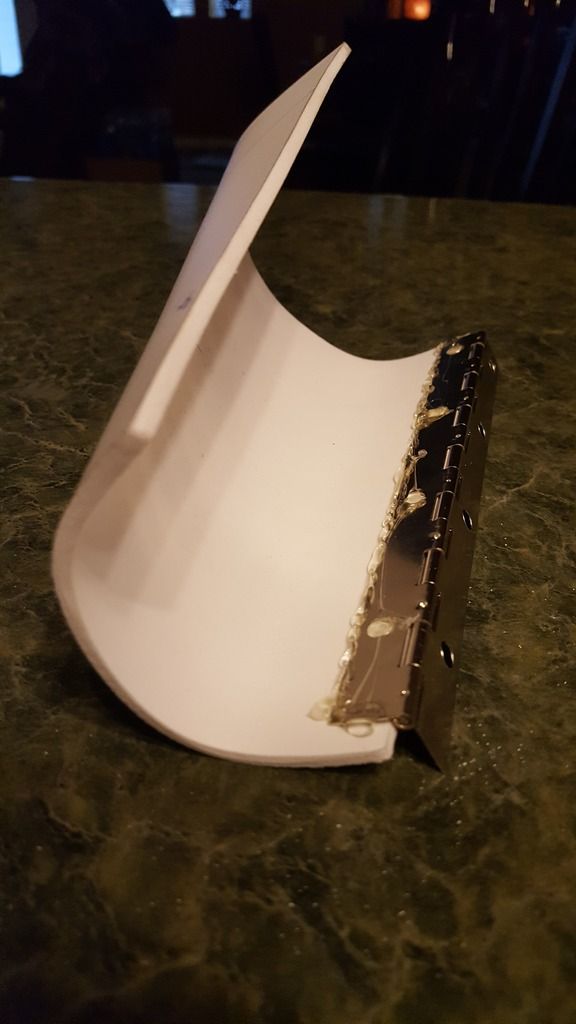
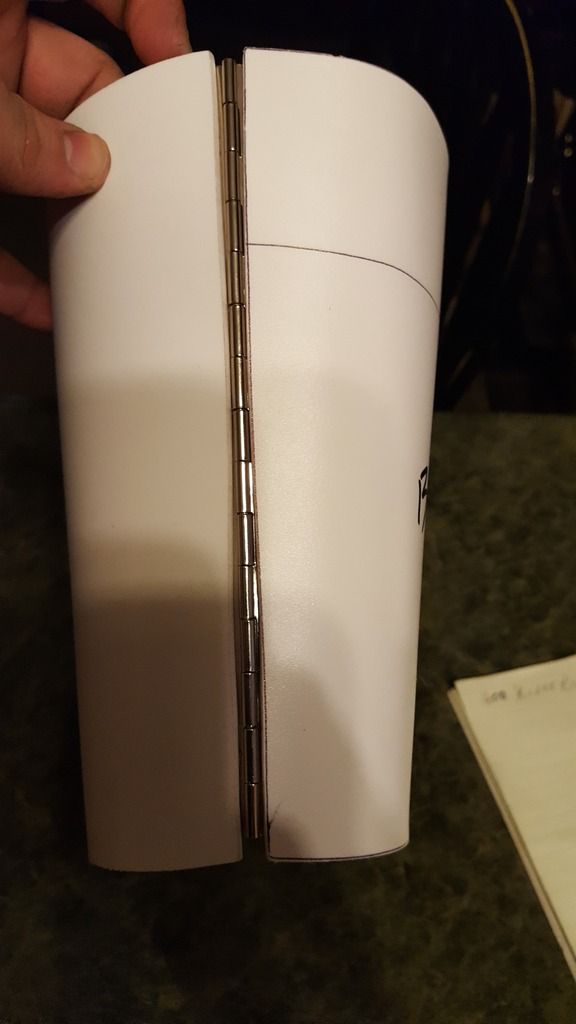
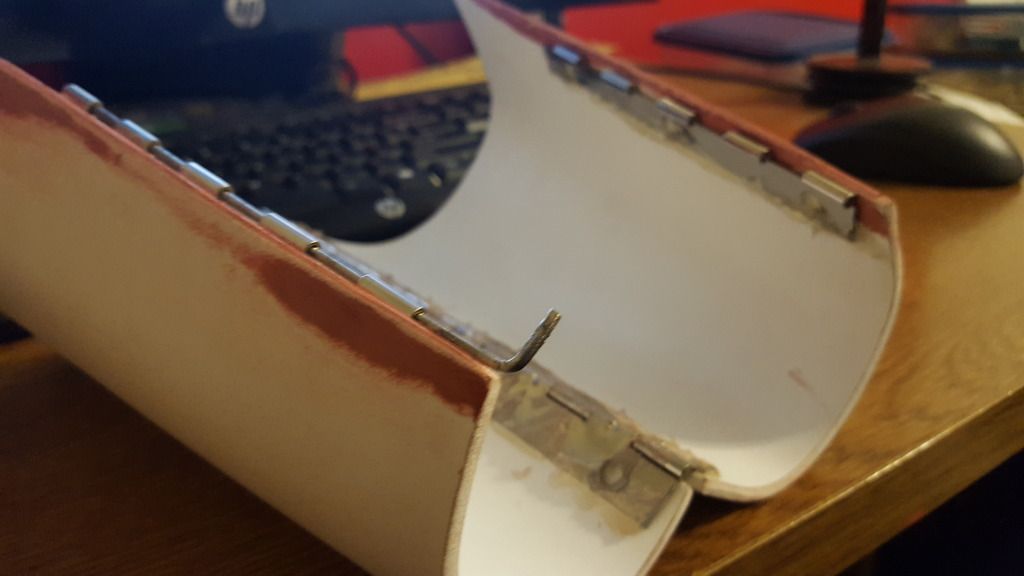
When you but the other sides together it should look something like Below, or be relatively close! If it's -not- then carefully heat it back up and work them until they're near flush with one another.
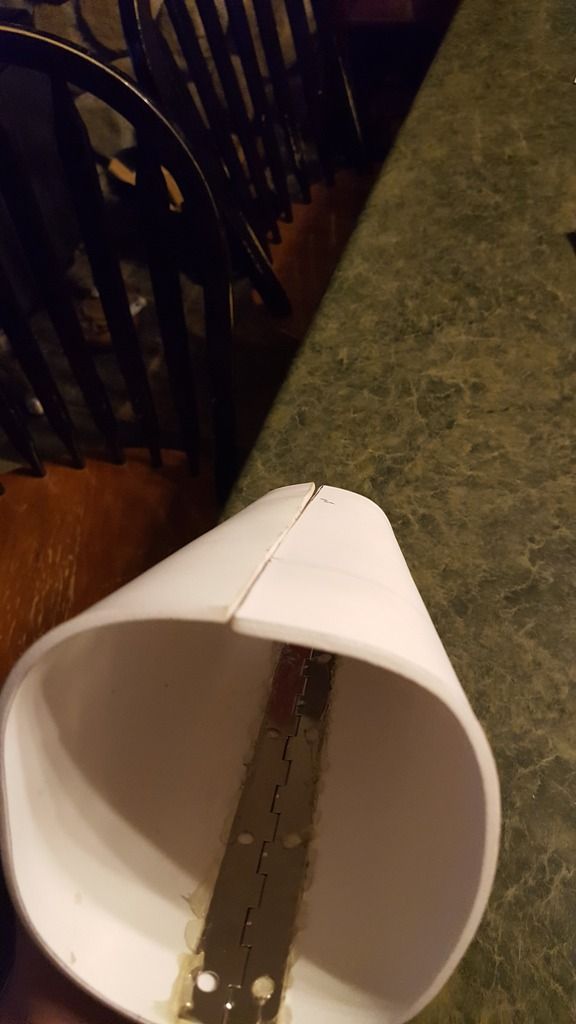
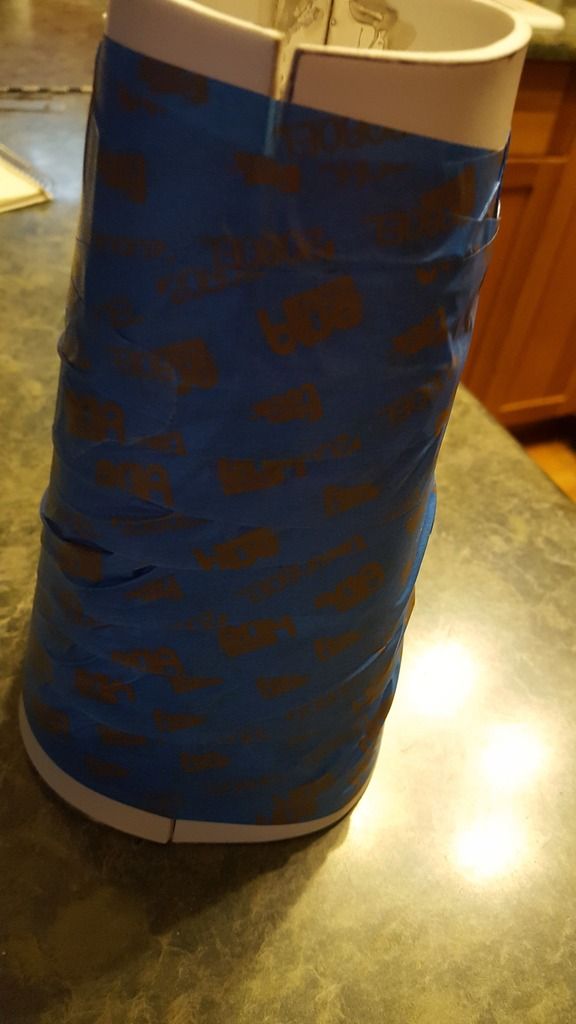
Wrap your gauntlet in Tape, to keep them from Sliding all over and hold them shut as you prepare to hot glue your other pin-locking hinge inside. (the one furthest away). Bend the hinge if it doesn't sit well, to better form to your Gauntlets. (I had to give mine a Warp, to sit as flush as I could. Next tac-glue both sides of them in, just to hold it secure!
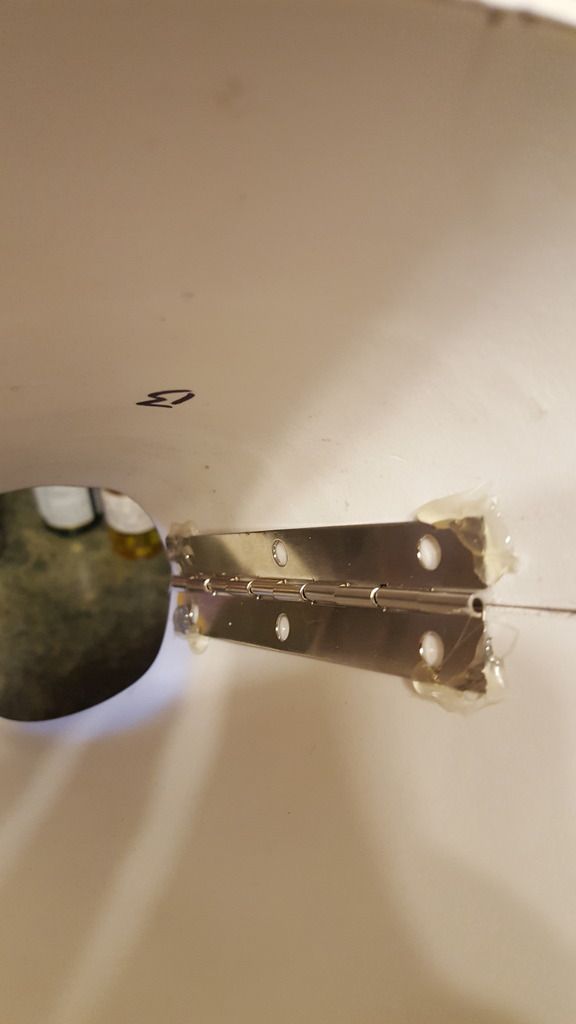
Once you've done that, remove your Pin and hot glue the rest of it in like you did the other! Tadaa, you now have a seamless hinge lock! (ignore the game in background xD)


I ended up doing spot putty to get them to be a little closer as my sintra had warped slightly from this process.