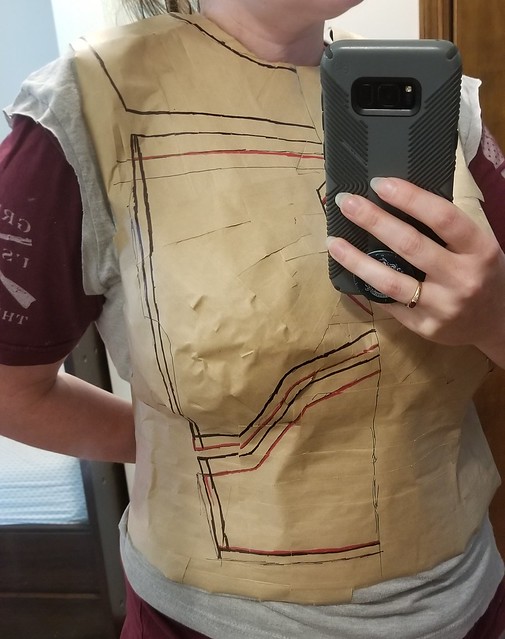
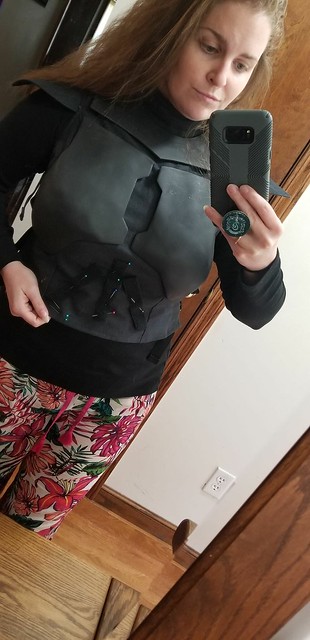
As someone who sews, this entire armor making process made me a nervous wreck. Especially since I am large busted and I found how unforgiving the sintra could be. I plowed through the forums to find ideas of how to best approach this process and somehow landed on a post where the person used paper packing tape. It sounded kind of crazy because I didn't realize what the tape was exactly. Paper packing tape, the old school kind that you have to wet, is actually infused with strands of fiberglass. I thought, why not?!
SO, I invited my mom over and cut a billion small, medium and large strips of the stuff, which I had ordered from walmart. I put on an old t-shirt and we got to work. I had her cover the entire front of the shirt with me in it. It was not fun. I could NOT move once it started drying. It was like a body cast. No joke. Once it dried, she double checked that each area had multiple layers covering it and that it was a smooth as it could be. The shirt was then cut off via the back and I carefully shimmied my way out.
I then began to draw out where I wanted to cut for the chest pieces and ab pieces.
 20180807_144533
 by
allred.sarah, on Flickr
I decided on the beginning lines with help from my clan members, and added a bit of extra to each side. You can take away but you can't add it back! lol
 20180819_121134
 by
allred.sarah, on Flickr
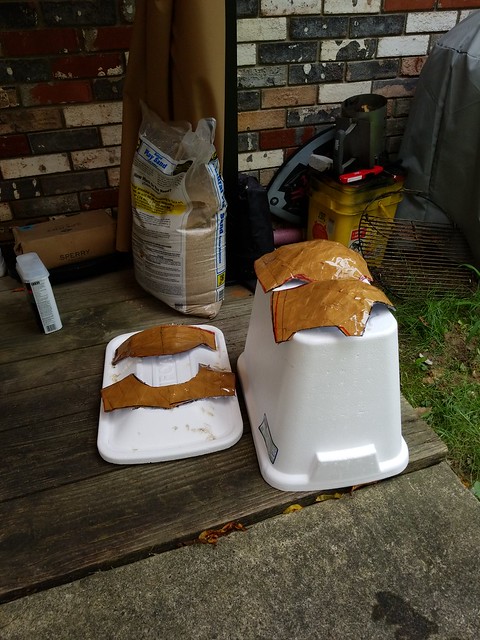
I then went out and got myself a can of fiberglass resin and some fiberglass cloth. Thankfully this was done in the summer and I could do it all outside. That stuff is nasty! I added a first layer of just the resin on inside and out of the pieces. I then cut strips of the cloth and did another layer with the cloth. I did a total of 3 layers of cloth to ensure I would have enough to sand down. The cloth was only added to the outer surface of the pieces. This took a while due to dry/cure times.
 IMG_20180825_133157
 by
allred.sarah, on Flickr
I then wen to work trimming off rough bits and began the sanding process. This took FOREVER. I learned to quickly love sanding. I don't know that I have many photos anywhere of this process because I was constantly covered in sanding dust.

I added bondo filler where it was needed to fill in low spots and then did a layer of primer to help myself see low/high points and rough spots.
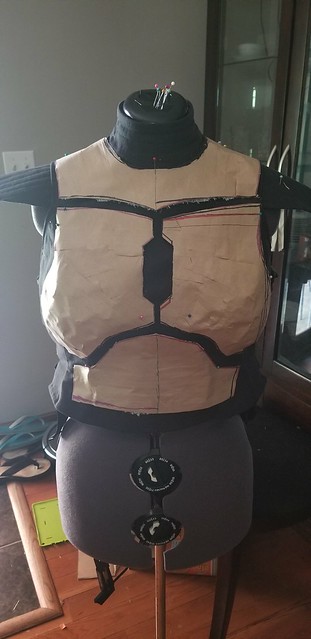
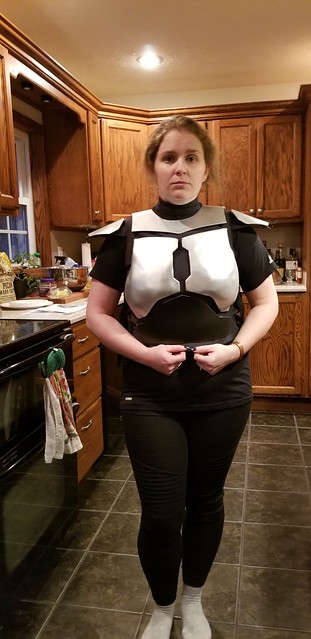
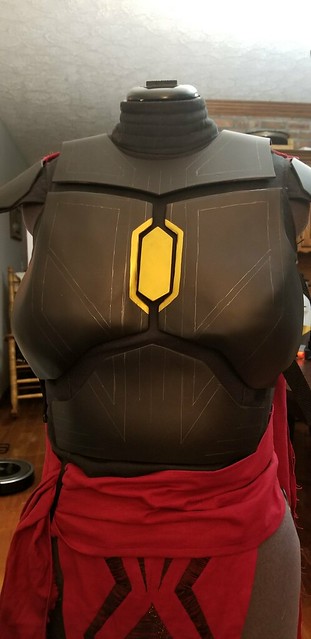
The ladies were a little lumpy here. I had clan members help me figure out what needed trimmed up. I also ended up trashing the original ab plate and collar and going with sintra ones at this point.
 wippics
 by
allred.sarah, on Flickr
 armorwip
 by
allred.sarah, on Flickr
I went back to work sanding and filling and sanding and filling until I was more pleased with the product.
The ab plate and collar ended up needing trimming and I evened those up to match the lines of the final chest shapes. I then added industrial velcro to my vest and plates for a means of attaching. I plan on eventually finding a more permanent means of attaching, but velcro is holding up incredibly well to the rigidness of the chest plates.
On to other pieces...
I ordered a helmet from TMA. But I put off working on it much. I did a huge amount of sanding while the weather was still nice and then I set it to the side to be completed later on.
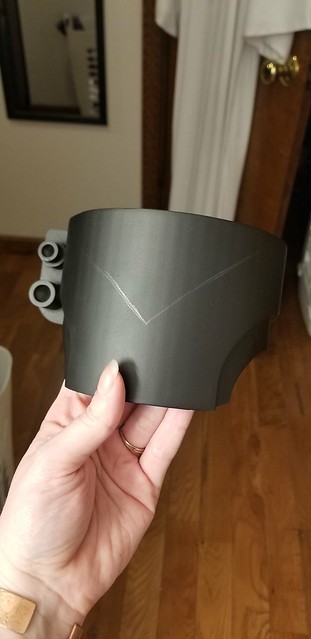
I also ordered a couple things from a friend of mine who does 3d prints. I had tried desperately to make knees out of sintra, but evidently sintra hates me. I ordered a set of knees from my friend.
 knees
knees by
allred.sarah, on Flickr
 knees2
 by
allred.sarah, on Flickr
This next one was prior to filler primer and another fun time sanding.....
 20181218_212709
 by
allred.sarah, on Flickr
Mostly finished minus some minute touch ups.
 kneeswip
 by
allred.sarah, on Flickr
The knees are attached via a strip of industrial velcro and a strap that is hidden by weaving through a hole in the seam of the pants and out the other side to attach under the knee.
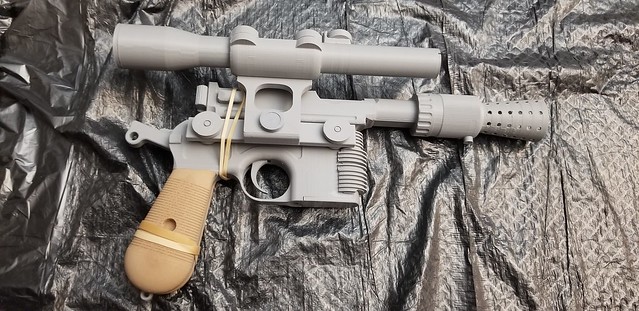
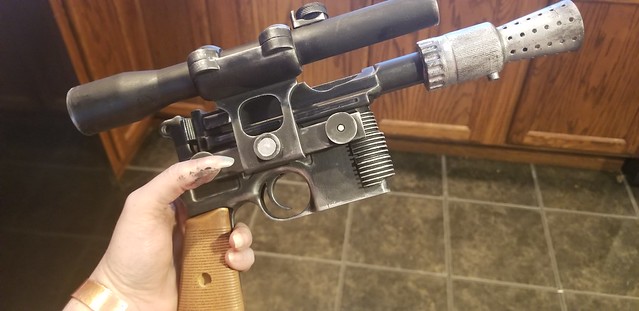
I also ordered a DL44 blaster from the same person. Once again....I sanded. It was becoming like a meditation.
 20190104_201425
 by
allred.sarah, on Flickr
First stain on the wood filament grips and first big sanding pass.
 20190126_121020
 by
allred.sarah, on Flickr
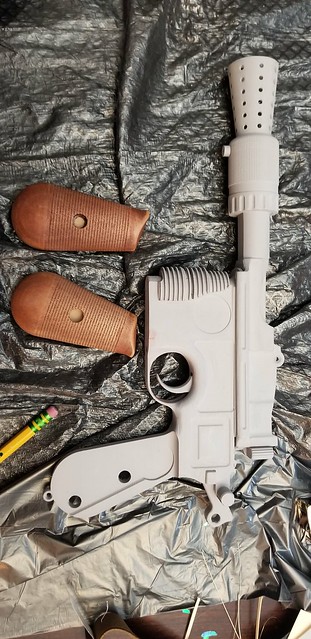
Second, darker, staining of grips.
 20190126_115717
 by
allred.sarah, on Flickr
After much sanding, layers of paint and some rub n buff.
 20190130_152136
 by
allred.sarah, on Flickr
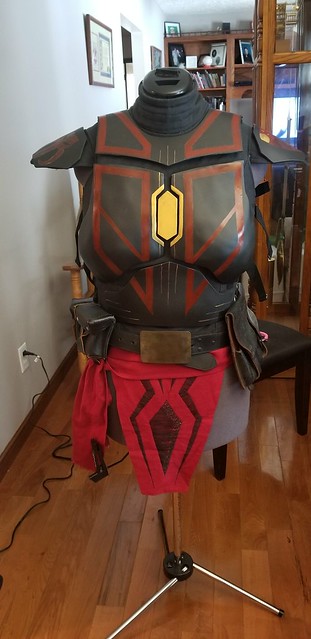
Now for the shoulders and gaunts.
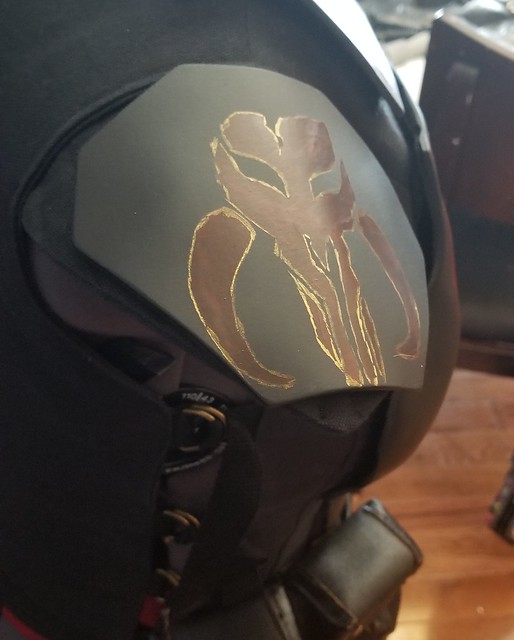
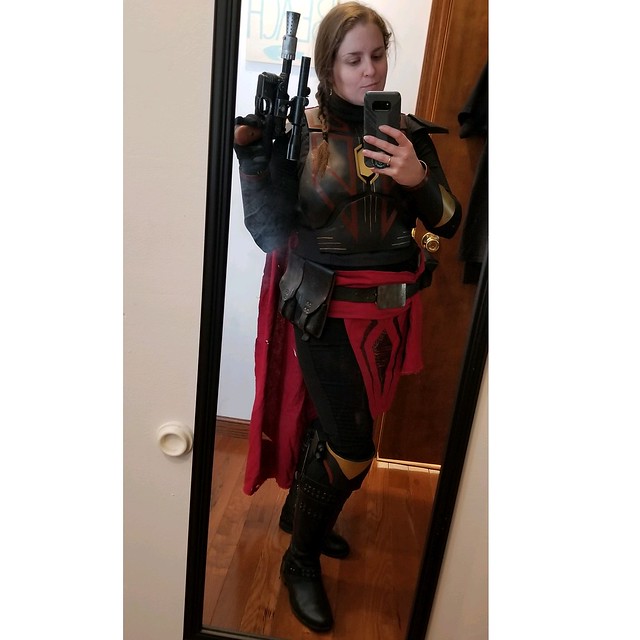
I used a basic shoulder armor pattern to cut sintra pieces out and then beveled the edges a bit with my dremmel. I added a layer of silver, then black. I then painted the mythosaur on one and the BMG logo on the other in the colors I chose for the whole kit.
 20190120_122513
 by
allred.sarah, on Flickr
 20190120_122438
 by
allred.sarah, on Flickr
For the gauntlets, I wanted it to be simple and streamlined. I have incredibly tiny wrists, and felt that a large or bulky gauntlet would look strange on me. I used a similar method to the toilet brush holder method I have seen around. I found thick and sturdy plastic tumblers and cut off the bottoms of them. Sanded off the rough edges and primed them. I put on the two layers of silver and then the flat black. I added a similar paint theme as I had on my knees.
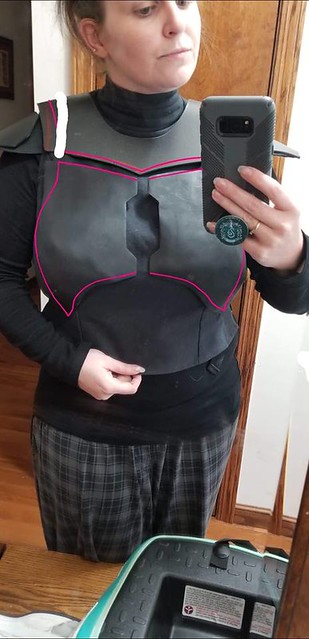
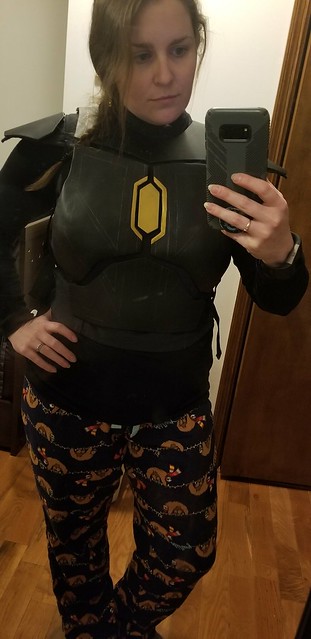
I had to move on to the entire paint job. This was tough. I wanted to keep a lot of black. I wanted gold to show up and red not be overbearing due to the use of red in the soft parts. What I came up with was angular and relatively simple. I threw on two layers of silver, then a flat black.
 20181125_171740
 by
allred.sarah, on Flickr
 20190112_172218
 by
allred.sarah, on Flickr
 20190112_164523
 by
allred.sarah, on Flickr
 20190120_122357
 by
allred.sarah, on Flickr
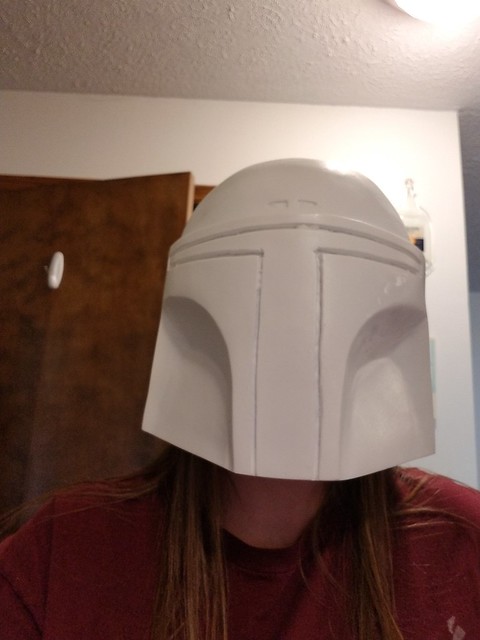
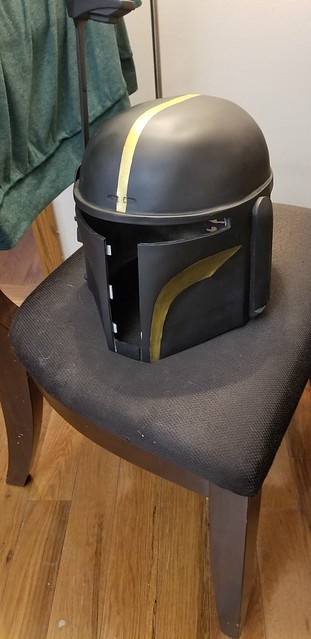
I finally got to work on the helmet. I ordered a set of tactical ACH pads for the inside and a Kalevala visor in gold and red (I couldn't choose!). I trimmed out the front except for about 1.5 inches at the bottom to keep the shape right while working. I painted on two layers of silver and then the flat black. I added similar lines as my armor and painted in the cheek hollows. I also added my chosen name Te'isa A'den on the back right.
 20180822_142102
 by
allred.sarah, on Flickr
 20190126_120944
 by
allred.sarah, on Flickr
 helmetwip
 by
allred.sarah, on Flickr
 20190127_151912
 by
allred.sarah, on Flickr
The belt is a thrift belt that has been dyed black and had a removable buckle. I added some leather pouches found in an army navy surplus store that came in black. I added a plain flat buckle that a friend had used for another Star Wars costume.
20190120_122357 by
allred.sarah, on Flickr
There are some small things that need to be finished up. I have to trim the visor and a bit of the helmet. I also need to either find different gloves or stitch a bit of fabric in to cover the small hole it shows on the back of my hand.
 IMG_20190201_192212_871
 by
allred.sarah, on Flickr