Hey Guys! I saw that tutorials were needed so I figured I'd put my WIP on here. I'm working on an ROTJ Boba Fett right now and I'm currently on the jetpack. I didn't document this the best, so feel free to ask any questions and I will try and answer as best as I can. I used WoF's templates that I got off of The Dented Helmet and got a lot of my build ideas from Matty Matts build on TDH.
Materials:
-Foam Poster Board
http://www.walmart.com/c/ep/foam-poster-boards -Chipboard
http://www.amazon.com/Grafix-Chipboard-12-Inch-Natural-25-Pack/dp/B0013JRFUA -Cardboard Tubes
http://www.staples.com/Staples-White-Mailing-Tubes-1-Pack/product_SS467860 -PVC Pipe
http://www.lowes.com/Plumbing/Pipe-Fittings/PVC-Pipe-Fittings/_/N-1z10xvn/pl#! -Gorilla Glue
http://www.walmart.com/ip/Gorilla-Glue-50004-4-Oz.-Bottle/15085247 I used the one with the green lid.
-Wood Glue
http://www.lowes.com/Glues-Tapes/Glues/Wood-Adhesive/_/N-1z0s9ob/pl#! -Bondo Body Filler
http://www.walmart.com/ip/Bondo-Lightweight-Filler/17130346 -Bondo Resin
http://www.walmart.com/ip/Bondo-402-3m-1-Quart-Fiberglass-Resin/17056866Tools -Snap Off Blade Utility Knife
http://www.lowes.com/pd_367243-16878-55911_0__?productId=50111410 -Scissors
http://www.walmart.com/ip/Scissors-8-in.-Length-Straight-3-1-2-in.-Cut-Right-Hand-Blue/36064195 -Knife Sharpener
http://www.walmart.com/ip/Smith-s-Jiff-V-Sharp-Knife-and-Scissor-Sharpener/16913555 -Cutting Mat
http://www.walmart.com/ip/Fiskars-2-Sided-Cutting-Mat-12-x-18/19216411I think you can get all of these materials and tools at Wal Mart except maybe the chipboard. Obviously, these don't have to be brand specific or even material specific. All this stuff is fairly easy to come by, easy to work with (except maybe the Bondo) and pretty cheap. I did a horrible job documenting this process, so let me know if there are any questions and I will do my best to answer them.
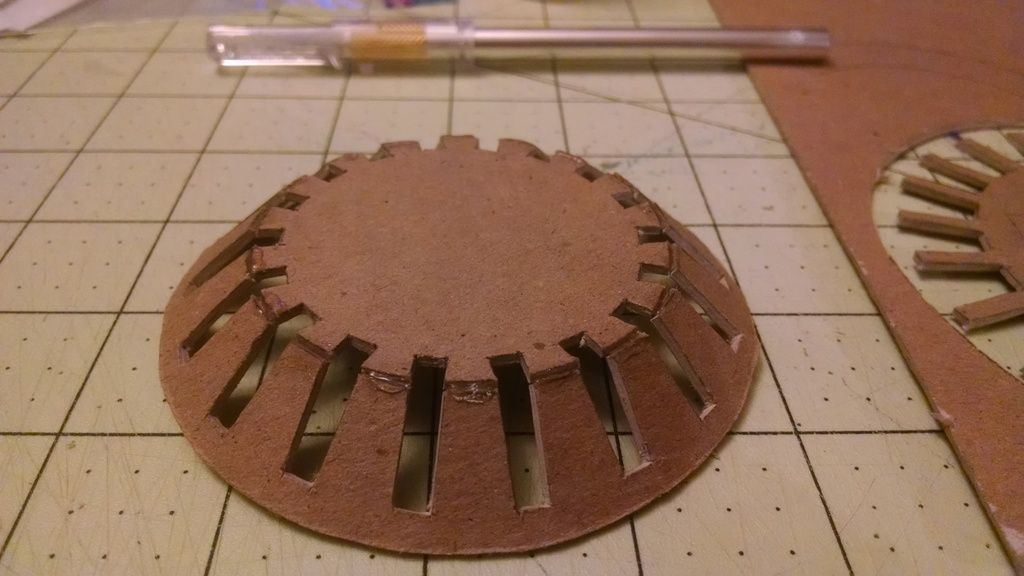
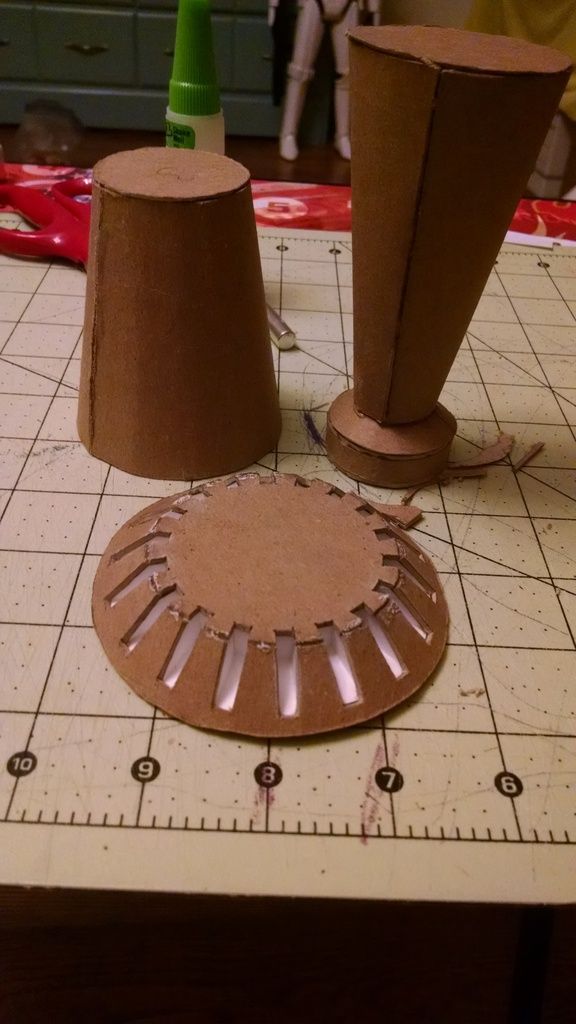
This is some of the "framework" for the jetpack (the first pic). It is made from foam poster board. I think I used 3 of these full sized (1 for the base and 2 stuck together for the top) and then I used a few more to build up the "exhaust port", but cut the ends off and basically just used the center circular part:
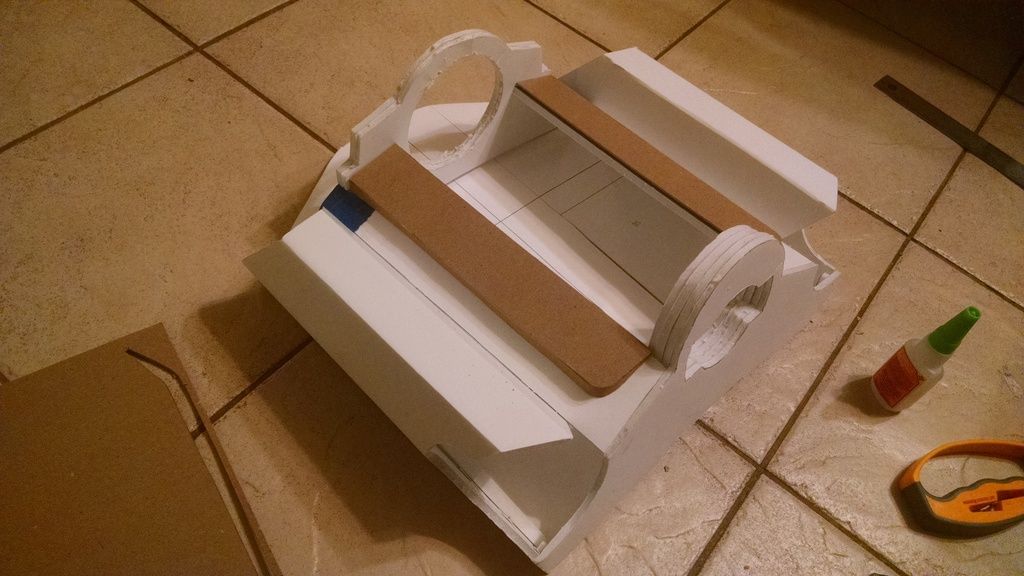
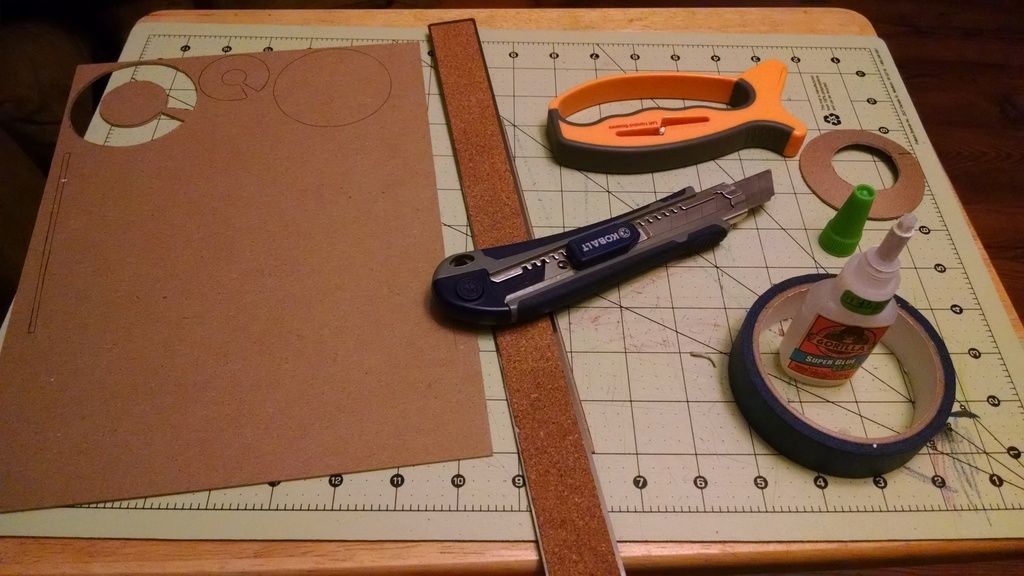
You can see where the "exhaust port" is built up in the second pic. And you can see my knife, super glue, and knife sharpener that I used to sharpen the snap off blades. The sharpener saves you from repeatedly having to use new blades and will save you some money in the long run and it has a scissor sharpener on it as well;) Got the tip from Punished Props (he uses a different type of sharpener though).
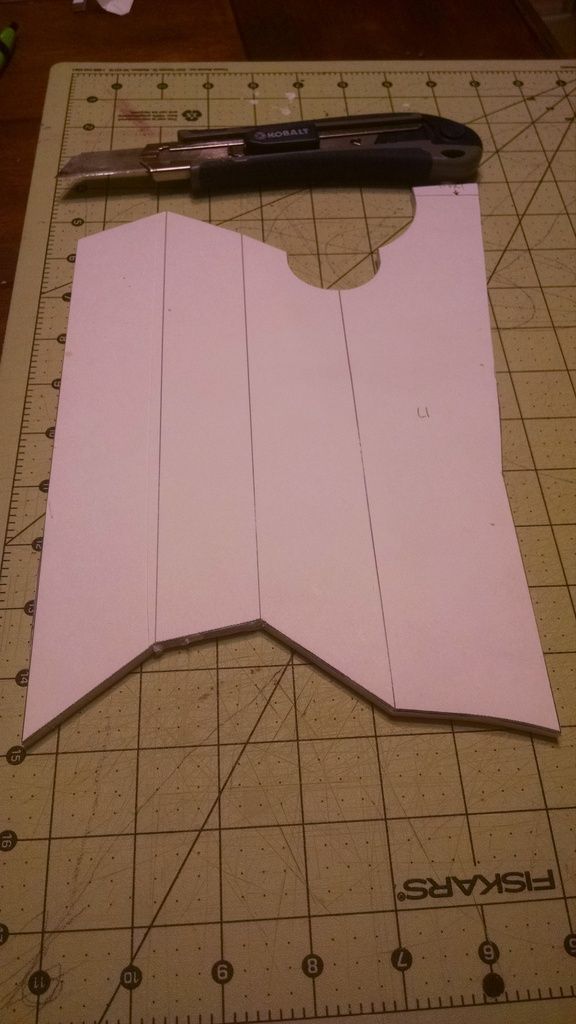
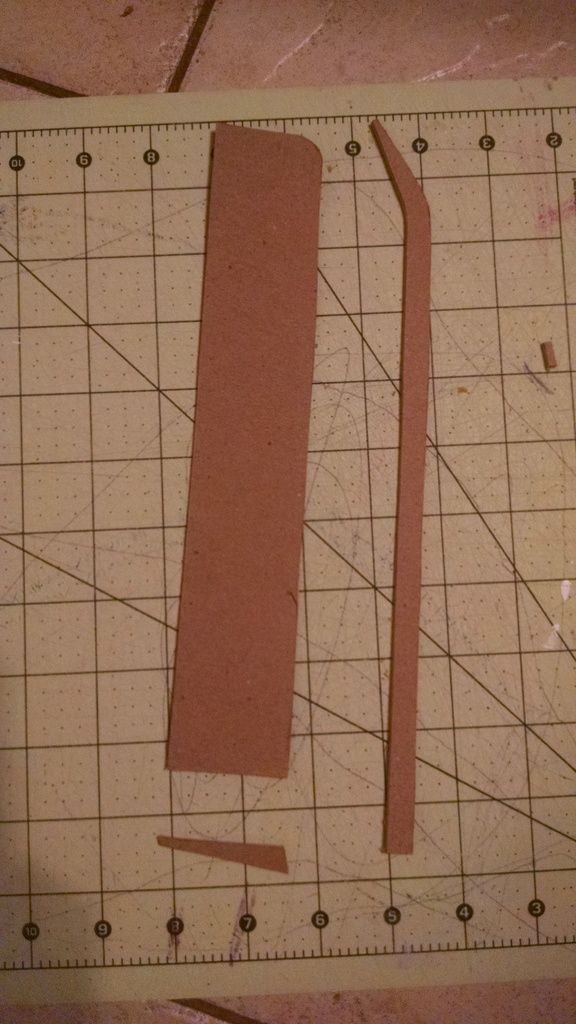
This is the fuel tank housing also made from the foam poster board. I think I glued the pattern right to the board, cut it out, then cut V-shaped grooves (without cutting through the other side) down the lines where it will bend around the tank. I did this twice, but reversed the second pattern. I thought I had more pics of this part, but cant find them:(

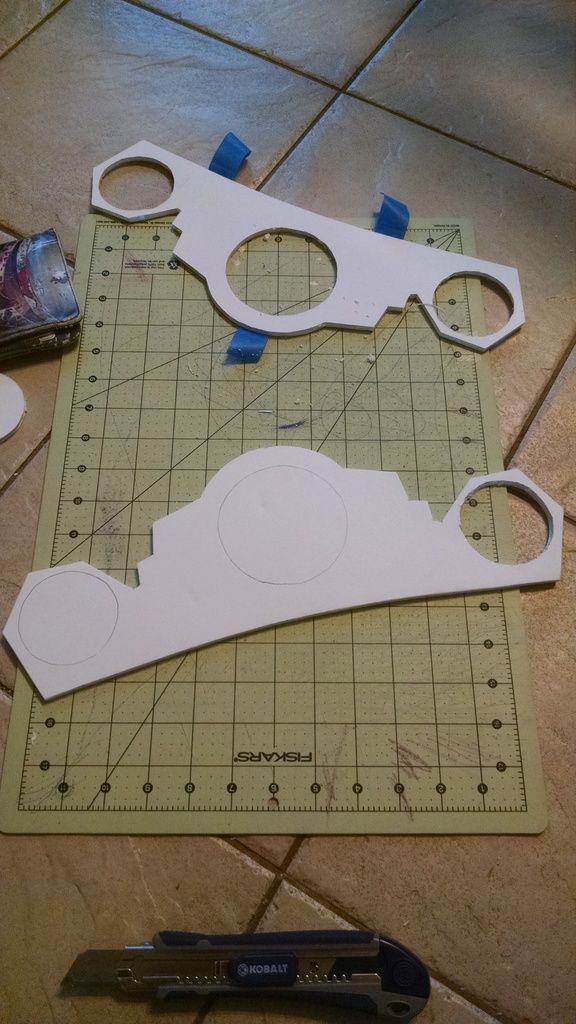
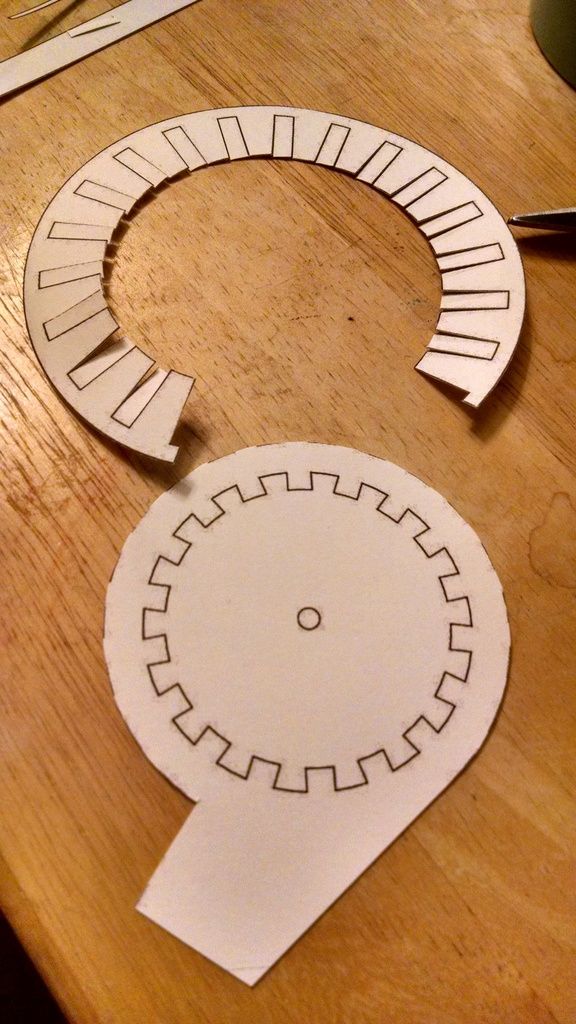
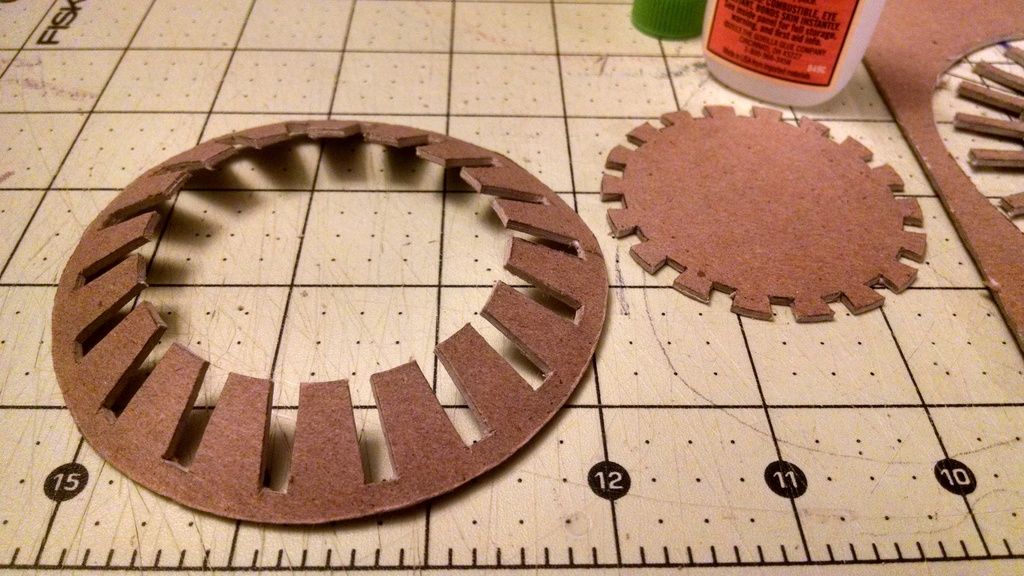
I made the detail pieces out of chipboard:
I drew a line the same thickness as the chipboard in from the long edge with the curve (this was to allow for the thickness of the chipboard and you can see the line I drew is lighter), cut the pattern out in 3 separate pieces, and traced it onto the chipboard (hope this makes sense). I did this twice, but reversed the pattern for the second piece.

Here's a pic of the main part of the pack so far. I have a tube for the "body" of the pack and PVC pipe for the fuel tanks, they're just not in the pic. I will try and put those on tonight to see how they fit. I have to make the top frame part deeper to allow for the "piano keys" and I need to make the center detail piece that goes on top of the main tube part of the pack, but I think thats all I have left besides Bondo:/
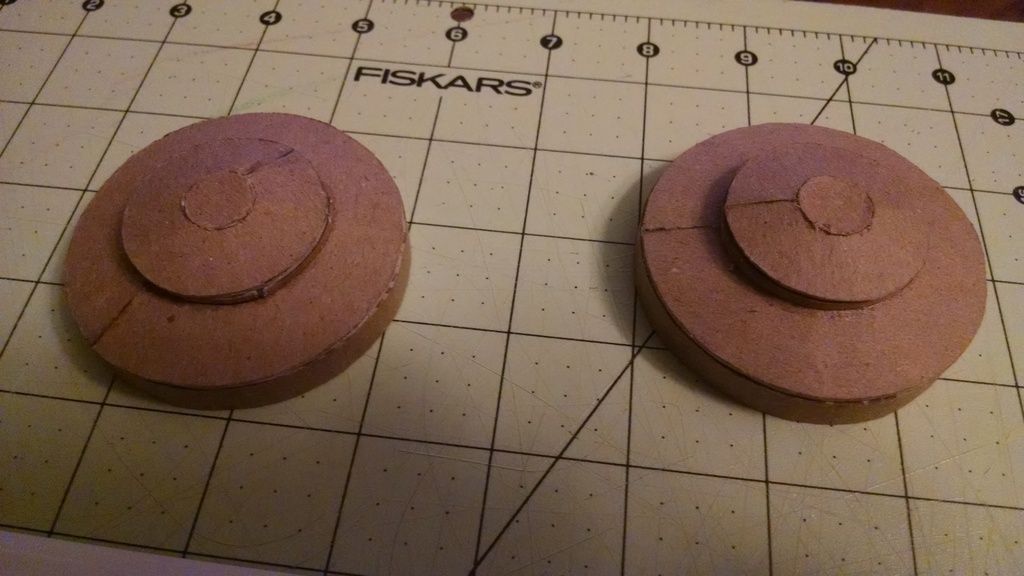
Fuel tank caps, still need to make bottom caps.
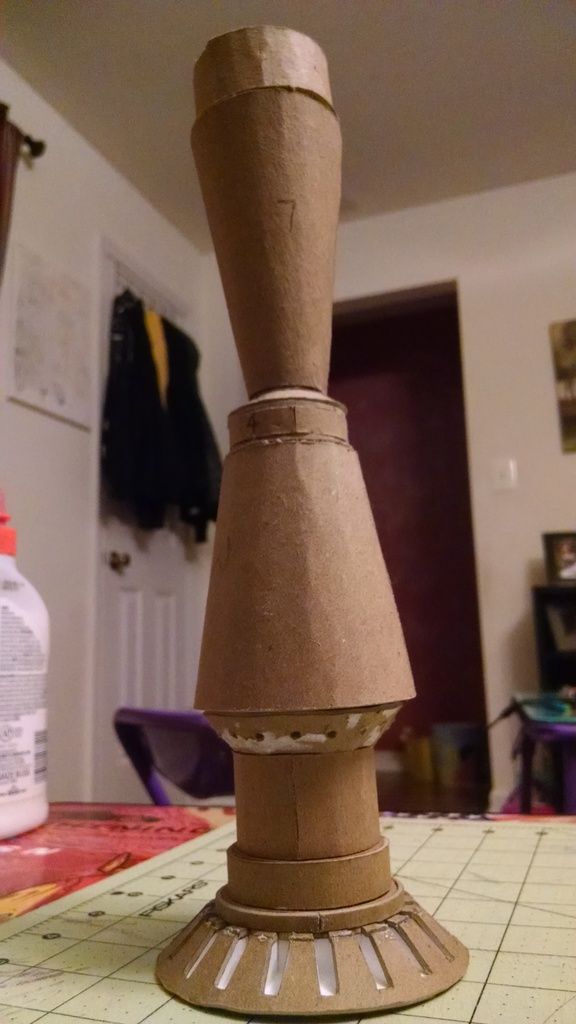
Here is what I have for the rocket so far. I printed the templates onto card stock then traced them onto chipboard.
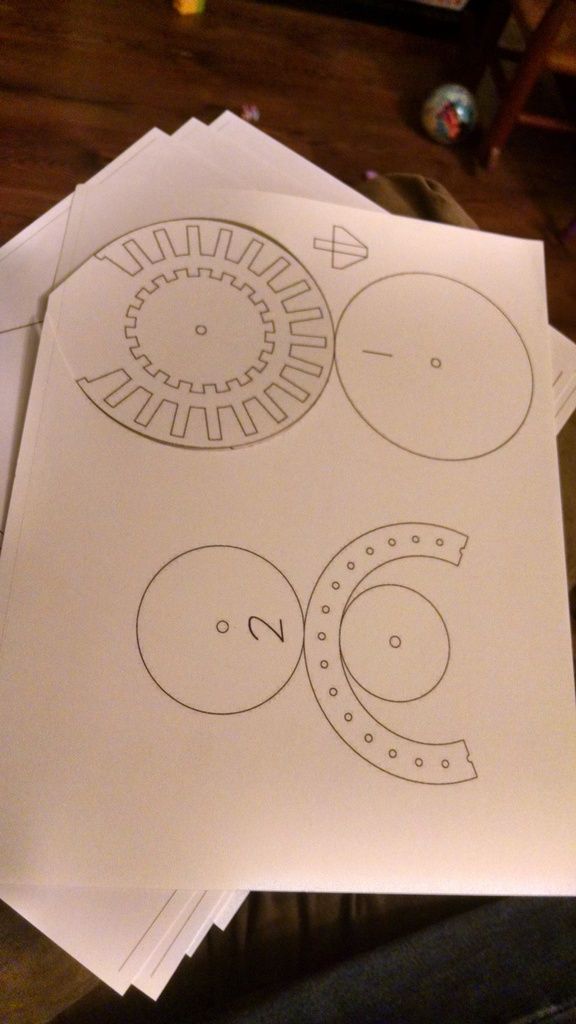
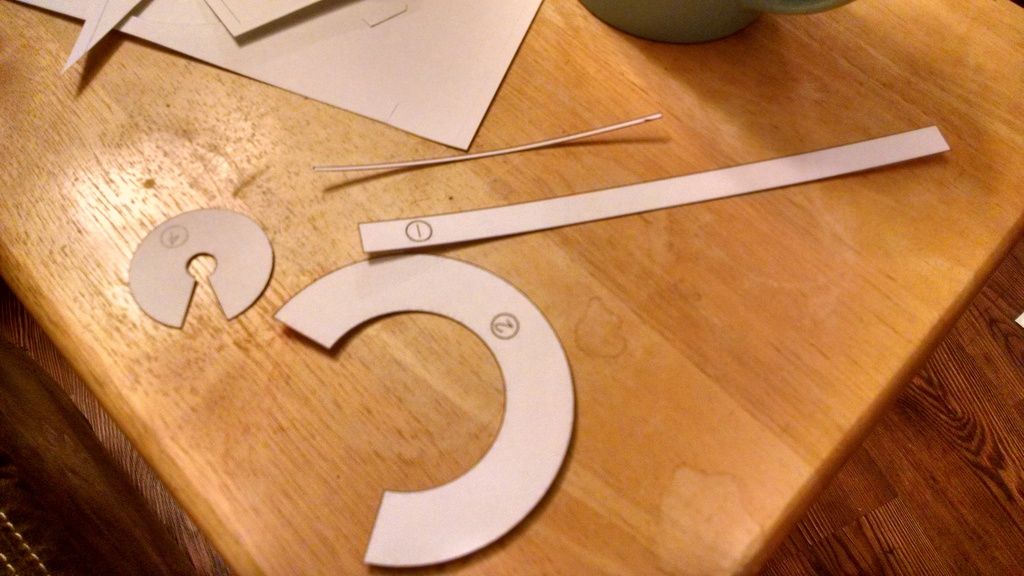

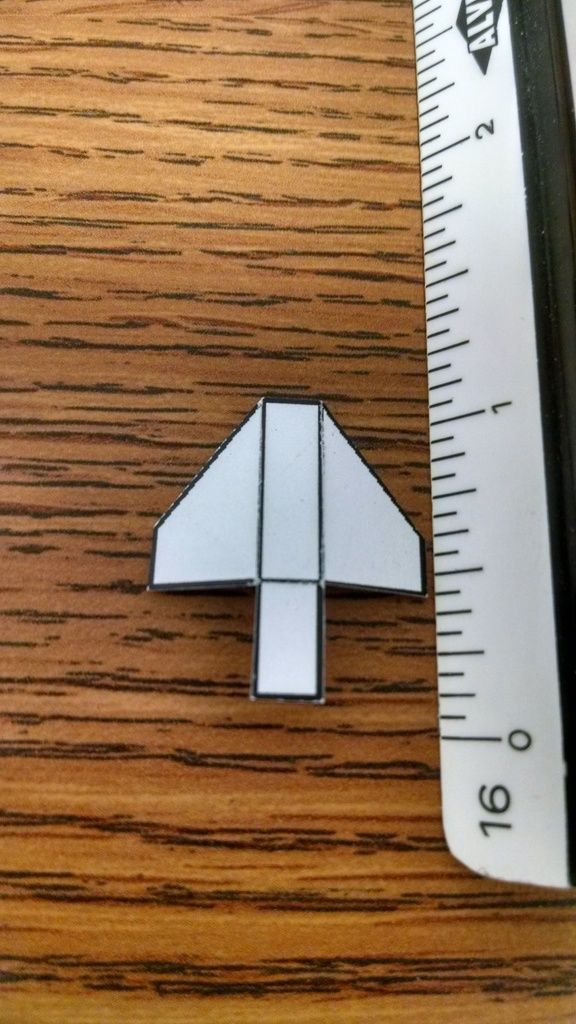
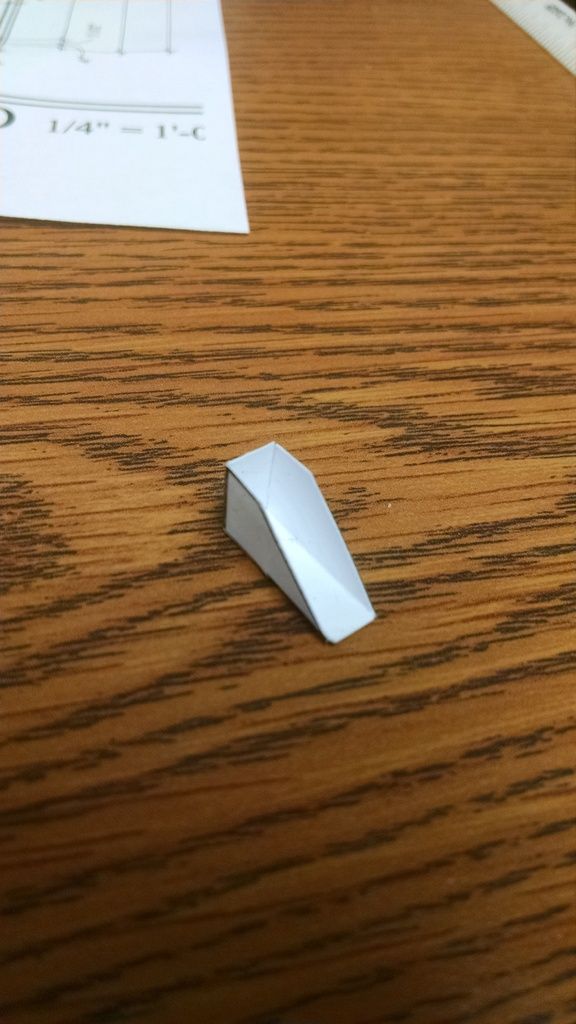
The rocket isn't glued together yet so it looks a little crooked. Still have to add some details and Bondo it and add the cone.